
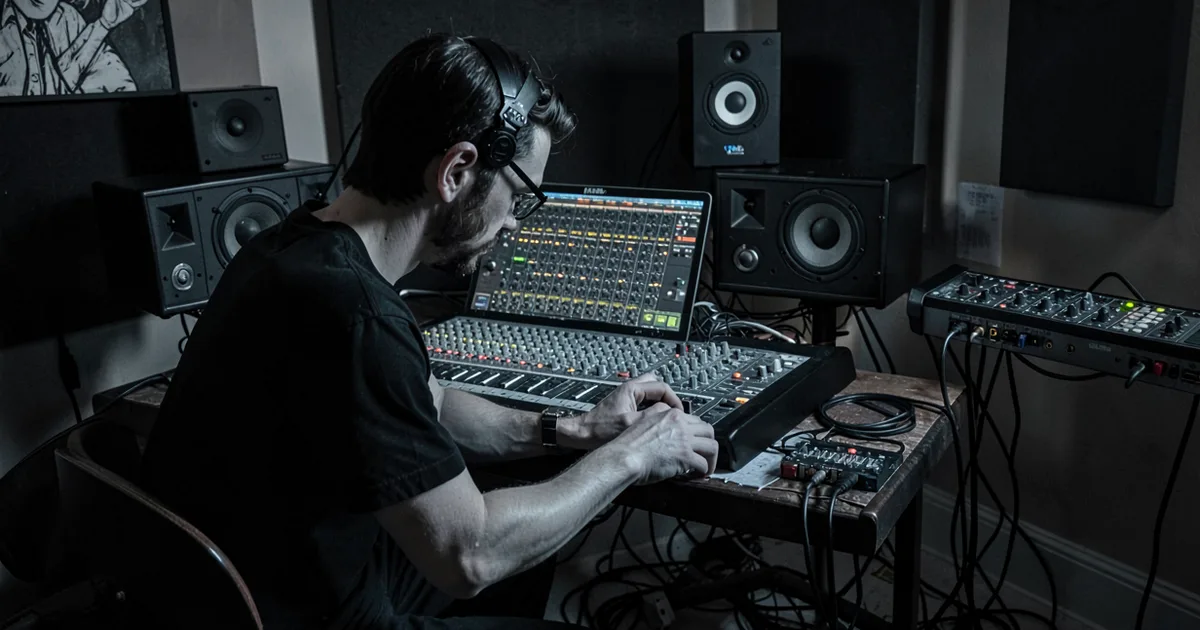
Mixing is the process of blending individual recorded tracks into a single cohesive stereo file by balancing levels, panning, EQ, compression, and effects. You can start today with a free DAW like GarageBand or Reaper, a pair of headphones, and a computer.
Most people think mixing is about adding reverb and calling it done. It's not. Mixing is a series of decisions, made in a specific order, that determine whether your track sounds like a finished record or a demo someone abandoned at 2am. The fundamentals are learnable. The ear training takes years. Both are worth starting today.
This guide covers everything: gain staging, panning, EQ, compression, reverb, and the mental frameworks that separate producers who improve from producers who spin their wheels. We've mixed records, tested the tools, and we'll tell you exactly what to do first.
Best DAWs for Beginners
What's the Difference Between Mixing and Mastering?
Mixing balances and shapes individual tracks inside a session. Mastering optimizes the final stereo mixdown for playback across different systems and platforms.
That distinction matters because they require different ears, different tools, and different headroom. You don't master while you mix. You don't mix while you master.
Mixing happens inside your DAW session where you have access to every individual element: the kick, the snare, the vocal, the guitar. You shape each one and make them work together. Mastering happens after you've exported a sterile, uncompressed stereo file.
Skip the mastering limiter on your master bus until your mix is done. Compressing everything at the ceiling while you're still making balance decisions is like painting a wall before the plaster dries.
Which DAW Should You Start With?
If you're on a Mac, start with GarageBand. It's free, ships with volume faders, panning, EQ, compression, and a solid reverb. You can do a full mix in it. No caveats.
If you want to grow into something professional without switching software, Logic Pro X at $199.99 is the same ecosystem. Most of the workflow transfers directly.
Reaper is $60 for a personal license and runs on Mac, Windows, and Linux. It's not pretty. The routing is brilliant once you learn it. We'd point budget-conscious producers there without hesitation.
Ableton Live works best if your music is loop-based or electronic. FL Studio dominates hip-hop and trap production. Pro Tools is the industry standard in commercial studios, but the learning curve and subscription cost make it a frustrating choice for beginners.
For genre guidance: house and techno are the easiest genres to mix. Repetitive arrangements, fewer competing elements, and a well-defined frequency map make the feedback loop faster. Start there if you want to learn quickly.
What Is Gain Staging and Why Does It Matter?
Gain staging is setting the input and output levels at every point in your signal chain so nothing clips, nothing hides in the noise floor, and your plugins receive an appropriate signal.
The target: individual channel peaks between -18dBFS and -6dBFS. We prefer to aim for -18dBFS average on most sources. That gives every plugin enough headroom to process without distorting internally.
Your master fader should never be doing the heavy lifting. Leave it at 0dB. Your pre-fader levels should build a mix that peaks around -6dBFS on the master bus output before any limiting. That leaves room for mastering.
Here's a micro-story worth remembering. We loaded a session from a student where every channel was hitting 0dBFS. The mix sounded harsh and congested. We pulled every fader down 12dB using a VCA group. Nothing else changed. The mix breathed. The compressors on the bus stopped working so hard. The whole thing opened up. Gain staging is that consequential.
The Trim-First Workflow
Before you touch EQ or compression, get your levels right with a utility gain plugin or the channel trim. Set your loudest element, usually the kick or the lead vocal, at around -18dBFS. Build everything else around it.
Don't ride the main fader to compensate for bad gain decisions. Fix it at the source.
How Do You Use EQ in a Mix?
EQ removes what shouldn't be there before it adds what should. Most beginners do this backwards.
High-pass filtering is the single most useful move in a beginner's toolkit. Put a high-pass filter on everything that doesn't need low-end: guitars, pads, vocals, synths, percussion. Set it around 80-120Hz on guitars, 100-150Hz on synths, and around 80Hz on vocals depending on the singer.
That clears the low end for your kick and bass, which is where mud lives. Mud is build-up between 200Hz and 400Hz. Cut 2-4dB in that range with a Q of around 1.0-1.5 on instruments that feel thick and unclear.
We ran a dense synth pad through FabFilter Pro-Q 3 and swept a narrow band through the 200-500Hz range. At 320Hz, the whole mix suddenly unclogged. That one cut made more room for the kick than any amount of sidechain compression. That's how EQ works when you use it like surgery, not seasoning.
Cut First, Boost Second
Cuts narrow out problem frequencies. Boosts add character. Boost with wide Qs (0.4-0.7). Cut with narrow Qs (1.2-2.0). Air on vocals? Try a gentle +2dB shelf above 10kHz. Presence on a guitar? Try +1.5dB around 2-3kHz with a Q of 0.7.
FabFilter Pro-Q 3 is worth every dollar for learning EQ. The spectrum analyzer lets you see what you're hearing. That visual feedback loop accelerates ear training faster than anything else.
Best EQ Plugins for Mixing
How Does Compression Work in a Mix?
Compression reduces the dynamic range of a signal by turning down the loud parts automatically. It makes transients more controlled, tails more audible, and performances more consistent.
Start with these settings on a vocal: attack 10-20ms, release 60-100ms, ratio 4:1, threshold set so you're seeing 4-6dB of gain reduction on the loudest phrases. Then use make-up gain to compensate for the level reduction.
The attack controls how much of the transient gets through before compression kicks in. A slow attack (20ms+) lets the initial punch hit before the compressor grabs it. Satisfying on snares. A fast attack (1-5ms) clamps the transient immediately. Useful on overly dynamic bass lines.
We had a bass guitar track that wouldn't sit still in the mix. Level jumped 10dB between verses and choruses. We put Waves CLA-2A on it, set the peak reduction until we saw about 8-10dB reduction on the loudest notes, then automated a gentle 2dB gain boost into the chorus. Done. Sat in the mix from that point. Never moved again.
Parallel Compression: the One Technique Worth Learning Early
Send your drums to a bus. Crush that bus with a fast attack, fast release, and a high ratio (8:1 or higher). Blend it back under the original at around 20-30% level. You keep the transients from the dry signal. You get the sustain and density from the parallel track. Annoying to set up the first time. Worth it every time after.
How Do You Use Reverb and Delay Without Destroying Your Mix?
Reverb and delay add depth and dimension. They also cloud mixes faster than any other processing when used wrong.
The rule: always put reverb and delay on a send bus, not directly on a channel insert. This means one reverb plugin feeds multiple tracks, which saves CPU and keeps the effect sonically coherent.
For reverb, use pre-delay to separate the dry signal from the wet. A pre-delay of 15-30ms on a vocal reverb stops the effect from swallowing the consonants. The voice stays clear. The tail spreads behind it.
We ran a snare through a plate reverb emulation set to 1.4 seconds with a pre-delay of 22ms. The crack of the snare hit clean. The tail bloomed underneath it without touching the hi-hats. That's the difference pre-delay makes. Without it, the reverb smears directly on the attack and everything sounds washed out.
For delay, sync to the tempo of your track. An eighth-note delay on a guitar at 120 BPM means 250ms per repeat. Use the ping-pong setting to push repeats left and right, which widens the stereo image without adding more tracks.
XLN Audio RC-20 Retro Color isn't a reverb, but it adds tape-style space and subtle modulation that makes elements feel three-dimensional. Underrated for beginners who want dimension without the learning curve of a full reverb plugin.
How Do You Create Width Without Phase Problems?
Panning is the fastest way to separate competing elements in a mix. It works in two dimensions: left-right position and front-back depth.
The center should hold your kick, bass, lead vocal, and snare. Everything else can move. Pan guitars hard left and right if they're doubled. Pan backing vocals 30-40% each direction. Synth layers can go anywhere in the stereo field as long as they don't eat into center clarity.
Never hard-pan a single mono instrument with no counterpart. It sounds ugly and creates an imbalanced stereo image. Pair it with something on the opposite side.
Phase problems happen when two copies of the same signal are slightly time-offset. They cancel each other out at specific frequencies and the mix sounds thin. Check for phase by pressing the mono button on your master bus. If the mix sounds dramatically different in mono (elements disappear or thin out), you have phase issues. Fix with a plugin like Little Alter Boy or by manually adjusting the sample offset on the offending track.
Ear Fatigue: The Problem Nobody Talks About Enough
Ear fatigue is real and it wrecks mixes. After 90 minutes of focused listening, your ears start compensating for frequency buildup. You boost the high-end chasing brightness that isn't actually missing. You turn things up because your hearing has temporarily compressed.
Mix at low volumes. 75-80dB SPL is enough. Take a 10-minute break every hour. When you come back, make three specific observations before touching anything. Reference against a commercial track you know well. The A/B test is the most reliable check you have.
Your reference track should play through the same monitoring chain at the same perceived loudness. Volume-match them. Louder always sounds better. Your goal is to hear whether the tonal balance, width, and dynamics of your mix matches a finished record.
Worth Bookmarking
- Sound On Sound, deep technical guides and plugin reviews, reliably accurate
- iZotope Learn, free mixing and mastering tutorials with interactive visuals
- Mastering The Mix Blog, practical, tool-specific mixing breakdowns
- Reaper Tutorial Videos, official tutorials, free, covers mixing fundamentals in Reaper
- In The Mix (YouTube), we trust this channel more than most paid courses
- Splice Blog, genre-specific mixing workflow breakdowns
- MusicRadar Tech, quick how-tos on common mixing moves
- Reference 4 by Sonarworks, the best tool we've used for calibrating headphone and monitor response before mixing
Summary
Mixing starts with gain staging: keep channel peaks between -18dBFS and -6dBFS, leave your master fader at 0dB. High-pass filter everything that doesn't need low-end. Cut mud between 200-400Hz before you boost anything. Use compression to control dynamics, not just add colour. Put reverb and delay on send buses, use pre-delay on vocals. Pan for separation, check mono for phase. Take breaks. Reference against tracks you know. The tools are learnable. The ear takes time. Both come faster when you start today.
Explore the complete Mixing series: Bus Processing Mixing Guide: 5 Proven Techniques · Compression Techniques for Mixing: 6 Proven Methods · EQ Techniques for Mixing: 5 Proven Ways to Clean Your Mix · Low End Mixing Guide: 5 Steps to a Tight, Clear Bass · Mix Preparation Gain Staging: 5 Steps to Cleaner Mixes · Mixing Automation Guide: Complete Beginner's Breakdown · Mixing Techniques Guide: 6 Core Skills for Better Mixes · Mixing Troubleshooting Guide: Fix 6 Common Mix Problems · Reverb and Delay in Mixing: 7 Proven Techniques · Saturation in Mixing Guide: 5 Proven Techniques · Stereo Imaging Mixing Guide: 7 Proven Techniques · Vocal Mixing Guide: 5 Steps to a Professional Sound
Frequently Asked Questions
What's the best DAW for a complete beginner?
GarageBand is the best starting point if you're on a Mac. It's free, ships with EQ, compression, and reverb, and the workflow is close enough to Logic Pro X that upgrading later feels natural. On Windows, start with Reaper at $60. It covers every mixing function a professional session needs.
Do I need studio monitors to mix properly?
No. You can mix on good headphones. The Beyerdynamic DT 770 Pro and Audio-Technica ATH-M50x are reliable starting points. Headphones exaggerate width and don't tell you the full truth about low-end, so always check your mix on multiple playback systems: earbuds, a laptop speaker, your car. Monitors help, but they're not a prerequisite.
How loud should my mix be before mastering?
Your mix should peak no higher than -6dBFS on the master bus output before any limiting. That headroom gives a mastering engineer room to work. If you're self-mastering, the same rule applies. A mix hitting 0dBFS is already distorting before you've added a limiter.
What causes a muddy mix?
Mud is almost always frequency buildup between 200Hz and 400Hz from multiple instruments sharing that range without any carving. High-pass filter every element that doesn't need low-end, then cut 2-4dB at the muddiest frequency on the worst offenders. Check your mix in mono to make the problem easier to hear. How to Fix a Muddy Mix
What's the difference between a bus and a send?
A bus routes multiple tracks to a single channel for group processing. A send copies part of a signal to an auxiliary channel while the original stays on its own path. You use buses for drum compression and sends for reverb and delay. Understanding this distinction stops you from accidentally processing source signals with your effects.
How long does it take to learn mixing?
You can learn the core mechanics in a few weeks. You can mix a recognizable, competent track within a month of daily practice. Mixing professionally, where your instincts are fast and your ear catches problems in real time, takes two to four years of consistent work. The gap between "competent" and "great" is reference tracks, feedback, and volume of reps.