
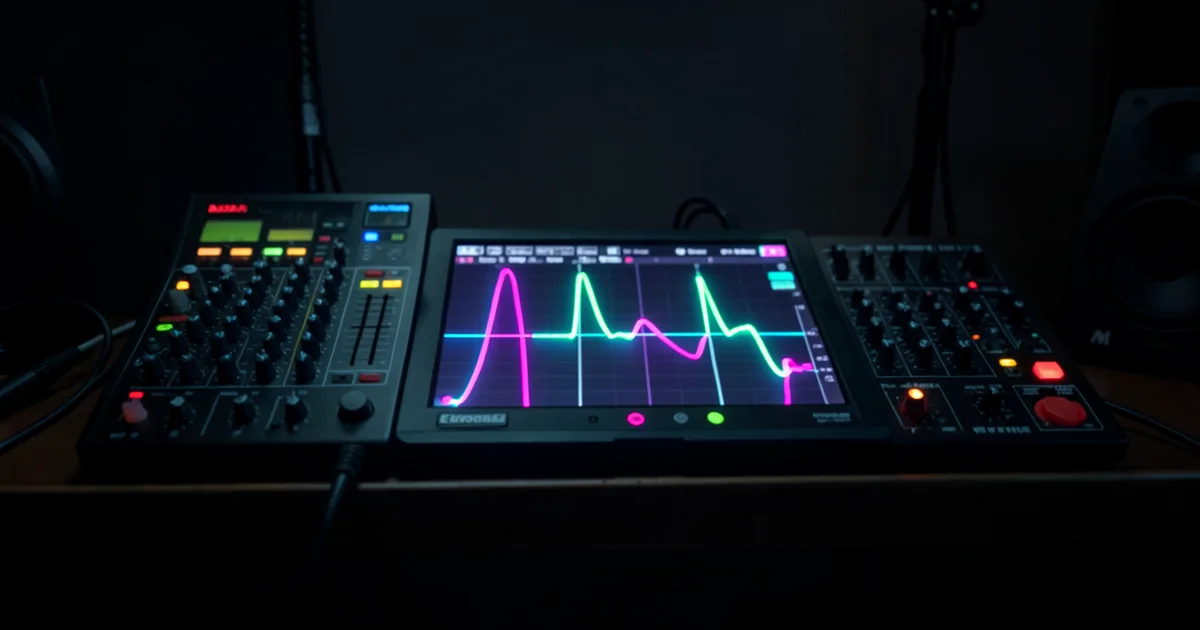
Saturation in mixing adds harmonic distortion to your signal, generating even and odd-order harmonics that thicken tone, glue elements together, and control transients without the heavy-handed feel of traditional compression. Apply it to individual tracks, bus groups, and the master bus at different intensities: aggressive on stems, subtle (under 1% THD) on the master.
Saturation is the most underrated tool in a mix engineer’s signal chain. Not because people don’t use it, but because most people use it wrong: slapping Decapitator on a drum bus at full drive and wondering why everything sounds like a broken amp. Done right, saturation shapes the harmonic content of your tracks in ways EQ and compression physically can’t. It fills out thin signals, controls harsh transients, and makes a mix feel like it was recorded in the same room. Done wrong, it’s just expensive distortion.
This guide covers everything you need to apply saturation intelligently: the science behind it, the three main types, how hard to push each stage of your mix, the parallel technique that’s replaced hardware compression in a lot of modern workflows, and where the multiband approach beats broadband every time. We’ve tested all of it in session, not in a demo.
What Actually Happens When You Saturate a Signal?
Saturation is controlled soft-clipping combined with harmonic generation. When a signal hits a tube, tape head, or transistor hard enough, the circuit can’t reproduce the full dynamic swing linearly. It compresses the peaks, which is the soft-knee compression behavior, and simultaneously generates new frequency content above the fundamental. Those new frequencies are harmonics.
Even-order harmonics (2nd, 4th, 6th) sit at octave intervals above the fundamental. They sound musical. Tube circuits generate mostly even-order harmonics, which is why a saturated bass guitar sounds “warm.” Warm here means: the 2nd harmonic adds weight at roughly double the fundamental frequency, making a 60Hz bass note feel like it also has presence around 120Hz.
Odd-order harmonics (3rd, 5th, 7th) are more dissonant. Transistor and solid-state circuits produce these. They add grit and edge. Useful on guitars and synths. On delicate material, they can become harsh if pushed past roughly 3-5% THD on individual tracks.
The compression ratio starts around 2:1 at moderate input levels and escalates to 4:1 or higher as you hit the circuit harder. That’s why saturation controls transients without sounding like a compressor. The gain reduction is frequency-dependent and program-driven rather than threshold-triggered.
What Are the Three Types of Saturation and When Should You Use Each?
Tape Saturation
Tape saturation is the gentlest of the three types. It rolls off excessive high frequencies naturally, attenuates harshness in the 6kHz-8kHz range, and adds a low-frequency density sometimes described as “warmth.” Warm here means: a subtle boost of 1-3dB below 200Hz due to low-frequency bias in the tape response, plus even-order harmonic content in the low-midrange.
Tape also introduces wow and flutter. Wow is slow pitch modulation below 6Hz, typically 0.1-0.5% on well-maintained machines. Flutter is faster, 6-100Hz, usually below 0.3%. Both create a very slight, irregular pitch deviation that makes digital recordings feel less static. Good tape emulations model this. Bad ones ignore it entirely.
We ran a dry programmed string section through the UAD Studer A800 at 30 IPS. At 15 IPS, the high-frequency rolloff above 10kHz was audible and annoying on the violin bows. At 30 IPS, the rolloff moved above 16kHz and the strings stopped sounding plastic. No other processing touched them. That was the only change needed.
The UAD ATR-102 is our preferred choice for mastering contexts. The Waves Kramer Tape handles the harsh 6kHz-8kHz region well and costs significantly less. Both model wow and flutter; the ATR-102 lets you adjust the flutter percentage explicitly.
Tube Saturation
Tube circuits generate predominantly even-order harmonics. Triode tubes (like those modeled in the Thermionic Culture Vulture’s T mode in Decapitator) compress more gently and stay musical even at high drive. Pentode mode (P in Decapitator) introduces more complex harmonic content with some odd-order character mixed in.
Tube saturation is our default for vocals, bass, and anything that needs to feel expensive without sounding altered. A vocal at +3dB drive on the Ampex 350 (A mode in Decapitator) gets thicker without getting louder to the ear, because the soft compression is evening out the peaks while the harmonic generation fills the gaps between words.
Transistor Saturation
Transistor circuits are more aggressive. They emphasize odd-order harmonics, which adds bite and presence. The Neve 1057 model in Decapitator (N mode) is a good example. Brilliant on snares, electric guitars, synth leads. Less forgiving on delicate sources.
Push transistor saturation too hard on acoustic material and you’ll hear it fast. It crosses into distortion around 5-8% THD on most emulations. Keep it subtle on anything with midrange-heavy content.
How Hard Should You Push Saturation at Each Stage?
This is where most guides fall short. The answer isn’t “push until it sounds good.” It’s specific thresholds based on where you are in the chain.
Individual Tracks
You have the most headroom here. Individual tracks can handle 2-8% THD before artifacts become problematic, depending on the source. A distorted guitar? It’s already saturated. Drive it hard. An acoustic piano? Stay under 3% and use parallel saturation so the dry signal preserves transient integrity.
A kick drum through Decapitator’s E mode (EMI channel) at 50% drive, mix knob at 60% wet: the beater attack stays intact and the body gets thick. We’ve used this setup on over a dozen sessions and it’s now a template save.
Bus and Stem Groups
Bus saturation is where glue happens. This is the stage where saturation makes the drums sound like they’re coming from the same kit instead of ten different sample libraries. Keep THD between 0.5-2% on bus groups. Too much and you’re fighting the individual track processing.
FabFilter Saturn 2 is the right tool for multiband bus saturation. It lets you apply tape saturation below 200Hz (for low-end density), tube saturation from 200Hz-5kHz (for midrange warmth), and lighter tape or tube processing above 5kHz to tame harshness without losing air. That’s the key advantage of multiband over broadband: you’re not applying the same character to frequencies that need different treatment.
Broadband saturators like Decapitator are faster to dial in and often sound more natural on sources where the frequency content is coherent. A guitar bus? Broadband works fine. A full drum bus with kick, snare, hats, and rooms? Multiband gives you control that broadband physically can’t.
Master Bus Saturation
This is where you stay conservative. Under 1% THD. Not because the mix can’t handle it, but because mastering engineers need headroom to work. We love the subtle tape saturation on the master. We hate walking into a stem mix session and finding the master bus is already at 3% THD with irreversible character baked in.
The UAD ATR-102 at gentle bias settings adds cohesion without the loud-mastering-era compression of competing plugins. Keep the drive light, check your THD meter, and bypass it before you send stems to the mastering house.
What Is Parallel Saturation and Why Does It Beat Compression in Certain Situations?
Parallel saturation uses the wet/dry control on your saturator (or a parallel send in your DAW) to blend distorted signal with the dry original. The saturated signal adds harmonic content and controls peaks. The dry signal preserves attack and transient detail. You get the tonal benefit without the squashed feel.
This technique has become the preferred approach for many engineers because it shapes tone while controlling dynamics without affecting the primary transient. A compressor acts on the entire signal above threshold. Parallel saturation acts on the harmonic character of the signal while the dry path keeps the punch intact.
We put a sterile programmed bass through Softube Saturation Knob at 70% drive, blended to 35% wet in parallel. The dry signal kept the note attack precise on the grid. The wet signal added fundamental-frequency harmonics that made the bass audible on small speakers. No compression touched it. The bass sat in the mix on every playback system we checked.
That’s the satisfying part of parallel saturation: you hear the improvement on phones, earbuds, and car speakers simultaneously, because you’ve added harmonic content in the octave range those playback systems actually reproduce.
For parallel saturation with more surgical control, Saturn 2’s per-band mix controls let you blend each frequency band’s saturation independently. Frustrating to set up the first time. Worth it once you’ve saved the preset.
Multiband vs. Broadband: When Does It Actually Matter?
Broadband saturation applies the same character across the full frequency spectrum. Fast, musical, coherent on well-recorded sources. The Decapitator, Soundtoys Radiator, and Softube Saturation Knob all work this way. Our default for individual tracks and most bus groups.
Multiband saturation processes different frequency ranges independently. The Black Box HG-2 from Black Box Analog Design does this with a high-frequency processor and a low-frequency processor that can be set to different drive amounts. Cleaner than a full multiband plugin like Saturn 2, but more flexible than broadband.
The real difference shows on complex bus material. A drum bus through broadband saturation at moderate drive might give the kick body while simultaneously making the overheads harsh. The same bus through Saturn 2 with gentle tape below 150Hz, moderate tube from 150Hz-8kHz, and light tape above 8kHz keeps the overheads clean while the kick gets what it needs.
Know the source. Match the tool to it. Broadband on coherent sources, multiband on complex ones.
Worth Bookmarking
- Sound On Sound, Deep technical articles on tape machine behavior, harmonic distortion measurement, and plugin reviews with actual metered THD data.
- FabFilter Saturn 2 Online Manual, The distortion character descriptions and per-band routing diagrams are the clearest explanation of multiband saturation behavior we've found anywhere.
- Universal Audio Blog, UA's technical breakdowns of the Studer A800 and ATR-102 modeling process explain wow/flutter mechanics better than most academic papers.
Summary
Saturation generates harmonic distortion that thickens tone, controls transients, and glues mixes together. Tube circuits give even-order harmonics (musical, warm). Transistor circuits give odd-order harmonics (gritty, edgy). Tape gives both, plus bandwidth limiting and subtle pitch modulation from wow and flutter. Push individual tracks to 2-8% THD, bus groups to 0.5-2%, and the master bus to under 1%. Use parallel saturation to preserve transient attack while adding harmonic content. Use multiband when the source has frequency ranges that need different treatment. Use broadband when the source is coherent and you want fast, natural results.
Part of our complete Beginner's Guide to Mixing: 7 Steps That Actually Work series.
Frequently Asked Questions
Can saturation replace compression in a mix?
Not entirely, but it replaces compression in specific roles. Saturation controls peak transients through soft-knee limiting and adds harmonic density without the audible pumping of fast attack compression. It doesn't offer the precise threshold and ratio control you need for dynamic range management. Use both: compression for dynamic control, saturation for tonal shaping and glue.
How do I know if I've added too much saturation?
Check your THD meter. Above 5-8% on individual tracks, odd-order harmonics start stacking in the upper midrange and you'll hear harshness around 3kHz-5kHz. A/B the bypass at matched levels. If the saturated version sounds louder but not better when gain-matched, you've pushed past the useful threshold. Back off until the character adds without taking away.
Does saturation work the same in all DAWs?
The plugins behave identically across DAWs. The difference is your signal path before the saturator. A track hitting the plugin at -18dBFS gets very different results than the same track hitting at -6dBFS. Gain stage correctly before the saturator: aim for peaks around -12 to -6dBFS going in so you're working in the plugin's intended operating range, not accidentally clipping it.