
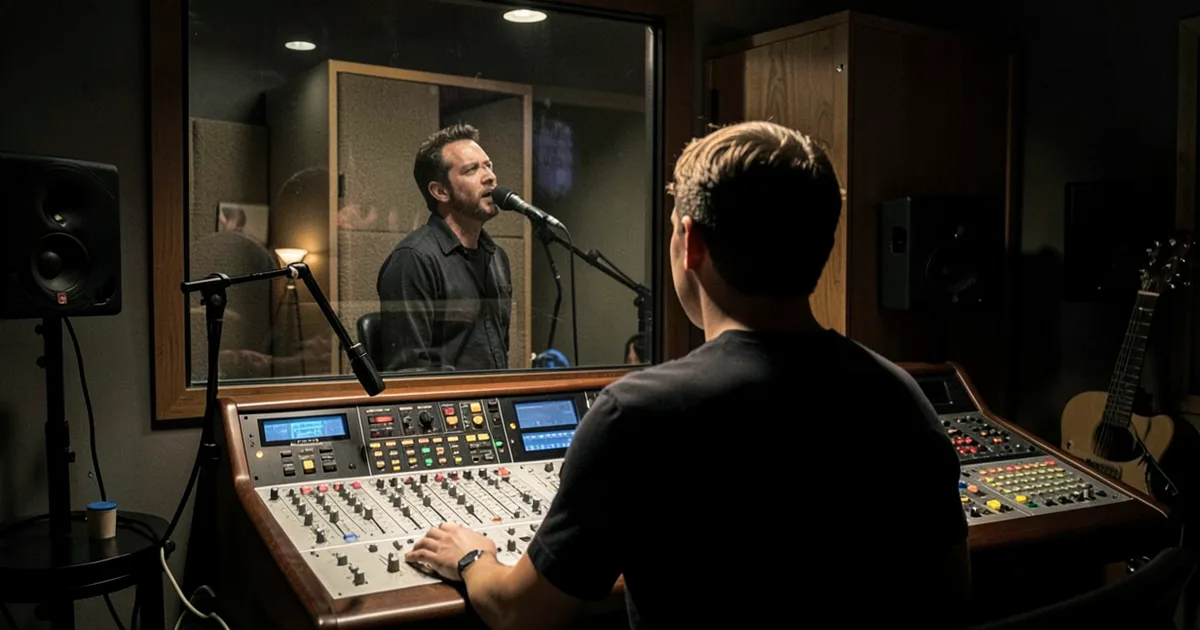
Vocal mixing is the process of shaping a recorded vocal through gain staging, EQ, compression, de-essing, and time-based effects so it sits clearly in a mix at a consistent, professional level. A well-mixed vocal follows this order: clean gain staging first, EQ to shape tone, compression to control dynamics, de-essing to tame sibilance, then reverb and delay to place it in space.
Getting vocals to sit right is the hardest single thing in mixing. Not because the tools are complicated. Because vocals are the thing every listener hears first, judges fastest, and forgives least.
We've mixed vocals in $50,000 studios and $500 home setups. The chain is the same either way. The decisions are the same. What changes is the quality of the raw material and how much cleanup work you're doing before you can even start shaping.
This guide covers every stage of that chain. We'll show you exact settings, real plugin examples, and the decisions that separate a vocal that competes with professional records from one that sounds like a demo forever.
We'll also cover what most guides skip: mixing for different playback systems, handling harmonies, and where AI tools are actually useful versus where they're a crutch.
What Is Gain Staging and Why Does It Come First?
Gain staging means setting the level of your vocal before any processing so your plugins are receiving a healthy, consistent signal. Get this wrong and nothing downstream fixes it.
Target: your raw vocal should hit around -18 dBFS RMS with peaks no louder than -6 dBFS. That gives every plugin in your chain clean headroom to work without pushing into unintended distortion or clipping.
We've seen engineers stack six plugins on a vocal and wonder why it sounds harsh. Then they strip everything back and find the raw clip is hitting -3 dBFS on the loud lines. Everything after that was processing a distorted signal.
Use your DAW's gain utility or a simple trim plugin at the top of the chain. Set it once. Then move on.
What About Noise and Room Issues in Home Studios?
This is the home studio trade-off that guides rarely address directly. If your vocal has audible room reflections, air conditioning noise, or mic noise floor, no amount of EQ creativity saves it.
Fix it at the source first. A reflection filter, a duvet, a wardrobe full of clothes: these aren't glamorous, but they're more valuable than any plugin.
If you're already recorded and stuck with noise, iZotope RX is the most honest solution. The Voice De-noise module can pull 10-15 dB of broadband noise without chewing the consonants if you're careful with the threshold. It's not magic. But it's the best we've found.
How Should You EQ Vocals?
EQ before compression. This is the dominant workflow and it's correct. You're shaping tone before you lock in dynamics. Compressing a boomy vocal just pumps the boom.
The Four EQ Moves That Actually Matter
Cut below 80-100Hz. Male vocal fundamentals sit between 80-180Hz. Female vocals sit between 160-260Hz. Everything below those ranges on a vocal is mic proximity effect, room rumble, and HVAC. A high-pass filter at 80Hz with a slope of 12-18dB/octave removes it cleanly. Don't be afraid to push that filter up to 120Hz on female vocals recorded in untreated rooms.
Tame the body at 200-400Hz. This is where muddiness lives. If the vocal sounds thick or boxed in, try a gentle cut of 2-3 dB around 300-350Hz with a Q of 1.2 to 2.0. Don't carve it out entirely. The body is part of the tone.
Cut harshness at 2-4kHz. Depending on the singer and the mic, this range can become fatiguing fast. A 1-2 dB dip with a Q around 1.4 to 2.0 is often enough to take the edge off without losing presence.
Boost clarity at 5-10kHz. A gentle shelf of +1 to +2 dB starting around 5-6kHz adds air and intelligibility. This is where consonants live. Don't overdo it or the de-esser will fight you all day.
For a reliable transparent EQ with surgical precision, FabFilter Pro-Q 3 is the tool we reach for first. The dynamic EQ mode is useful for surgical cuts that only engage when the problem frequency spikes.
How Do You Compress Vocals Without Killing the Life?
Compression on vocals is about consistency, not squashing. You want the loud lines and the quiet lines to sit at roughly the same level without the processing becoming audible.
Starting Settings That Work
These aren't rules. They're a starting point that won't embarrass you.
- Attack: 3-10ms. Slow enough to let the transient breath attack through, fast enough to catch the swell of the vowel.
- Release: 80-150ms. Long enough that the compressor doesn't chatter between words.
- Ratio: 2:1 to 4:1. Most pop and R&B vocals live at 3:1. Rap vocals sometimes need 4:1 or higher for the delivery style.
- Gain reduction: 2-6 dB on average, with peaks hitting 8-10 dB on the loudest lines.
We ran a pop vocal through the UAD 1176 (all-buttons-in "British mode") at a 4:1 ratio with attack at 7ms and release at 120ms. The gain reduction averaged 4 dB. The result had a satisfying density to it without losing the singer's tone. That's the goal. Density without flatness.
Two-stage compression is worth knowing. A gentle compressor first (2:1, 2-3 dB GR) to even things out, followed by a second compressor for character. The first compressor handles the work. The second compressor colours. It's a workflow Waves vocal plugins like the Renaissance Vox (R-Vox) were built for: hard-limiting the peaks while the first stage handles the body.
What About All-In-One Vocal Plugins?
Neural DSP's Mantra is the most complete all-in-one vocal plugin we've seen. It combines pitch correction, EQ, compression, de-essing, gating, saturation, harmonies, and effects in a single interface designed for speed.
That's brilliant for live performance, streaming, and fast topline sessions. It's frustrating if you want to understand what each stage is doing, because it abstracts the chain. Use it to go fast. Use individual plugins to learn.
How Do You Handle De-essing and Sibilance?
De-essing targets the 5-10kHz range where "s", "sh", and "t" sounds become harsh or distracting. It's a frequency-specific compressor that only grabs when the sibilant hits.
Too little de-essing and the vocal hisses. Too much and you get a lisp. Neither is acceptable.
Starting point: Set your de-esser's frequency detection between 6-8kHz. Set the threshold so it's catching the harshest "s" sounds and nothing else. 3-4 dB of reduction is usually enough.
We had a session with a female vocal recorded on a large-diaphragm condenser. Beautiful tone. Brutal sibilance. We placed a FabFilter Pro-DS after compression, set the detection to wideband mode at 7.2kHz, and watched it catch every "s" at about 4-5 dB of reduction. The vocal went from unlistenable to clean in thirty seconds. That's satisfying in the best way.
For trickier cases, iZotope Neutron's transient shaper can handle particularly plosive-heavy recordings where a traditional de-esser overshoots.
How Do You Use Reverb and Delay on Vocals?
Reverb and delay place the vocal in space. They're the difference between a vocal that sounds like someone singing in a box and one that sounds like it belongs on a record.
Use Sends, Not Inserts
Always run reverb and delay on a send bus, not as inserts directly on the vocal. This lets you control the wet/dry balance independently and use the same reverb space across multiple elements in your mix.
Delay First, Then Reverb
We set delay before reverb in the signal chain. The delay thickens the vocal and fills rhythmic space. The reverb then sits on top of the delay tail, not on the raw dry vocal. This stops the reverb from smearing the initial attack.
Standard setting: a quarter-note delay synced to your BPM with feedback at 15-25% and the high-pass filter on the delay return cutting everything below 200-300Hz. That keeps the low-end clean.
Reverb pre-delay is the most underrated setting in vocal mixing. Set it to 20-40ms and the listener's brain hears the dry vocal first, then the room. It creates depth without burying the vocal. No pre-delay and the reverb smears the attack immediately. Annoying and avoidable.
For genre-specific approaches: EDM and pop vocals often use a short plate reverb (0.8-1.2 seconds) with high pre-delay to keep the vocal present. Soul and R&B sit well in a warm room reverb at 1.5-2.0 seconds. Hip-hop vocals often use very short reverb or none at all, relying on delay and saturation for width instead.
Valhalla DSP Room and Plate are the most used reverbs on professional vocal sessions right now. Valhalla Room at under $60 covers most of what you need.
How Do You Mix Vocals Across Different Playback Systems?
This is the gap nobody talks about. A vocal can sound perfect in your studio and completely wrong in a car, on a phone, or through earbuds.
The fix is a reference mix habit. Before you call a vocal mix done, bounce and listen on at least three systems: your studio monitors, headphones, and a phone speaker. The phone speaker is the most honest judge of whether your vocal is cutting through the mid-range or getting buried.
If the vocal disappears on the phone, you've got a mid-range presence problem. Try a 1-2 dB boost at 2.5-3kHz with a Q of 1.0. That's the frequency range that carries on small speakers.
If the vocal is harsh in headphones but fine on monitors, you've got excessive 3-5kHz energy. Your monitoring environment was masking it. Pull 1-1.5 dB at the harsh frequency and check again.
Sonarworks SoundID Reference handles monitor calibration so you're starting from a flatter reference point. It doesn't solve everything. But it removes the variable of your room lying to you.
How Do You Mix Harmony Vocals Without Them Fighting the Lead?
Harmony vocals need different treatment from the lead. Most guides dump reverb on them and call it a day. That works sometimes. It's not enough.
High-pass harmonies more aggressively than the lead. Cut below 150-200Hz on every harmony part. The lead owns the low-mid body. Harmonies need to sit above it.
Pan harmonies wide. Lead vocal sits center. First harmony at 30-40% left and right. Tighter harmonies at 20%. This separates them spatially without reverb doing all the work.
Use less high-end on harmonies. Roll off above 12kHz with a gentle shelf on each harmony track. The lead should be the brightest vocal in the mix. Harmonies supporting it means they sit slightly back in the brightness spectrum, not just behind in the level.
For complex harmony stacks, iZotope Nectar has a harmony module that generates vocal harmonies in real-time and lets you process the generated voices separately. It's clever for quick sessions, though real harmonies from a singer will always sit more naturally in a mix.
Where Does Pitch Correction Fit In?
Pitch correction goes before EQ and compression in the chain. You shape the corrected pitch, not the raw one.
Antares Auto-Tune Pro is the standard for real-time correction. Set it to a slow retune speed (25-50) for a natural sound. Set it to 0 for the effect. It's two different tools in one plugin depending on the retune value.
For detailed editing, Melodyne is the better choice. It's non-destructive and pitch-by-pitch. We use Auto-Tune for tracking and light correction on multiple takes, Melodyne for surgery on a single vocal line that has one phrase that keeps going sharp.
Worth Bookmarking
- iZotope Learning Hub, free tutorials on every stage of vocal processing
- Sweetwater inSync, practical mixing guides with no marketing filler
- Valhalla DSP Blog, deep writing on reverb and spatial processing
- Waves Artist Insights, real engineers showing real chains
- FabFilter Video Tutorials, the best plugin-specific EQ and compression education available free
- Sound On Sound Techniques, 30+ years of documented professional methodology
- Black Ghost Audio Blog, consistently sharp, genre-aware mixing advice
Summary
Vocal mixing follows a chain: gain stage first, then pitch correction, EQ (cut rumble below 80-100Hz, tame 300Hz, address harshness at 2-4kHz, add air at 5-8kHz), compression (3:1, 3-8ms attack, 100ms release, 3-6 dB GR), de-essing (6-8kHz, 3-4 dB), then send-based delay and reverb. Handle harmonies with more aggressive high-passing and wider panning than the lead. Reference on multiple playback systems before calling it done. The chain isn't complicated. The ear training to know when it's right takes longer.
Part of our complete Beginner's Guide to Mixing: 7 Steps That Actually Work series.
Frequently Asked Questions
Should EQ come before or after compression on vocals?
EQ before compression in most cases. You're defining the tone first, then compressing that defined tone. The exception is if you're using a second compressor for character after EQ, which is a valid two-stage approach. Start with EQ first and only reorder if you have a specific reason.
What's a good starting compression ratio for vocals?
3:1 is the most reliable starting point for pop, R&B, and rock vocals. Hip-hop delivery can need 4:1 or higher due to the dynamic range of the performance style. Set your threshold so you're seeing 3-6 dB of gain reduction on average, with peaks hitting no more than 10 dB of reduction.
How loud should vocals be in a mix?
For most pop and commercial genres, the lead vocal should be the loudest element in the mix. A rough reference: the lead vocal should sit roughly 3-6 dB above the next loudest element (usually a synth pad or a guitar) when measured in RMS. Check your balance on multiple playback systems before trusting your studio monitors alone.
What's the best reverb for vocals?
For most genres, a short plate reverb (0.8-1.5 seconds) with 20-30ms of pre-delay is the most versatile starting point. Valhalla Plate and Plate reverbs are the most used in professional sessions at their price point. The pre-delay setting is more important than the reverb algorithm choice.
How do I stop my vocal sounding muddy?
Apply a high-pass filter at 80-120Hz and a gentle cut of 2-3 dB around 250-350Hz with a Q of 1.2. Muddiness almost always lives in that 200-400Hz range, combined with too much low-end that hasn't been rolled off. Check that your reverb return isn't adding low-mid buildup as well.
Do I need pitch correction on every vocal?
No. But most professional recordings use at least some light correction. A slow retune speed in Auto-Tune or a subtle Melodyne pass catches the notes that are 10-20 cents off without audibly correcting anything. Save the heavy correction for takes where the performance is strong but specific phrases are off. Never correct a performance that needs re-recording.
What's the difference between Auto-Tune and Melodyne?
Auto-Tune works in real-time and is best for live correction, tracking, and the pitch-correction effect. Melodyne works on audio you've already recorded, note by note, and is better for detailed surgery on individual phrases. We use Auto-Tune for speed and tracking, Melodyne when a specific note in an otherwise perfect take needs fixing.
How do you de-ess without creating a lisp?
Set your de-esser's detection frequency carefully. Most sibilance on vocals sits at 6-8kHz. Start with 3-4 dB of reduction and listen specifically to the "s" sounds. If the singer sounds like they're lisping, reduce the amount of gain reduction or raise the threshold. Less is more: catching only the harshest sibilants is better than catching every "s" sound.
Should harmonies be processed the same as the lead vocal?
No. High-pass harmonies more aggressively than the lead, cutting below 150-200Hz. Roll off the top end above 12kHz on harmonies so the lead remains the brightest voice. Pan harmonies wide (30-40% left and right) and keep the level lower than the lead. Less compression on harmonies also helps them feel more natural.
How do I make a home studio vocal sound professional?
Address the room first. A vocal recorded in an untreated room with prominent reflections won't sound professional regardless of processing. A reflection filter, soft furnishings, and a quality large-diaphragm condenser like the Audio-Technica AT2035 or Rode NT1 gives you a signal worth processing. Then follow the EQ, compression, and de-essing chain in this guide. The recording quality ceiling matters more than the plugins.
What is parallel compression and should I use it on vocals?
Parallel compression blends a heavily compressed copy of the vocal with the uncompressed original. The compressed version adds density and sustain. The dry version keeps the transient attack intact. It's useful when you need a vocal to feel both controlled and alive. Set the compressed parallel channel 6-8 dB below the dry signal and blend up until you hear the density increase without the attack softening.
How do I check my vocal mix translates to different speakers?
Bounce a reference mix and play it on at least three systems: studio monitors, consumer earbuds or headphones, and a phone speaker. If the vocal disappears on phone speakers, you need more presence at 2.5-3kHz. If it sounds harsh on headphones but fine on monitors, cut 1-2 dB somewhere between 3-5kHz. The phone speaker test is the fastest way to catch mid-range problems your studio monitors are hiding.