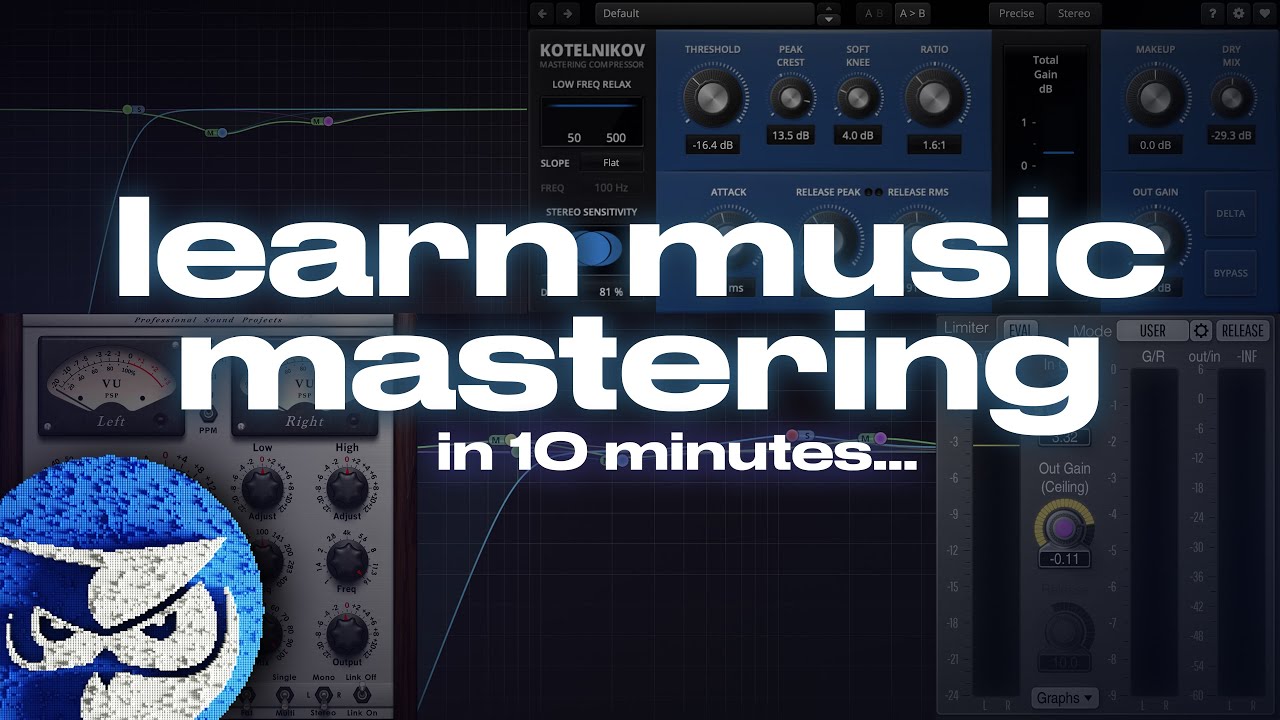
Mastering is the final stage of audio production where you optimize a stereo mix for loudness, tonal balance, and playback consistency across all listening systems. A solid mastering chain uses EQ, compression, saturation, and a limiter to achieve a competitive level, typically targeting -14 LUFS for streaming or -9 to -7 LUFS for commercial releases, while preserving the dynamics that make your track breathe.
Mastering is where good mixes become finished records. It's also where most self-producing artists lose the plot by chasing loudness instead of clarity, trusting their tired ears instead of reference tracks, and skipping the technical prep that makes every stage easier.
We've sat through enough "why does my master sound crushed?" conversations to write this guide from scratch. It covers the full picture: mix prep, signal chain, loudness standards, reference methodology, mono compatibility, album sequencing, metadata, and where AI mastering actually helps versus where it quietly makes decisions you didn't ask it to make.
Whether you're mastering yourself ITB or preparing a file for a professional engineer, this is the process that works.
What Does Mastering Actually Do to Your Mix?
Mastering does three things: it optimizes tonal balance, controls dynamic range, and sets the output level for distribution. That's it. Everything else is a consequence of those three things done well or badly.
The frustrating reality is that mastering can't fix a bad mix. It can hide problems temporarily, but a frequency conflict between the kick and bass that wasn't solved in the mix will still be there after limiting. It'll just be louder now.
What mastering can do brilliantly: tighten low-end coherence across playback systems, add harmonic glue through saturation, catch inter-sample peaks before they distort on streaming platforms, and give an album of tracks a consistent sonic identity from first song to last.
The Signal Chain Order That Makes Sense
A clean mastering chain runs roughly in this order: corrective EQ, compression or multiband compression, saturation or stereo enhancement, additive EQ, and finally a limiter. This isn't dogma. It's logic.
You fix problems before you shape. You shape before you limit. Limiting last means you're not squashing the tonal work you just did with those first four tools.
How Do You Prepare Your Mix for Mastering?
This is the step most guides gloss over. It's also the step that determines how much room your mastering engineer, or your own mastering session, has to work with.
Export your mix with 3dB to 6dB of headroom. Your loudest peak should sit between -3dBFS and -6dBFS. If your mix is peaking at -0.1dBFS because you've been gain-staging up to the limit of your DAW meter, you've already lost. The limiter in your mastering chain has nothing to work with, and any saturation you add will clip.
Turn off any master bus processing before you export. That includes the limiter you threw on to make it loud while mixing. Remove it. Export clean.
File Format: What to Send and Why
Export at 32-bit floating point, 96 kHz. Yes, even if your session was recorded at 44.1 kHz / 24-bit. The 32-bit float format preserves mathematical precision through every processing step. You won't hear the difference between 96 kHz and 44.1 kHz on playback, but you will avoid the dithering artifacts that sneak in when you convert bit depth mid-chain.
If you're sending files to a professional engineer, include the wet mix and a dry reference. Some engineers want a low-cut version without any master bus EQ. Ask before you send.
Keep your original session files and your pre-master bounce archived. Forever. Not on one drive. On two.
What Loudness Levels Should You Actually Be Targeting?
Commercial music released on streaming platforms in 2024 averaged -8.3 LUFS, with successful releases spanning -11.1 LUFS to -6 LUFS depending on genre. Billboard Hot 100 masters cluster between -9 LUFS and -7 LUFS. Spotify, Apple Music, and Tidal all normalize playback to around -14 LUFS integrated.
Here's what that means practically: if your master hits -8 LUFS, streaming platforms will turn it down by about 6 LU on playback. Your listener hears it at -14 LUFS anyway. You did all that limiting for nothing except dynamic squash.
We'd target -14 LUFS for streaming-first releases. For club or DJ formats where loudness is a competitive factor at the source, aim for -9 to -7 LUFS and accept the trade-off in dynamic range. Know which one you're making and make it deliberately.
True Peak vs. Integrated LUFS: Know the Difference
LUFS measures loudness over time. True peak measures the highest instantaneous level, including inter-sample peaks that a standard sample-based peak meter misses.
Set your true peak ceiling at -1 dBTP before uploading to streaming platforms. Spotify's own documentation specifies this. Miss it and you'll get inter-sample clipping artifacts on playback that no metering plugin warned you about during the session.
Tools like iZotope Ozone's Limiter module and FabFilter Pro-L 2 both show true peak in real time. Use them.
Worth Bookmarking
- iZotope Mastering Learning Center, free guides tied to real tools
- Sound On Sound Techniques, deep-dive mastering articles, no paywall on most
- Youlean Loudness Meter 2, free LUFS metering plugin, accurate and lightweight
- LANDR, AI mastering at $10/track; useful for a fast reference, not a final master
- Master Channel AI, solid AI option with more genre awareness than most
- SoundGym, ear training platform that will improve your mastering decisions faster than any plugin
- Reference Audio Analyzer, upload your master and get technical readouts for free
- Loudness Penalty Analyzer by Loudness Penalty, checks how much each platform will turn your master down
How Do You Use Reference Tracks Without Copying Someone Else's Mix?
A reference track is not a target to copy. It's a diagnostic tool. You're using it to calibrate your ears against a professional master in your genre, played back on the same system, at the same level.
We ran a mastering session on a dense electronic track and couldn't hear why the low-mids felt congested. Pulled in a reference from a similar release, gain-matched it to our pre-master, and A/B'd them instantly. The reference had a clean 180Hz to 350Hz region with a gentle shelf cut starting at 400Hz. Ours was 4dB hotter across that whole band. One notch at 280Hz with a Q of 1.2, pulling down 2.8dB, and the mix opened up. The reference told us what the problem was in five seconds. Our tired ears hadn't caught it in forty minutes.
Use at least three reference tracks. One should be a recent release in your exact genre. One should be a record you love sonically but wouldn't compare your genre to directly. The third should be something that overachieved on streaming, not just on vinyl or CD.
Gain Matching Is Non-Negotiable
Louder always sounds better to the human ear. If your reference is 2 LUFS hotter than your pre-master, you will always think the reference sounds better. This tells you nothing useful.
Match levels before you compare. Most reference plugins like Sonarworks SoundID Reference and Metric AB handle this automatically. If you're doing it manually, match integrated loudness to within 0.5 LU.
Why Does Mono Compatibility Still Matter in 2025?
Mono compatibility matters because phone speakers, Bluetooth speakers, and a massive percentage of club PA systems sum to mono at some point in the signal chain. If your master has phase cancellation in the low end, your kick and bass vanish on those systems.
This is underrated. Most mastering guides mention it once and move on. We've had clients come back confused about why their track sounded full on headphones but thin in the club. Phase cancellation below 200Hz every time.
Test in mono before you limit. Flip your master to mono in your DAW. If the low end collapses, you have a phase problem in the mix that no mastering tool will fix. Go back to the mix and check your bass layer for phase-inverted samples or heavy stereo widening below 100Hz.
Tools like iZotope Ozone's Imager and the free SPAN by Voxengo both show stereo correlation. A correlation meter reading below +0.5 consistently in the low band means your master will lose energy in mono.
Where Does AI Mastering Help, and Where Does It Fail You?
AI mastering is genuinely useful for two things: getting a fast loudness reference and processing high volumes of content where "good enough" is acceptable. LANDR at $10/track and MajorDecibel's unlimited plan at $45/year make sense for demos, content music, or tracks you need turned around in an hour.
We ran the same mix through LANDR, Ozone's AI-assisted master assistant, and a manual chain. LANDR hit the loudness target cleanly. Ozone's assistant made smarter tonal decisions, pulling a shelf cut we would have made ourselves. The manual chain caught something both AI tools missed: a 6.3kHz resonance from an unprocessed room recording that only showed up at high playback levels. Neither algorithm flagged it.
That's the real limitation. AI mastering pattern-matches against training data. It doesn't know what your kick drum is supposed to feel like in the context of your arrangement, or that the harsh transient on the snare hit at 2:14 is intentional. It processes. It doesn't listen.
For a debut single going to Spotify, AI mastering is fine. For a debut album, or anything going to vinyl or sync licensing, pay for a human engineer. The $75 to $100/track mid-tier rate is real money and worth it.
What Happens After Mastering? Sequencing, Metadata, and Archival
Most guides stop at the limiter. That's a mistake. The post-mastering workflow is where professional releases separate from bedroom projects.
Album sequencing means deciding the order, the gaps between tracks, and the relative levels between songs. A 1dB level difference between tracks two and three will feel jarring to a listener. So will a 0.0-second gap where you meant to have a breath of silence. Work in a DDP editor or a full mastering DAW. Sequoia at $2,975 is the professional standard. HOFA DDP Player & Maker is $169 and handles the essentials.
Metadata embedding means writing the ISRC codes, ISWC, artist name, album title, and track names into the audio file itself. Not just into your distributor's upload form. Into the file. Streaming platforms strip outer metadata regularly. Files with embedded metadata survive that process.
Archival means keeping your pre-master bounce, your DDP image, and your project session on at least two physical drives in two locations. One flood, one drive failure, one ransomware hit, and your catalogue is gone if you're on a single drive. We've seen it happen. It's ugly.
Summary
Mastering is a technical craft with clear principles. Export your mix at 32-bit float, 96 kHz with 3 to 6dB of headroom. Run EQ and compression before your limiter. Target -14 LUFS for streaming or -9 to -7 LUFS for commercial club releases, and set your true peak ceiling at -1 dBTP. Use gain-matched reference tracks. Test mono compatibility before you limit. Embed your metadata and archive your files properly. AI mastering works for demos and fast turnarounds. For anything that matters, a human engineer hears what the algorithm doesn't.
Explore the complete Mastering series: Album Mastering Guide: 7 Steps to a Cohesive Record · DIY Mastering Guide: 7 Steps to a Release-Ready Mix · Loudness and Limiting Mastering: 5 Proven Essentials · Mastering Chain Signal Flow: 5 Steps Explained · Mastering Compression Guide: 5 Proven Rules for Cohesion · What Is Mastering Eq Guide? · Mastering for Streaming Platforms: 5 Proven Rules · Mastering Techniques Guide: 7 Steps to a Polished Mix · Mid Side Mastering Guide: 7 Proven Techniques That Work · Stem Mastering Explained: A Complete Beginner's Guide
Frequently Asked Questions
What's the difference between mixing and mastering?
Mixing balances individual tracks within a session: levels, panning, EQ, effects, and arrangement. Mastering processes the finished stereo mix as a single file, optimizing it for tonal balance, loudness, and playback consistency across systems. You can't master your way out of a bad mix, and heavy-handed mastering will undo a great one.
How loud should my master be for Spotify?
Spotify normalizes playback to -14 LUFS integrated, so masters louder than that get turned down on playback. We'd target -14 LUFS for streaming-first releases and set your true peak ceiling at -1 dBTP. Going louder than -9 LUFS costs dynamic range without any volume benefit to the listener.
Can I master my own music at home?
Yes, with caveats. You need a treated room or reliable headphones, accurate metering, reference tracks, and genuinely fresh ears. The hardest part isn't the tools or the technique: it's the psychological distance from music you made. Take at least 24 hours away from the mix before you master it.
What plugins do I actually need to master a track?
At minimum: a linear phase EQ (FabFilter Pro-Q 3 or iZotope Ozone's EQ), a mastering compressor or multiband compressor, a metering plugin showing LUFS and true peak (Youlean Loudness Meter 2 is free), and a transparent limiter (FabFilter Pro-L 2 or Ozone Maximizer). iZotope Ozone Standard at $249 bundles most of this into one plugin.
What's the best LUFS target for club music and EDM?
Club and EDM tracks typically land between -7 LUFS and -9 LUFS. The loudness is a feature in those contexts because DJs are playing from files, not streaming platforms. Accept the reduced dynamic range as a deliberate trade-off and make sure your true peak ceiling still sits at -1 dBTP to avoid inter-sample distortion on playback systems.
Should I use AI mastering or hire an engineer?
AI mastering works well for demos, high-volume content music, and tracks where speed matters more than nuance. For singles you're promoting, debut albums, vinyl masters, and sync licensing submissions, pay for a human engineer. The $75 to $100/track mid-tier range gets you someone who listens to the context, not just the waveform.
How do I check if my master is mono compatible?
Sum your master to mono in your DAW and compare it to the stereo version at the same level. If the low end collapses or the overall level drops more than 2 to 3dB, you have phase cancellation issues in the source mix. A stereo correlation meter showing values below +0.5 in the low band is a reliable warning sign before you even hit mono.
What sample rate and bit depth should I export my mix at before mastering?
Export at 32-bit floating point, 96 kHz. The 32-bit float format preserves processing precision through every mastering step without cumulative rounding errors. Deliver your final master at 16-bit, 44.1 kHz for streaming and CD, but keep the 32-bit float pre-master archived permanently.
What is an ISRC code and do I need one?
An ISRC (International Standard Recording Code) is a unique identifier for each recording, used by streaming platforms, PROs, and licensing systems to track plays and royalties. You need one per track, and it should be embedded in the audio file metadata before distribution. Most distributors assign ISRCs automatically, but embedding them in the master file yourself means they survive platform metadata scrubbing.
How much headroom should I leave in my mix before mastering?
Your loudest peak should hit between -3dBFS and -6dBFS on a standard peak meter. Remove any limiter or clipper you used on the master bus during mixing before you export. A mix that's already peaking at -0.1dBFS leaves no room for the mastering chain's EQ, compression, or saturation to operate cleanly, and you'll clip before you limit.