DIY mastering means preparing your finished mix for distribution by applying EQ, compression, limiting, and loudness control yourself, without hiring a professional engineer. Done right, it gets your music onto streaming platforms at competitive loudness levels with a clean, cohesive sound. Done wrong, it bricks your mix and undoes six hours of careful arrangement work.
You can master your own music. We're not going to pretend otherwise. What we will tell you is that it's harder than the YouTube tutorials make it look, it requires honest ears and a treated room, and the biggest mistake most producers make isn't choosing the wrong limiter. It's trying to master a mix that wasn't ready.
This guide covers every stage of the process: what your mix needs to look like before you touch it, how to set up your monitoring environment, the processing chain and the order it goes in, loudness targets for every major platform, and the tools worth using. We've tested the plugins, run the A/B comparisons, and we'll tell you what actually matters versus what looks impressive in a screenshot.
If you're starting from scratch, start here. Every review and walkthrough in this subcategory links back to this page because this is where the foundation lives.
Is Your Mix Actually Ready to Master?
This is the question most DIY mastering guides skip. They go straight to plugin chains. We won't do that to you.
Mastering's job is to present a finished mix as a product. It is not a repair shop. A mastering engineer cannot fix a bass that's fighting the kick, a vocal that's buried under reverb, or a mix that was bounced at -1 dBFS with no headroom to work with.
Here's what your mix needs before mastering begins.
Headroom
Your mix peaks should not exceed -3 dBFS. We'd push that further and say -6 dBFS is the more comfortable target. That 3-6 dB of headroom gives the mastering chain room to breathe, especially the limiter, which will add perceived loudness without distorting if it has space to work in.
If your mix is hitting -0.1 dBFS before mastering, you've already limited your options. Pull your mix bus fader down before you bounce.
The Mix Bus Question
Some engineers master with a light mix bus compressor already printed. Some prefer a completely dry mix bounce. We'd recommend the dry route for DIY mastering because it gives you maximum control at the mastering stage. If you've already got 4 dB of glue compression baked in and you want more, you're stacking processing that can quickly sound ugly.
One more thing. Export at 32-bit float if your DAW supports it. You will not regret the extra file size.
What Does Your Monitoring Setup Actually Tell You?
Mastering in a bad room is like editing photos on a screen with broken colour calibration. You'll make decisions based on information that isn't real.
We've heard mixes mastered on laptop speakers that somehow sounded fine on reference monitors. We've also heard mixes mastered on £2,000 speakers that fell apart on earbuds. The room is the variable.
Acoustic Treatment First
You don't need a perfect studio. You need a room that doesn't lie to you about bass frequencies. Budget acoustic treatment starts at around £50 for absorption panels and corner bass traps. That's not a lot of money for the accuracy it buys you.
Place absorption at the first reflection points on the side walls and at least one bass trap in each rear corner. Then calibrate your monitors at around 85 dB SPL for mastering work and set them at a consistent listening level every session.
Reference Tracks Are Non-Negotiable
This is where a tool like earns its place. Ozone 11's Master Assistant analyses a reference track you provide, then sets suggested starting points for your EQ and dynamics. It's not doing your job for you. It's giving you a calibrated starting point so you're working towards something real, not guessing.
We tested this on a drum-heavy electronic track. We fed Ozone a commercial reference at -8 LUFS, and the Master Assistant's suggestions were close enough that we only needed minor adjustments. The frustrating part? The low end was slightly over-compensated. We still had to make the call with our ears. That's always going to be true.
Even without plugins, you should be checking your masters against 3-4 commercial references in the same genre. Import them into your DAW, match their loudness using a meter, and compare honestly.
Worth Bookmarking
- Loudness Penalty, upload your master and see exactly how Spotify, Apple Music, YouTube, and others will treat it. Free and brutally accurate.
- Mastering the Mix Blog, genuinely useful technical guides on metering, loudness, and mix prep. No fluff.
- iZotope Mastering Learn Hub, free tutorials covering everything from gain staging to stereo width. Worth working through before touching a limiter.
What's the Right Processing Chain for DIY Mastering?
Order matters. This is the chain we use and the one most professional mastering engineers would recognise.
1. Linear Phase EQ
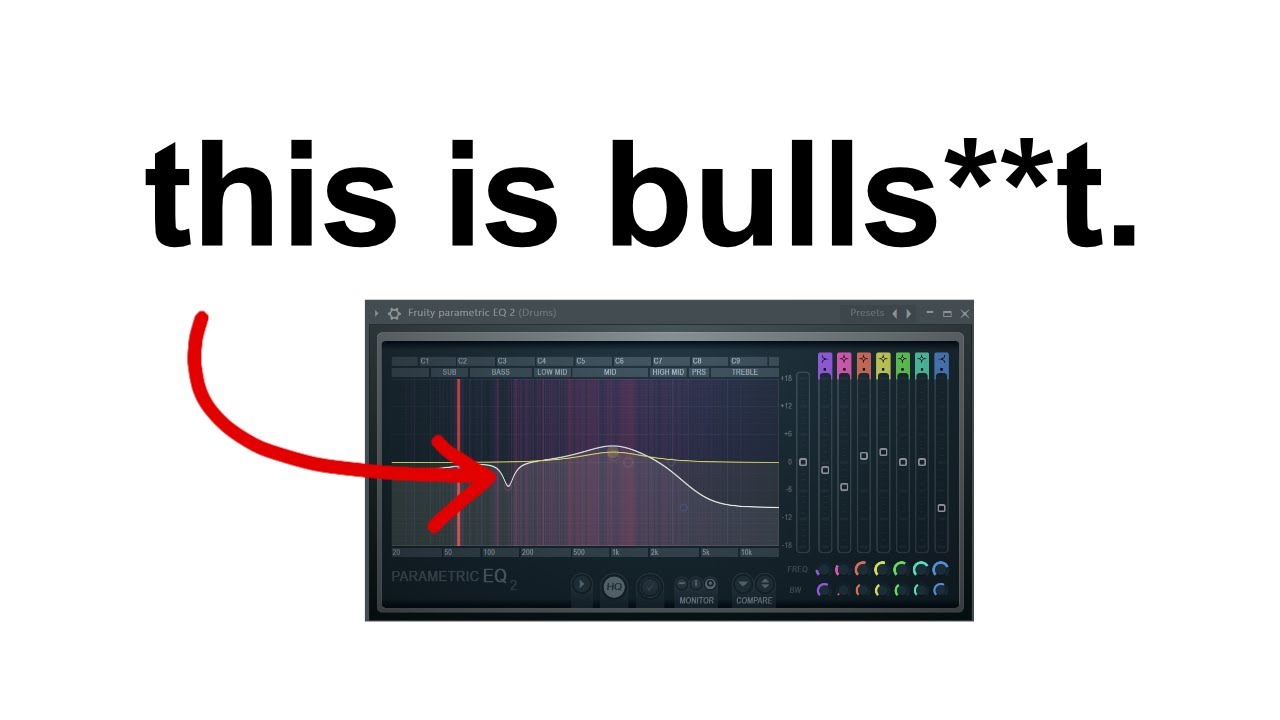
First in the chain. Use it to correct tonal imbalances, not to add character. Cuts are almost always more useful than boosts at this stage. If your mix has a buildup at 200-300 Hz making it sound congested, a gentle cut of 1-2 dB with a wide Q (around 0.7-1.0) is usually enough. You're polishing, not reshaping.
Use a linear phase EQ here rather than a minimum phase one to avoid adding phase smear across the stereo image. FabFilter Pro-Q 3 in linear phase mode is what we reach for. Ozone's mastering EQ is also excellent.
2. Mid-Side Processing
Optional, but powerful. If your sides feel thin or your centre is too dense, M/S EQ lets you address them separately. A subtle high-frequency boost on the sides (1-2 dB above 8 kHz) adds air and width without touching the mono centre. Don't overdo this. It's one of the easiest ways to produce a master that falls apart on mono systems.
3. Multiband or Wideband Compression
A little is genuinely more than enough here. We're talking 1-3 dB of gain reduction on a well-set wideband compressor with a ratio between 1.5:1 and 2:1, slow attack, medium release. You're adding glue and controlling dynamic range, not pumping.
Multiband compression lets you control specific frequency ranges independently, which is useful if your low end is dynamically inconsistent. But multiband mastering compression done poorly produces a lifeless, over-controlled sound that strips the energy out of a track. If you're learning, start with a single wideband compressor and get comfortable with that before adding bands.
4. Saturation or Harmonic Excitation
This is where you add warmth, which means harmonic distortion at controlled levels. Even 0.1-0.3% second-harmonic distortion from a tape emulation adds presence and weight that translates on smaller speakers. T-RackS from IK Multimedia includes several excellent tape and tube saturation modules. Their "Master Match" feature also lets you analyse a commercial reference and match your master's spectral and dynamic characteristics to it, which we've found genuinely useful for quick genre-matching on tight deadlines.
5. Stereo Imaging
Check your stereo image at this stage. The Goniometer (phase correlation meter) in most mastering suites should show a wide, positive correlation. Anything approaching -1 means your mix has phase cancellation issues that mono playback will expose. Correct the source, don't try to fix it with a stereo widener at this stage.
6. Limiting
Last in the chain. This is where your loudness target gets set. Set your ceiling at -1 dBTP (true peak) for streaming, not -0 dBFS. The difference matters because lossy encoding can push inter-sample peaks above 0 dBFS even when your digital peak looks safe.
FabFilter Pro-L 2 and iZotope Ozone's Maximizer are both excellent. The key setting is attack. Too fast and you kill transients. Too slow and you get distortion on dense material. Start at 1.5ms and adjust by ear.
What Loudness Target Should You Aim For?
This is where producers get confused and sometimes angry. There's a gap between what streaming platforms recommend and what commercial releases actually deliver.
Spotify and Apple Music normalise streams to around -14 LUFS integrated. If your master is louder than that, they'll turn it down. If it's quieter, they'll turn it up. So the argument for mastering quietly and letting the platform handle it is real.
Here's the part most guides leave out. Analysis of Billboard Hot 100 releases shows the majority of commercial masters fall in the -9 to -7 LUFS integrated range. That's significantly louder than -14. Why? Because those masters are also played on radio, in clubs, in sync placements, and on platforms that don't normalise. They're not built only for streaming.
Our position: if you're releasing purely to streaming, -14 LUFS is a clean, safe target that preserves dynamics and sounds great after normalisation. If you're making hip-hop, pop, or EDM where loudness is part of the aesthetic and you're distributing across multiple contexts, -10 to -8 LUFS is realistic. Jazz, folk, and classical recordings benefit from the dynamic range you keep by targeting -16 to -14 LUFS.
Run every master through Loudness Penalty before distribution. It shows you exactly how each platform will treat your master. No guessing.
Should You Use AI Mastering Tools?
AI mastering services like LANDR and eMastered have been around long enough that we can give you an honest answer instead of a speculative one.
They're good for demos, quick reference checks, and situations where time is the constraint. They're not good enough for final release masters on music where artistic nuance is the point.
The Benn Jordan 2024 blind listening test ran a single track called "Starlight" through multiple AI mastering services and a human engineer, then presented the results to 472 listeners without identifying which was which. The human master won on perceived quality and emotional impact. The AI versions scored comparably on technical compliance but lower on "feels right for the song."
That result makes sense. AI mastering excels at pattern matching. It's satisfying to watch it read a reference and produce a technically correct result in 30 seconds. But it struggles with decisions that require understanding what a song is trying to do emotionally. Those decisions are still ours to make.
iZotope Ozone 11's Master Assistant is the best hybrid approach we've tested. It uses AI to set starting points and then hands control back to you. Professional engineers still spend 30-40 minutes per track dialling in the details. The AI removes maybe 10 minutes of that. Use it as an assistant, not a replacement.
How Much Should DIY Mastering Cost You?
The honest answer: anywhere from £0 to £600 depending on the tools you choose.
If you already own a capable DAW, you have enough to master. Stock limiters and EQs in Logic Pro, Ableton, and FL Studio are serviceable. Not ideal, but functional.
A proper DIY mastering setup adds a dedicated limiter like FabFilter Pro-L 2, a linear phase EQ like Pro-Q 3, and a metering suite. That's roughly £500-£600 all in, but many of those plugins serve your mixing workflow too, so the cost is shared.
iZotope Ozone 11 Advanced (check the manufacturer's site for current pricing) bundles most of what you need in one package and includes Master Assistant. It's the most efficient entry point for producers who want a dedicated mastering suite without building it from individual plugins.
Compare that to hiring a professional. Rates vary wildly, from £50 per track at the budget end to £300 or more per track from established engineers. If you're releasing music regularly, DIY mastering pays for itself quickly. If you're releasing a debut album that represents 18 months of work, the case for hiring a professional gets stronger.
Summary
DIY mastering works when your mix is prepared correctly, your room gives you honest information, and your processing is restrained. Get 3-6 dB of headroom before you start. Run the chain in order: EQ, compression, saturation, stereo imaging, limiting. Set your true peak ceiling at -1 dBTP. Target -14 LUFS for streaming-first releases, -10 to -8 LUFS for commercial contexts. Use AI tools as a starting point, not a finish line. And if the mix isn't ready, go back and fix the mix. No limiter saves a bad arrangement.
Part of our complete Music Mastering Guide: Complete Beginner's Breakdown series.
Frequently Asked Questions
What's the biggest mistake producers make when mastering their own music?
Trying to master a mix that wasn't ready. Mastering adds polish and loudness; it doesn't fix frequency clashes, a buried vocal, or a mix that was bounced with no headroom. If your master sounds bad, the problem is almost always in the mix. Go back, pull the mix bus fader down to give yourself -6 dBFS of headroom, fix the tonal issues, and then return to the mastering chain.
Do I need a treated room to master my own music?
You need a room that doesn't actively lie to you about low frequencies. A completely untreated room with strong bass buildup in the corners will cause you to cut low end that doesn't need cutting, and your masters will sound thin everywhere else. Budget acoustic treatment starts at around £50 for basic panels and bass traps. Combine that with regular reference track comparisons and the Loudness Penalty tool for platform checking, and you can work with a modest space.
Is -14 LUFS the right loudness target for all genres?
No, and treating it as a universal rule will cost you on certain genres. Streaming platforms normalise to approximately -14 LUFS, which makes it a safe and dynamic-preserving choice for acoustic, jazz, folk, and classical music. For hip-hop, pop, and EDM, commercial releases consistently land in the -9 to -7 LUFS range because they're also designed for radio, sync, and club playback where normalisation doesn't apply. Match your target to your distribution context, not just one platform's recommendation.