
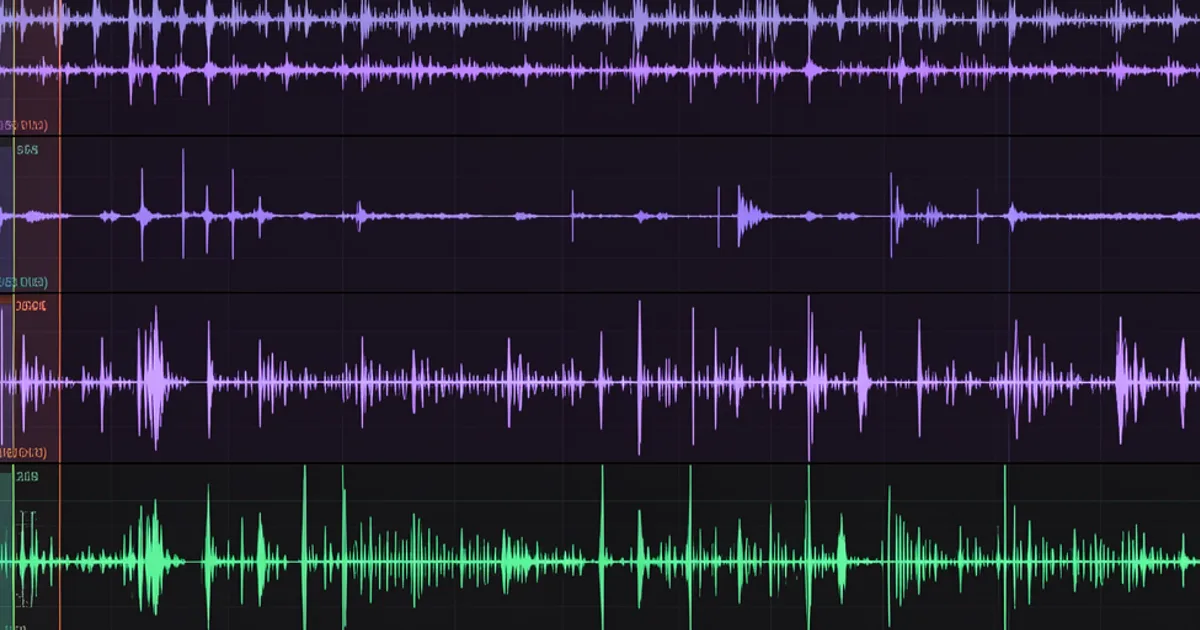
Album mastering is the final stage of music production where you adjust loudness, tonal balance, dynamics, and spacing across every track to make them sound cohesive as a complete listening experience. It's not just louder mixes: it's the difference between a playlist and a record.
You've mixed every song. You've obsessed over the kick on track three and the vocal on track seven. Now you need to make all ten of them feel like they belong together. That's album mastering, and it's a different job than mastering a single.
Single mastering is precision work: one song, one reference, one target. Album mastering is perspective. You're making editorial decisions about loudness relationships between songs, tonal consistency across different recording sessions, and the physical experience of silence between tracks.
We've been through this process enough times to know where producers get it wrong. This guide covers everything: mix prep, tools, loudness targets by platform, pricing across professional services, metadata, and where AI mastering fits into an album workflow. Start here. Everything in our mastering subcategory links back to this page.
What Should Your Mixes Look Like Before Mastering Starts?
Headroom is the first thing we check. Your mix should peak no higher than -3dBFS, and we'd push for -6dBFS if you're leaving the work to a human engineer. That gives the mastering chain room to work without clipping the input stage.
Remove all mastering-style processing from your mix bus before export. That means no limiter on the master fader, no mix bus compressor you've pushed hard, and no saturation you've baked in to compensate for low levels. The mastering engineer's job is to make those decisions. If you've already made them, you've tied their hands.
Export at the sample rate you recorded in, and always export at 32-bit floating point. The extra bit depth preserves the headroom information below 0dBFS, which is where your transients live after you've given yourself proper room.
Silence and Track Markers
Every song needs at least 200ms of silence before the first transient and at least 100ms after the last decay. Get this wrong and your streaming distributor will clip the start of a song or cut a reverb tail mid-decay.
On vinyl, each side is physically limited to 22 to 24 minutes of audio. More than that and you're fighting against playback volume and frequency response. That's a creative constraint, not a guideline you can ignore by paying more.
For DDP or physical CD masters, mark your track start points 2 to 4 seconds before the first audible audio, not at the zero crossing of the waveform. That gap is where the CD player buffers before it starts reading.
What's the Anchor Track Method and Why Does It Work?
Pick one song from your album that best represents the overall sonic character you're aiming for. That's your anchor track. Master it first, get it sounding exactly right, then use it as the reference point for every other song in the sequence.
We tried this on a ten-song project that had been recorded across three different studios over 18 months. The tonal inconsistency between sessions was frustrating. When we anchored to track four (the densest, most representative mix) and calibrated everything else to match its low-mid weight and perceived loudness, the album suddenly had a spine.
The anchor track doesn't have to be the first song. It should be the most "complete" song: the one that best captures the band's sound at their best. Every EQ decision you make on other tracks should ask "does this bring it closer to or further from the anchor?"
Managing Loudness Relationships Between Songs
Not every song should hit the same peak level. A quiet acoustic ballad sitting after a dense rock track needs to be louder in perceived terms, not quieter, or listeners will reach for the volume knob. That's an embarrassing moment on any record.
Measure your tracks in LUFS-I (integrated loudness), not peak. LUFS-I tells you how loud the song actually sounds across its full duration. Aim for no more than 2 to 3 LU of difference between consecutive tracks in a sequence. More than that and the transition feels broken.
What Are the Streaming Loudness Targets You Actually Need to Hit?
This is the gap most album mastering guides leave open. Here are the numbers:
Spotify normalises playback to -14 LUFS-I. Apple Music targets -16 LUFS-I. YouTube normalises to -14 LUFS-I. Tidal's target is -14 LUFS-I. Amazon Music uses -14 LUFS-I as well. If your master is louder than any of these targets, the platform turns it down. If it's quieter, some platforms turn it up.
The implication: mastering to -14 LUFS-I means your track plays back at its native level on Spotify and doesn't get attenuated on Apple Music. That's our target for most album work unless the genre demands otherwise. Heavily compressed EDM and hip-hop often master at -9 to -11 LUFS-I, accepting the platform attenuation in exchange for impact when played loudly outside of streaming contexts.
Use Youlean Loudness Meter 2 (free) to measure your masters before delivery. It shows LUFS-I, short-term LUFS, and true peak in one window. We run it on every bounce.
True Peak Limits
Set your limiter's true peak ceiling to -1.0dBTP for streaming delivery. Not -0.1dBTP. Lossy encoding (AAC, MP3, OGG Vorbis) can push intersample peaks above 0dBFS during conversion. A -1.0dBTP ceiling gives that process room and keeps your file clean on every platform.
Should You Hire a Professional, Use AI Mastering, or Go ITB Yourself?
This is the real question. Here's our honest position.
Hire a professional if the record matters and you have the budget. Abbey Road's mastering suite costs £90 plus VAT per track. A ten-song album is roughly £900 before any revisions. A skilled independent engineer at a reputable studio typically runs $75 to $150 per track, so $750 to $1,500 for an album. That sounds like a lot. It's not, relative to everything else you've spent making the record.
Professional engineers spend 30 to 40 minutes on a single track. They're not rushing. They're listening on speakers that cost more than your car, in a room that's been measured and treated to sub-1dB flatness across 20Hz to 20kHz. You're not replicating that at home. That's not gatekeeping, it's just physics.
Where AI Mastering Actually Fits
We're not dismissing AI mastering. We're being specific about what it's good at.
LANDR, eMastered, and CloudBounce all use machine learning to analyse your mix and apply processing that targets streaming compliance. For a budget album, a demo, or a release on a tight deadline, they're genuinely useful. LANDR's subscription starts at around $8/month for unlimited masters. eMastered charges around $9.99 per track or $99/year. CloudBounce works on a credit system.
The honest limitation: AI mastering has no concept of album sequence. It processes each track independently. You'll get streaming-compliant files, but you won't get the editorial perspective of someone listening to the record as a whole and adjusting the spacing, the loudness curve, and the tonal arc across all ten songs. That's the work AI can't do yet.
For an album that you want to feel like a record, AI mastering is a starting point at best. Use it for singles. Use a human for albums.
ITB Mastering for Albums
If you're doing it yourself, the workflow matters as much as the tools. We'd use iZotope Ozone 11 as the primary mastering suite. Its Master Assistant gives you a loudness-compliant starting point in under a minute, and the Tonal Balance Control lets you compare your master's spectral balance against a reference in real time.
We ran a folk album through Ozone 11's dynamic EQ and vintage tape modules last year. The low end on track two was 4dB heavier than every other song in the sequence because the session had been cut in a different room. We matched it to the anchor track by pulling 3.5dB at 160Hz with a Q of 1.8. Played in sequence, you'd never know the sessions were different. That fix took 90 seconds with a spectrum analyser and a reference.
For EQ across the mix bus, FabFilter Pro-Q 4 is our go-to. Its spectrum analyser runs at up to 4096 point resolution and the mid-side mode is accurate without adding phase smear on the sides. For limiting, we use Fabfilter Pro-L 2 with True Peak enabled, ceiling set at -1.0dBTP.
What Metadata Do You Need Before You Deliver?
This section is undercooked in most mastering guides. Metadata is not optional. Missing it costs you royalties.
Every track on a commercial release needs an ISRC code (International Standard Recording Code). This is a 12-character alphanumeric identifier that tracks your song across every platform and reporting system. In the US, you register through the RIAA's ISRC portal. In the UK, through PPL. Your distributor may assign these for you, but confirm it before you deliver masters.
Your album itself needs a UPC/EAN barcode. Distributors like DistroKid, TuneCore, and CD Baby assign these automatically. Keep a record of them.
Embed the following into your final WAV masters before delivery: track title, artist name, album name, ISRC, year, and genre. Most DAWs write this to the file on export. BWF MetaEdit (free, from the Library of Congress) lets you verify and edit embedded metadata in WAV files directly.
For streaming, your distributor handles the delivery-side metadata. But that metadata has to match what's embedded in the files or you risk rejected uploads and delayed releases. Get it right once. Don't chase it later.
Stem Mastering: Worth It or Not?
Stem mastering sits between full mix mastering and full remix. You deliver stems (usually 4 to 8 buses: drums, bass, instruments, vocals, FX) instead of a stereo mix. The mastering engineer can process each stem independently before the final two-bus limiting pass.
The benefit is control. If the drums on one song are 2dB too loud relative to the vocal but the stereo mix is otherwise right, a stem master can fix that without you going back to the mix session. That's satisfying when it works.
The cost: stem mastering typically runs 30 to 50% more than stereo mastering. For an album, that's a real number. Our position: stem mastering is worth the premium if your mixes have structural problems that a stereo chain can't fix. If your mixes are clean and you just need loudness calibration and tonal cohesion across songs, stereo mastering with a good engineer will get you there.
Worth Bookmarking
- iZotope Ozone 11, full album mastering suite with Tonal Balance Control
- FabFilter Pro-Q 4, surgical EQ for mix bus and mid-side work
- FabFilter Pro-L 2, true peak limiter, essential for streaming delivery
- Youlean Loudness Meter 2, free LUFS meter, run it on every master
- LANDR, AI mastering for singles and budget releases
- eMastered, AI mastering with A/B comparison tools
- BWF MetaEdit, free WAV metadata editor from the Library of Congress
- US ISRC Portal, register and manage your ISRC codes
- PSP Audioware, excellent vintage-flavoured mastering tools at fair prices
- Airwindows, free open-source mastering and utility plugins, underrated
Also see our guides on and for deeper coverage of specific stages in this workflow.
Summary
Album mastering is not mix mastering done twice. It's a separate discipline with its own logic: anchor tracks, loudness curves across a sequence, 200ms of silence, -1.0dBTP ceilings, and ISRC codes embedded before delivery. Hire a professional engineer if the record matters. Use AI mastering for demos and singles. If you go ITB, use Ozone 11 for the workflow and Pro-L 2 for the limiter. Master to -14 LUFS-I for Spotify and YouTube. Nail the metadata. Get it right before you distribute, not after.
Part of our complete Music Mastering Guide: Complete Beginner's Breakdown series.
Frequently Asked Questions
How loud should an album master be for streaming?
Target -14 LUFS-I (integrated) for Spotify, YouTube, Amazon Music, and Tidal. Apple Music normalises to -16 LUFS-I. Set your true peak ceiling to -1.0dBTP on every track to prevent clipping during lossy encoding. Measure with Youlean Loudness Meter 2 or a similar LUFS-calibrated meter before you deliver.
Do all songs on an album need to be the same loudness?
No. Aim for no more than 2 to 3 LU of difference in LUFS-I between consecutive tracks. A quiet ballad may sit at -16 LUFS-I while a dense rock track sits at -13 LUFS-I. The goal is consistent perceived loudness in context, not identical numbers. Listeners should never need to adjust volume between songs.
What's the difference between mastering a single and mastering an album?
Single mastering optimises one song in isolation. Album mastering optimises ten (or however many) songs in relation to each other. That means managing loudness flow across the sequence, tonal consistency between sessions, spacing between tracks, and the overall arc of the listening experience. Album mastering takes longer and costs more for good reason.
What files should I send to a mastering engineer?
Send 32-bit floating point WAV files at the native sample rate of your session (usually 44.1kHz or 48kHz). Peak levels should not exceed -3dBFS. Remove all limiting and heavy bus compression from the master fader before export. Include a reference track and any notes about the intended loudness or format (streaming, vinyl, CD).
Are AI mastering services good enough for an album release?
For a single or a demo, yes. LANDR and eMastered will get you a streaming-compliant file quickly and cheaply. For an album release, they fall short because they have no concept of sequence: each track is processed in isolation with no awareness of how it sits next to the others. If the album is meant to be heard as a whole, spend the money on a human engineer.