
Mastering compression means applying very light dynamic control to a finished mix, typically at ratios between 1.2:1 and 2:1, with less than 2dB of gain reduction, to add cohesion and subtle density without reshaping the dynamics your mix engineer already crafted. Used correctly, it's the last tool you reach for, not the first.
Most mastering compression tutorials teach you how to compress. This one teaches you when not to. That distinction is what separates a loud, lifeless master from one that still breathes three years after release.
We've sat behind a lot of mastering chains. Hardware units, plugin emulations, mid-side tricks on stems. The honest truth is that at least 80% of the mixes that land on a mastering desk are already compressed too hard before they arrive. The mix bus had a 2:1 ratio with 6dB of gain reduction, the vocals got slammed with a limiter, and the master buss had a maximizer chained after the glue compressor. By the time we touch it, there's almost nothing left to compress.
So let's build this from first principles. What compression actually does to a master, which parameters matter and why, which compressors are worth your money, and where multiband and mid-side techniques belong in the chain. No recycled ratio values. Real settings with real consequences.
What Does Mastering Compression Actually Do?
It does two things. One is dynamic control. The other is tonal coloring. Most engineers use it for the second reason and pretend they're doing the first.
Dynamic control at the mastering stage means catching occasional peaks that sit 1-3dB louder than the rest of the program material. You're not taming a punchy snare. You're catching a chorus that jumps slightly louder than the verses, or a bridge where the arrangement gets sparse and the kick suddenly dominates.
Tonal coloring is where it gets interesting. Every compressor circuit, whether hardware or emulation, adds harmonic content when it works. An SSL G-type bus compressor adds a small amount of second-order harmonic distortion that makes the low-mids feel thicker. A Vari-Mu design like the Manley Variable Mu or its plugin equivalent from Universal Audio warms the top end by rolling off a small amount of high-frequency content under gain reduction, typically around 10-15kHz by 0.5-1dB at moderate ratios.
The mix gets glued. That's a real thing. It's not marketing language.
What "Glue" Means in Measurable Terms
Glue is what happens when transients from multiple sources are subtly linked through shared gain reduction. The kick duck by 0.8dB, the bass follows by 0.6dB at the same moment, and the relationship between them becomes consistent across the track. Your ear stops hearing them as separate elements and starts hearing them as a rhythm section.
That's not magic. It's inter-element transient coherence. But "glue" is faster to say.
Which Parameters Actually Matter at the Mastering Stage?
All of them matter. But not in the way beginner tutorials suggest.
Threshold and Gain Reduction
Target less than 2dB of gain reduction. Ideally less than 1dB for transparent work. If your GR meter is regularly hitting 3-4dB, you're doing mix work at the mastering stage. That's a different session.
We set the threshold so the compressor just starts touching the signal. The needle should breathe, not clamp.
Ratio
1.25:1 or 1.5:1 for transparent control. 2:1 for deliberate character. Beyond 2:1 in mastering, you're reshaping dynamics in ways that can't be undone. We've tried 4:1 on aggressive electronic records. It sounds exciting for a day, then it sounds exhausted.
Attack
This is where most engineers make their biggest mistake. Fast attack times below 10ms clamp transients before they fully develop. On a master, that removes the crack of the snare and the thump of the kick before you even reach the limiter.
50ms to 200ms is the transparent range for mastering. At 50ms, you're still catching the body of transients. At 200ms, you're almost exclusively working on sustained material. We typically start at 100ms and move up or down based on how much the kick and snare are affected.
Here's a specific test we run: A/B the bypassed signal against the compressed one and listen specifically to the snare crack. If the compressed version sounds duller or thinner, the attack is too fast. Slow it down by 20ms increments until the snare matches.
Release
The BPM formula is real and worth using. Divide 60,000 by the BPM to get milliseconds per beat, then set your release to that value or a multiple of it. At 120 BPM, that's 500ms per beat. We often use 250ms (half a beat) as a starting point, which keeps the release pumping in tempo without fighting the groove.
Auto-release modes on modern compressors like the FabFilter Pro-C 2 or Cytomic The Glue handle program-dependent release well. We trust them on dense material. On sparse, dynamic records with lots of room between hits, we switch to manual and dial it in.
Knee
Soft knee. Always, in mastering. A hard knee at low ratios creates an audible inflection point when the signal hits the threshold. Soft knee spreads that gain reduction curve across a range of 4-6dB, so the compressor eases in rather than snapping shut. You'll hear the difference on acoustic material immediately.
Which Compressors Should You Actually Use?
The hardware shortlist for mastering has been stable for decades. The plugin equivalents have caught up. Here's our honest breakdown.
SSL G-Master Bus Compressor (and Emulations)
The industry workhorse. The original hardware is in every serious mastering room. Emulations worth using include Cytomic The Glue ($49, check manufacturer site for current pricing) and the SSL-licensed plugin. The Glue is our go-to because it models the SSL's inter-stage behavior more accurately than the official version at high sample rates.
Settings we use constantly: Ratio 2:1, attack 30ms, release auto, threshold set for 1-1.5dB GR. On an electronic record, we pushed the attack to 10ms and got a satisfying low-end punch that the mix was missing. The kick and bass locked together in a way three sessions of mix tweaking hadn't achieved.
Manley Variable Mu
This is a Vari-Mu design using real tubes. The threshold control is unusual: turning it clockwise reduces gain reduction rather than increasing it, which confuses everyone the first time. The compression character is slow and program-dependent. It doesn't react to individual transients so much as it responds to the overall density of the program.
We ran a folk album through the Variable Mu at 1.5:1 with the threshold set for just under 1dB of GR. The result was a warmth that added around 0.3-0.5dB of perceived loudness in the 200-800Hz range without touching an EQ. It's the most satisfying compressor we've used on acoustic music. Universal Audio's Manley Variable Mu emulation gets close enough for production work.
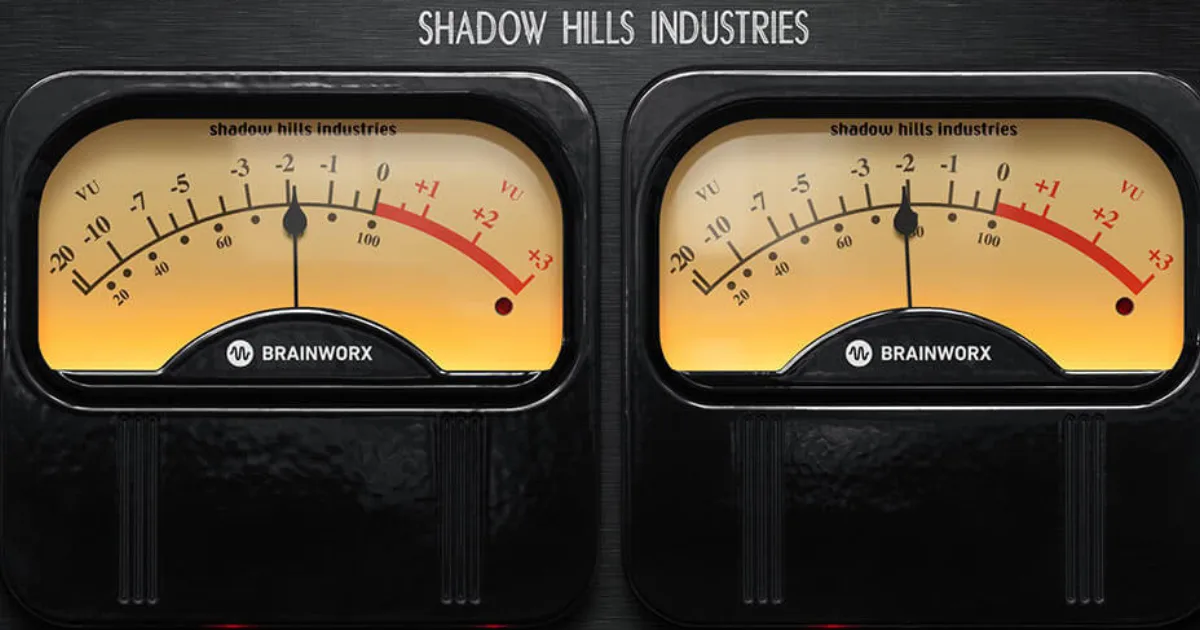
Shadow Hills Mastering Compressor
Two stages: optical followed by discrete. You can run them in series or bypass either one. The optical stage is transparent and slow. The discrete stage adds punch and second-harmonic color. Together, they're the most flexible mastering compressor we've tested for genre-jumping. The plugin version from Plugin Alliance is worth the money.
Fairchild 670
Classic, expensive, and rarely the right tool unless you're working on jazz, soul, or vintage-adjacent records. The release curves on the Fairchild are program-dependent in a way that sounds almost musical on the right material. Universal Audio's emulation is the standard reference. We'd pick the Variable Mu first for most sessions.
API 2500
Punchier and more aggressive than the SSL. The "Thrust" feature applies a high-pass filter to the sidechain, so low-frequency content drives the compressor less aggressively. That means the kick and bass don't trigger as much gain reduction, giving you more headroom for control on the midrange without squashing the bottom. Brilliant feature. Underrated in mastering discussions that focus only on the SSL.
Worth Bookmarking
- Cytomic The Glue, SSL G-series emulation with accurate inter-stage modeling
- FabFilter Pro-C 2, transparent mastering compressor with excellent visual feedback
- Universal Audio, Manley Variable Mu, Fairchild 670, and API 2500 emulations
- Plugin Alliance, Shadow Hills Mastering Compressor plugin
- iZotope Ozone, multiband and mid-side mastering compressor suite with assistive AI
- Waves SSL G-Master Bus Compressor, affordable SSL emulation for in-the-box mastering
- iZotope Learn, mastering tutorials and guides with spectral analysis examples
- Sound On Sound Techniques, deep technical articles on mastering signal chains
- Mastering The Mix, EXPOSE and REFERENCE plugins for analysis-led mastering decisions
- MeldaProduction, MMultiband Dynamics for surgical multiband compression with M/S capability
Where Do Multiband and Mid-Side Compression Fit?
Most mastering guides skip these entirely. That's annoying, because both are legitimate tools when used with discipline.
Multiband Compression in Mastering
Multiband is not a fix for a bad mix. Say that again louder for the people in the back. It's a surgical tool for specific frequency-range dynamic problems that a mix engineer either missed or couldn't solve.
The most common legitimate mastering use case: low-end inconsistency. A mix has a kick that jumps 2-3dB louder in energy every time it hits below 80Hz, but the rest of the low end is fine. A broadband compressor would push down the whole signal to catch that kick. A multiband compressor lets you compress 20-120Hz at 2:1 with a 50ms attack while leaving everything else untouched.
iZotope Ozone's Dynamics module is well-suited for this. Set crossover points at 120Hz and 3kHz for a three-band approach. Keep gain reduction under 2dB per band. Tighter than that and you're coloring the tonal balance of the mix without permission.
Mid-Side Compression
Mid-side processing compresses the center channel (summed mono) separately from the sides (stereo difference signal). It's genuinely useful in two situations.
First: a mix where the center is dynamically louder than the sides, creating a narrow stereo image. Compressing the mid channel by 1-1.5dB while leaving the sides untouched widens the perceived stereo field without introducing phase problems from stereo widening plugins.
Second: a mix where the sides are too loud or dynamically unstable. Synth pads in the sides that swell and collapse unpredictably. Compress the sides at 2:1 with a slow attack (150ms) to smooth that movement without touching the centered vocals and kick.
FabFilter Pro-C 2 has a clean mid-side mode. So does iZotope Ozone. We prefer Pro-C 2 for this because the visual feedback makes it easy to see exactly how much the mid and side channels diverge in gain reduction at any moment.
What Are the Most Common Mastering Compression Mistakes?
We see the same errors constantly. Every single one of them is frustrating to fix after the fact.
Over-compression from a mix engineer who pre-slammed their own buss. The master arrives with no transient headroom left. A compressor at this point just removes what little life remains. Our fix: ask for a second export without the mix buss processing. Not always possible, but always worth asking.
Attack too fast. The snare loses its crack. Everything sounds like it's behind glass. Slow the attack to at least 50ms and listen to the drums specifically.
Chasing loudness with compression instead of a limiter. Compression doesn't make things loud. It reduces peaks, which gives the limiter more headroom to push the overall level. If you want louder, fix the limiter ceiling. Don't increase compression ratio.
Multiband on every master. We love multiband compression as a tool. We hate it as a habit. If you're reaching for it by default, stop. It should be used on fewer than 30% of masters. Most dynamic problems are better solved with EQ or sent back to the mix engineer.
Wrong compressor for the genre. A Fairchild 670 emulation on a hard-hitting trap record sounds ugly. An API 2500 on a delicate solo piano recording sounds ridiculous. Match the compressor character to the music.
How Do You Set Up a Mastering Compression Chain?
Our typical signal chain for a full mastering session runs like this:
Input gain stage first. Get the level hitting the compressor at -18 to -14dBFS RMS. Too hot and the compressor works too hard before you've touched a control. Too quiet and you're not driving the input stage of tube or optical designs enough to get their character.
Broadband compressor next. One unit. Keep GR under 2dB. Dial in the attack and release, check the gain reduction meter is breathing rather than clamping, then A/B bypass the unit to confirm it's adding something rather than just changing something.
EQ after the compressor, not before. Compressing first, then EQ-ing lets the compressor respond to the uncolored mix. EQ before compression means the compressor reacts to your EQ decisions, which makes troubleshooting harder.
Multiband or mid-side processing, if needed, goes between the broadband compressor and the EQ in our chain. It's surgical, so it happens before the broader tonal shaping.
Limiter last. Always. That's a separate guide entirely.
Summary
Mastering compression is a finishing tool, not a problem-solver. Use ratios between 1.25:1 and 2:1. Keep gain reduction under 2dB, ideally under 1dB. Set attack at 50-200ms to preserve transients. Use the BPM formula for release timing. Choose your compressor based on the character it adds, not just what it costs. Reach for multiband and mid-side processing only when broadband compression can't solve the specific problem. And if the mix arrives already compressed into a corner, talk to the mix engineer before you touch a single control.
Part of our complete Music Mastering Guide: Complete Beginner's Breakdown series.
Frequently Asked Questions
Do you need compression when mastering?
No. Many professional mastering engineers skip it entirely, especially when a mix arrives well-balanced and dynamically intact. Compression in mastering is optional and should only be added when it clearly improves the material. If bypassing the compressor sounds better or identical, leave it out.
What ratio should I use for mastering compression?
Start at 1.25:1 or 1.5:1. These ratios add tonal coloring and gentle cohesion without audibly reshaping dynamics. Only go to 2:1 if you want deliberate character. Beyond 2:1 in mastering is almost always the wrong decision.
How much gain reduction is too much in mastering?
More than 2dB of gain reduction consistently is too much. Aim for 0.5-1.5dB as a target range. If your meter is regularly hitting 3-4dB, you're compressing too hard and likely removing energy from the master.
What's the best attack time for mastering compression?
50-200ms covers the transparent range for most material. Faster than 50ms starts clamping transients and can dull the snare crack and kick punch. Start at 100ms and move up or down while listening specifically to the drum transients.
What's the difference between a bus compressor and a mastering compressor?
A bus compressor is designed to process groups of tracks together in a mix session, typically with faster response times and more aggressive gain reduction. A mastering compressor, like the Manley Variable Mu or Shadow Hills, is built for slower, more transparent operation on a fully mixed stereo file. Some units, like the SSL G-Master, work well in both contexts.
When should I use multiband compression in mastering?
When a specific frequency range has a dynamic problem that a broadband compressor can't address without affecting the whole signal. The most common case is low-end inconsistency where the sub and kick frequencies are louder than the rest of the mix. Use it on fewer than a third of your masters, not as a default step.
What is mid-side compression in mastering?
Mid-side compression processes the center (mono sum) and sides (stereo difference) of a mix independently. You can compress the center more than the sides to widen the stereo image, or compress the sides to stabilize wandering pad or reverb tails. FabFilter Pro-C 2 and iZotope Ozone both handle this cleanly.
Which mastering compressor plugin is best for beginners?
FabFilter Pro-C 2 is our top pick for learning. The visual feedback shows you exactly what the compressor is doing in real time, which makes it easier to hear and understand the relationship between settings and results. Cytomic The Glue is the next step once you want SSL-style character.
Can mastering compression fix a bad mix?
No. This is a frustrating myth. Mastering compression can add cohesion and subtle density to a good mix. It cannot fix imbalanced levels, poor EQ decisions, or a mix that was already over-compressed before it arrived. If the mix has problems, the right answer is sending it back for revision, not adding more compression.
How do I set release time for mastering compression?
Use the formula: 60,000 divided by the BPM of the track gives you milliseconds per beat. At 120 BPM, that's 500ms. Use half that value (250ms) as a starting point for a release that breathes in tempo. For dense electronic music, shorter releases around 100-150ms can work. For sparse acoustic material, longer releases of 400-600ms keep the compression from audibly pumping.