
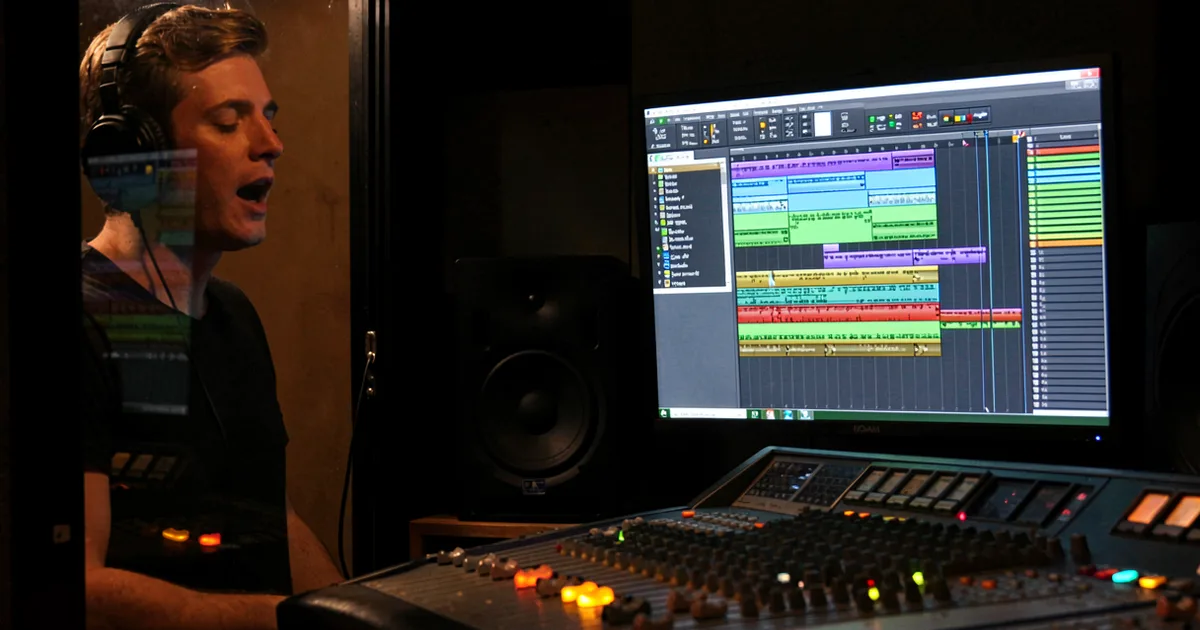
Vocal plugins are the processing tools that turn a raw recorded vocal into something that sits cleanly in a mix: pitch correction, compression, EQ, de-essing, saturation, and reverb. You need all six categories working together, in the right order, to get a professional result.
A great vocal takes more than a good mic. We've tracked thousands of sessions across home studios and commercial rooms, and the pattern is always the same: the chain matters more than any single plugin. Pick the wrong order, skip a stage, or reach for the wrong tool and the vocal will fight every other element in the mix.
This guide covers every category of vocal processing you actually need. We're not listing 40 plugins and calling it a day. We're telling you what each stage does, which tools do it best in 2025, and where producers consistently go wrong.
Over 90% of chart-topping records use pitch correction and dynamic processing together. That's not a trend. That's the standard workflow now, regardless of genre.
Let's get your vocals there.
What's the Right Signal Chain Order for Vocals?
Order matters more than most producers realise. Process in the wrong sequence and you create problems you'll spend hours trying to fix downstream.
The correct order: noise reduction → compression → EQ → de-essing → pitch correction → saturation → reverb and delay.
Here's why this works.
Noise reduction goes first because a compressor will pump the noise floor louder if you compress before cleaning. Compression before EQ gives you a more controlled signal to shape. EQ before de-essing means you're not trying to control sibilance that you may have boosted with a high-shelf. Pitch correction after EQ means the algorithm is reading a cleaner signal, which improves tracking accuracy on breathy or distorted tones.
Saturation comes after pitch correction. If you saturate before pitch correction, you add harmonics that confuse the tuning algorithm. We've watched Auto-Tune lose tracking on a clean vocal simply because someone put a tape saturation plugin first in the chain.
Reverb and delay always go last. They're spatial effects. They print the processed, mixed vocal into a room. Don't process the room.
What About ARA Integration?
ARA (Audio Random Access) lets a plugin like Melodyne or Synchro Arts VocAlign read the entire audio clip, not just what's playing in real time. This changes everything for pitch and timing editing.
In ARA-compatible DAWs like Logic Pro, Cubase, and Studio One, Melodyne embeds directly into the clip. You see the note blobs right in your edit window. No bouncing, no importing. It's satisfying when it works.
In non-ARA DAWs like Ableton Live, you're exporting audio, editing in Melodyne standalone, and re-importing. It's not the end of the world. But it's slower, and the round-trip can introduce tiny timing shifts if you're not careful.
If you're doing heavy vocal editing, ARA is worth switching DAWs for.
Which Pitch Correction Plugin Should You Actually Use?
Two tools dominate. They do different things. Pick based on what you actually do most.
Antares Auto-Tune Pro is the industry standard for real-time correction. It's on records by The Weeknd, Travis Scott, Future, and basically every pop session booked in the last 20 years. Low-latency mode runs at 3.3ms, which is low enough to monitor through it while singing without losing your mind. The Flex-Tune control lets you dial in natural-sounding correction without snapping every note to grid.
Celemony Melodyne 5 wins for surgery. We ran a vocal take through it where the singer drifted flat on every held note but the phrasing was perfect. Melodyne let us move just those note blobs without touching timing or vibrato. Auto-Tune would have required a lot of manual automation to get the same result. Melodyne's DNA (Direct Note Access) also lets you edit individual notes inside chords, which is ridiculous in the best way.
What About Budget Pitch Correction?
LANDR's VoxTune is part of their bundle and works well for light correction on clean takes. It's not Auto-Tune. But for indie and acoustic work where you want subtle fixes, it's more than adequate.
iZotope Nectar 3 includes pitch correction inside an all-in-one suite. The pitch module isn't as powerful as Auto-Tune Pro, but if you're buying Nectar anyway, it handles 80% of pop vocal correction jobs without needing a separate plugin.
Home Studio Latency: A Problem Nobody Talks About
Real-time pitch correction adds latency. Auto-Tune Pro's low-latency mode sits at 3.3ms. Melodyne in real-time mode adds roughly 6ms. Neither is perceptible in isolation, but stack a buffer of 128 samples at 44.1kHz (about 2.9ms), add your interface's round-trip, and add pitch correction on top, and some singers will feel the drag.
The fix: route your monitoring through a direct hardware path if your interface supports it. Monitor dry from the interface, not from the DAW. Then the pitch-corrected version only plays back through your mix, not your headphone cue.
How Do You Compress a Vocal Without Killing It?
Compression on vocals is where most home producers overdo it fastest. The vocal sounds dead. Every word hits at the same volume. The performance is gone.
For pop and R&B, start at 3:1 to 4:1 ratio. Attack around 10ms gives the transient of the consonant through before gain reduction kicks in. Release at 60-80ms lets the natural breath and tail recover naturally. Aim for 3-6dB of gain reduction on the loudest phrases.
For rap vocals, 4:1 to 8:1 is normal. Rap delivery is percussive. You need more control to sit the vocal on top of a busy low-end. Use a faster attack (3-5ms) to catch the initial consonant hits. Watch your release: too fast and you'll get pumping on the "s" and "t" sounds.
FabFilter Pro-C 2 shows you exactly what's happening with its gain reduction meter and frequency spectrum. It's one of the few compressors where you can genuinely learn compression by watching it work.
What About the Metric Halo Channel Strip?
Metric Halo Channel Strip 3 puts compression, EQ, and gate together in one plugin. It's clean. Very clean. That transparency is a love-it-or-hate-it thing depending on what genre you're working in.
For vocals that need character, we'd add saturation separately. For classical, acoustic, or spoken word, the Channel Strip's clinical accuracy is a strength.
What EQ Moves Actually Matter on Vocals?
EQ on vocals has two jobs: clean up problems and carve space in the mix.
Start with a high-pass filter. Roll off everything below 80-100Hz. There's nothing useful down there on a close-mic'd vocal, just room rumble and mic stand noise. Set the slope to 24dB/octave for a clean cut.
The mud zone sits between 250-400Hz. A narrow cut of 2-3dB somewhere in that range, using a Q of around 1.5, will open up the mid-range without thinning the voice. Find the exact frequency by boosting a wide shelf, sweeping until it sounds worst, then cutting.
Presence lives at 2-5kHz. A gentle boost of 1.5-2dB here adds intelligibility. The vocal cuts through without sounding harsh. Don't over-boost: anything above 3dB at 3kHz and you'll start to hear the grit of hard consonants.
Air is above 12kHz. A gentle lift of 1-2dB on a shelf adds sheen. FabFilter Pro-Q 3's dynamic EQ mode is brilliant here. You can set the high-shelf to only boost when the signal is loud, so you're adding air to the strong notes without hyping thin, breathy passages.
We opened Pro-Q 3 on a female vocal recently that sounded boxy and nasal on playback. The problem was at 380Hz with a Q of 1.4. One 2.5dB cut and the vocal moved from the back of the mix to the front. No other processing changed. That's what surgical EQ can do.
Dynamic EQ vs. Standard EQ for Vocals
Static EQ cuts are applied at all times. Dynamic EQ only kicks in when the signal triggers a threshold. For vocals, dynamic EQ on the sibilant range (5-8kHz) can replace a de-esser. For harshness control at 2-3kHz, it's more transparent than a standard cut because it only reduces when the vocal gets aggressive.
How Do Saturation and Reverb Fit Into a Vocal Chain?
Saturation is underrated on vocals. Not distortion. Saturation. There's a difference.
A small amount of even-order harmonic distortion (2nd and 4th harmonics) adds weight and presence. It's what tape and tube gear did naturally. In a digital chain, you're adding it deliberately. 1-3% saturation on a vocal bus can make a thin recorded vocal sound like it was tracked through a $5,000 preamp.
Waves Abbey Road Saturator and Soundtoys Decapitator are the two we reach for most. Decapitator has five saturation characters. The "A" setting (based on the Ampex tape machine) is our favourite on female lead vocals.
Genre-Specific Saturation Notes
R&B vocals benefit from tube-style saturation. Keep it subtle. 2% on the Warmth control of your saturation plugin, barely visible on a meter.
Rock and alternative can take more. Up to 5-7% on a channel with some harmonic excitement at 3-5kHz adds the grit that makes a rock vocal feel live.
Rap: we generally skip channel saturation and hit the mix bus with a tape emulation instead. Keeps the vocal clean but glues it to the drum bus.
Choosing Reverb Without Drowning the Vocal
Short room reverb (pre-delay 10-20ms, decay 0.4-0.8 seconds) puts the vocal in a space without pushing it back. Plate reverb at 1.2-1.8 seconds works on slower tempos. Avoid anything with a decay above 2.5 seconds on lead vocals unless it's a specific effect.
LANDR VoxVerb is worth trying for quick setups. It's not the most flexible reverb on the market, but the presets are well-matched for vocal work and it's light on CPU.
Sonarworks Voice AI at $70 takes a different angle entirely. It can transform vocal character to match a reference, which has real value for producers who work alone and need to audition how a vocal will sound with different tonal profiles. It's not pitch correction in the traditional sense. It's closer to vocal replacement and re-characterisation. The ROI is concrete if it means skipping a $300-500 session re-record.
What Are the AI-Driven Vocal Tools Worth Watching in 2025?
AI processing on vocals has moved fast. The frustrating part is separating the tools that actually help from the ones that just have "AI" in the name.
iZotope Nectar 3's Vocal Assistant scans your track and sets a starting point across EQ, compression, de-essing, and saturation in about 4 seconds. It's not perfect. It's a strong starting point, especially for producers who don't yet have confident ears for vocal problems. We'd always adjust after it runs.
Synchro Arts Elite suite is the serious end of AI-assisted vocal work. At roughly $4,000, it's a professional investment that covers pitch, timing alignment, and mastering-level vocal control. VocAlign is the flagship tool: it aligns backing vocal timing to a lead vocal automatically. What used to take 45 minutes of manual editing in a DAW clips are done in 30 seconds. For producers doing BG stacks on pop records, it's not a luxury. It's a time saver that pays for itself.
The honest position on AI vocal tools: they're best at the starting point and at repetitive alignment tasks. They don't replace ears. They reduce the annoying hours of setup work so you can spend more time on the creative decisions that actually matter.
Worth Bookmarking
- Antares Tech, Auto-Tune Pro source, with tutorial library and updates
- Celemony, Melodyne 5 downloads, ARA documentation
- FabFilter, Pro-Q 3 and Pro-C 2 tutorials direct from the developers
- iZotope, Nectar 3 and RX vocal repair tools
- Synchro Arts, VocAlign and Revoice Pro for BG alignment
- Soundtoys, Decapitator and other saturation tools
- Sonarworks, Voice AI and reference monitoring tools
- LANDR, VoxChain bundle including VoxTune, VoxVerb, VoxDeEss
- Waves Audio, Abbey Road Saturator and vocal chain bundles
- Universal Audio, UAD vocal channel strips and hardware emulations
Summary
A professional vocal chain runs in one direction: clean signal first, character last. Noise reduction and compression before EQ. De-essing before pitch correction. Saturation before reverb. Get the order wrong and you'll fight your mix for hours wondering why it sounds amateur.
The tools that matter most: Auto-Tune Pro or Melodyne 5 for pitch, FabFilter Pro-C 2 or a channel strip for dynamics, Pro-Q 3 for surgical EQ, and Decapitator or a tape emulation for saturation. Reverb and delay close the chain. Every other plugin is optional.
Genre shapes the settings. Universal principles shape the order. Know both.
Part of our complete Music Production Plugins Guide: Complete Beginner's Overview series.
Frequently Asked Questions
What vocal plugins do professional studios actually use?
The most common tools we see on professional sessions are Auto-Tune Pro for pitch correction, a hardware-emulation compressor (UA 1176 or LA-2A style), FabFilter Pro-Q 3 for EQ, and Waves or Soundtoys plugins for saturation and effects. Melodyne 5 shows up on projects that need heavy editing. iZotope Nectar 3 appears on indie and pop sessions where producers are working fast without a dedicated engineer.
Do I need all six categories of vocal plugins?
For a finished, mixed vocal: yes. You can skip saturation on acoustic or classical recordings where you want zero colour. But skipping compression, EQ, or pitch correction on a commercial vocal will leave it sounding unfinished. De-essing is non-negotiable on most modern vocal recordings because digital recording captures sibilance more harshly than tape did.
What's the difference between Auto-Tune and Melodyne?
Auto-Tune is built for real-time correction and works best in-line during tracking or mixing. Melodyne is built for clip-level editing where you have time to move individual notes, adjust vibrato depth, or fix timing. Auto-Tune wins for live and real-time work. Melodyne wins for detailed post-recording surgery.
How do I stop my vocals sounding over-compressed?
Three things: slower attack (8-12ms), lower ratio (3:1 is plenty for most pop vocals), and longer release (60-80ms). Over-compression usually comes from using a ratio that's too high or an attack that's too fast, which kills the natural transient of the vocal. Pull back the ratio first before you touch anything else.
Is iZotope Nectar 3 good enough to replace separate vocal plugins?
For 70% of vocal work, yes. The EQ, compression, de-esser, and pitch correction modules are all usable on professional sessions. The saturation and reverb modules are decent but not best-in-class. If you're looking to cut your plugin count, Nectar 3 is a smart consolidation. If you need Auto-Tune level pitch control or Pro-Q 3 level EQ precision, run those separately.
What causes sibilance problems in vocal recordings?
Sibilance (harsh "s" and "sh" sounds) is caused by the microphone picking up high-frequency transients in the 5-10kHz range, which condenser mics capture with a lot of detail. Boosting presence or air with EQ makes it worse. A de-esser set around 6-8kHz with a threshold that only catches the loudest sibilant sounds will handle it without dulling the overall high-end.
Should I use reverb on every vocal?
Lead vocals: almost always, even if it's just a short room reverb at 0.4 seconds and 15% wet to create the feeling of natural space. Completely dry lead vocals sound unnatural in a mix because every other element has some acoustic dimension. The question isn't whether to use reverb. It's how much and what type.
What's the benefit of using an ARA plugin over a standard plugin?
ARA plugins like Melodyne can read the entire audio clip at once rather than processing in real time. This means better pitch detection, faster workflow, and the ability to edit note by note inside your DAW without exporting. If your DAW supports ARA (Logic Pro, Cubase, Studio One), you'd be frustrating yourself not to use it for vocal editing.
Is Sonarworks Voice AI worth $70?
It depends entirely on what you're using it for. As a vocal transformer that lets you audition different vocal characters without re-recording, it's a clever and cheap solution for solo producers who can't always call in a singer for a new take. If you're paying $300-500 for a re-record session every time a vocal tone doesn't fit, Voice AI pays for itself in the first use.
What's the best vocal plugin chain for rap vocals?
We'd run: noise gate or noise reduction first, then a 4:1-8:1 compressor with a fast attack (3-5ms) and medium release (40-60ms), then EQ with a 100Hz high-pass and a 2.5dB presence boost at 3kHz, then a de-esser at 7kHz, then Auto-Tune Pro with Retune Speed set to taste (faster for obvious tuning, 25-35 for natural). Skip heavy saturation on the channel strip and hit the mix bus with a tape emulation instead to glue the vocal to the drums.