
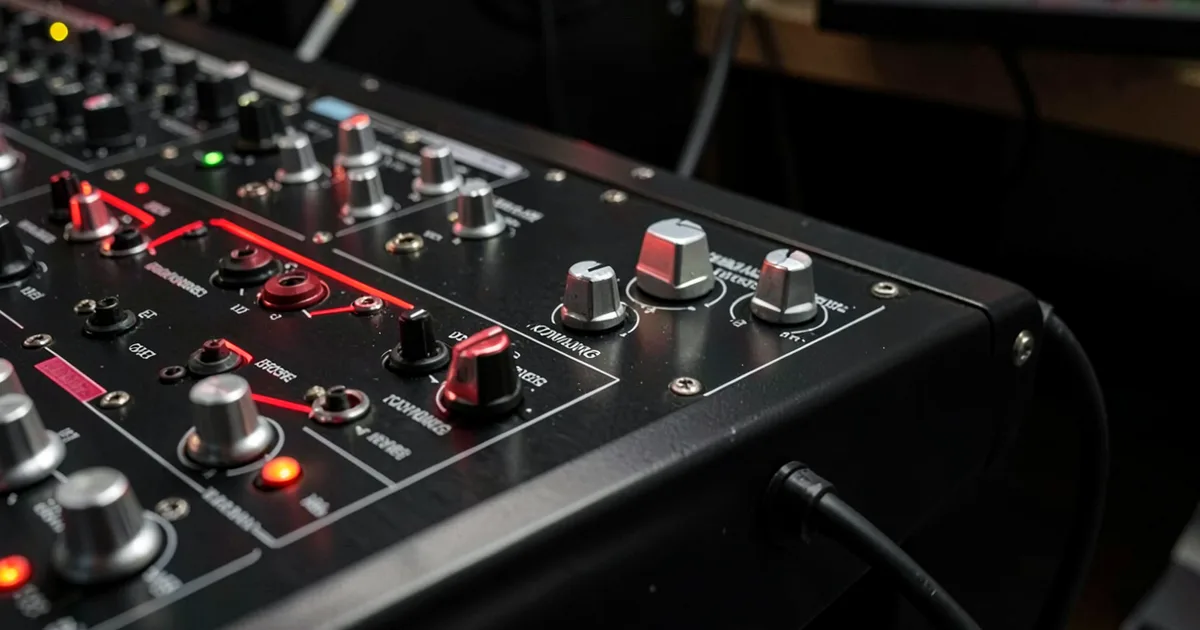
A normalled patchbay automatically routes signal between paired top and bottom jacks, breaking that connection when you plug into either jack. A half-normalled patchbay only breaks the connection when you plug into the bottom jack, which lets you split and monitor the top-row signal without interrupting the default signal path.
That's the whole answer. Everything below is just knowing when to use which one, and that's where most studio setups go wrong.
We've helped wire studios where every jack was set to full-normal, which looked clean on paper until someone tried to mult a synth to two channels and couldn't figure out why the signal kept disappearing. We've also seen patchbays wired entirely half-normal when the engineer wanted simple point-to-point routing and kept accidentally splitting signals into nowhere.
Patchbay normalisation is one of those decisions that shapes every session you'll run. Get it right once and you barely think about it. Get it wrong and you're tracing cable paths mid-mix.
This guide covers exactly how each configuration behaves, which connections in your studio should use which type, and how to avoid the wiring mistakes that cost you sessions.
What Does "Normalled" Actually Mean in a Patchbay?
A patchbay's job is to put every input and output in your studio in one physical location. Instead of crawling behind racks, you patch cables on the front of the bay.
The "normal" part describes what happens when nothing is plugged in.
In a normalled patchbay, the top row and bottom row of each pair are internally connected. Signal flows from top to bottom automatically. You don't need a cable to make that connection happen. It's already there.
Plug a cable into the top jack and that internal connection breaks. Plug a cable into the bottom jack and it breaks too. The signal path is interrupted either way.
That's full-normal. Clean. Simple. Useful for routing that should exist by default and stay broken when you deliberately override it.
Half-Normal: The Same Thing, Except Not Quite
Half-normal keeps the internal connection intact unless you plug into the bottom jack specifically.
Plug into the top row only. Signal still flows down to the bottom. You've tapped off a copy, not stolen the original.
Plug into the bottom row. Now the internal connection breaks, and your cable takes over as the bottom-row destination.
That single difference changes what half-normal is useful for. We'll get into specifics below, but the short version: half-normal lets you observe or split a signal without destroying the default routing.
How Do Full-Normal and Half-Normal Actually Behave Differently in Practice?
Here's a moment that makes this concrete.
We had a console with eight aux sends wired full-normal to eight effect units. The default path: aux out feeds the reverb input, reverb output returns to the console. Every session, that routing just worked.
One day we needed to check the dry signal hitting the reverb before committing to a setting. We plugged a cable into the top jack to tap the aux send. The connection to the reverb broke immediately. The reverb heard nothing. We had to use an external splitter just to monitor in-line.
If those jacks had been half-normalled, plugging into the top would have split the signal. The reverb would still receive it. We'd monitor on the cable. Problem solved, no extra hardware.
That's the practical difference. Full-normal is binary: either the default path is active, or it's broken. Half-normal gives you a third state: default path active, and also going somewhere else.
When the Signal Path Actually Matters
One thing that doesn't change between the two configurations: audio quality. The normalisation scheme affects routing behaviour, not frequency response. A well-wired TT patchbay with gold-plated contacts will pass 20Hz to 20kHz flat regardless of whether it's full or half-normal, assuming the contacts are clean and the connections are solid.
Where grounding becomes a concern is when you're splitting with half-normal and the two destinations have different ground references. That can introduce a ground loop. The fix is straightforward: use a DI box or a balanced splitter on the problematic path rather than relying on the patchbay alone to split into unbalanced gear.
Which Studio Connections Should Be Full-Normal?
Full-normal works best anywhere you want a hard default path and deliberate, conscious overrides.
Mic line inputs are the clearest example. Your mic preamp outputs go to the top row. Your tape machine or interface inputs go to the bottom. By default, mic feeds recorder. When you need to reroute, you patch explicitly. Nobody accidentally mult-feeds a mic signal to two places.
Outboard gear in a fixed processing chain is another good candidate. If you always run your drum bus through a specific compressor, wire that compressor in full-normal. The default path is always active. You only break it when you're deliberately bypassing or swapping gear.
The frustrating thing about full-normal is that it punishes curiosity. Want to quickly check what a signal sounds like before the compressor? Plugging in to monitor breaks the path. That's the trade-off you're accepting.
Which Studio Connections Should Be Half-Normal?
Half-normal is where most of your mixing flexibility lives.
Console insert points are the classic application. Top row: channel insert send. Bottom row: channel insert return. By default, send connects to return internally, and audio flows through the channel unprocessed.
Patch a compressor between them: cable from send to compressor in, cable from compressor out to return. The default path breaks at the return, but that's intentional. You've replaced it with the processed path.
Now here's the clever part. If you only patch a cable out of the send (top row), the return (bottom row) still connects internally. You've made a copy of the pre-insert signal without breaking the channel. That's a mult. Useful for parallel compression, for sending signal to a second interface input for recording, for A/B monitoring.
We've used this setup on multitrack returns extensively. Say you're mixing and you want to send a synth pad both to the main mix bus and to a parallel reverb bus simultaneously. Half-normal on the return jack means the main path stays intact when you tap the top row. No splitter needed.
Half-Normal and the Mixing Board Insert Trick
There's a satisfying workflow that half-normal enables on insert points. With the insert send half-normalled to the insert return, the top-row jack doubles as a direct output even when nothing is patched to the return.
Patch a cable into the top row (insert send) only. Signal goes where you sent it. The return still connects internally, so the channel audio path is unbroken. You've created a direct out with zero additional hardware. That's underrated.
What's the Right Configuration for a Project Studio?
Our answer: wire it hybrid. Don't pick one configuration for the whole bay.
Here's how we'd lay it out for a typical project studio with an audio interface, two or three outboard pieces, and a small console or mixer:
Full-normal for mic preamp outputs to interface inputs. These are set-and-forget connections. You want a hard default and you want overrides to be intentional.
Half-normal for all insert points. Every channel insert, every bus insert. The flexibility to mult is worth more than you think, and there's no real downside.
Half-normal for monitor sends and effect sends. Being able to tap a send without breaking the path to the effect unit saves sessions.
Unpatchable (or "non-normal") for connections that genuinely have no default path: patchbay rows reserved for ad-hoc connections, instrument inputs, headphone feeds. These should just be pass-through jacks with no internal normalling at all.
Budget and Format Reality Check
Most project studios run 1/4" TRS patchbays rather than TT (Tiny Telephone) or Bantam format. That's fine. The normalisation principles are identical regardless of jack format.
The Neutrik NYS-SPP-L1 is a 48-point 1/4" bay that ships in half-normal configuration by default. The internal cards are reversible, so you can flip specific pairs to full-normal without soldering. That flexibility is worth having.
The Hosa MHB-350 also ships with switchable routing. Check the manufacturer's site for current pricing on both, as street prices shift regularly.
TT format bays, like the ones from Bittree or Gepco, run higher. They're standard in commercial studios for their compact size and lower contact resistance over thousands of patch cycles. For a home studio doing under ten sessions a week, 1/4" bays last plenty long enough. Annoying but true: TT bays are genuinely better. They're also genuinely expensive. Budget accordingly.
If you want to go deeper on wiring diagrams and studio layout planning, the Gearslutz (now Gearspace) forum has multi-year threads on patchbay normalisation with actual studio photos and cable counts. The Sweetwater inSync blog covers patchbay fundamentals with clear diagrams for visual learners. And for standards-level wiring documentation, the SMPTE technical library is dry reading but worth having for any commercial studio build.
Worth Bookmarking
- Gearspace (formerly Gearslutz), Real studio wiring threads with photos. Search "patchbay normalisation" and read for an hour.
- Sweetwater inSync, Clean diagrams explaining patchbay signal flow for visual learners.
- SMPTE Technical Library, Standards-level documentation for commercial studio builds and wiring specs.
What Are the Most Common Normalisation Mistakes?
We see three mistakes repeatedly.
The first: wiring everything full-normal because it "feels cleaner." It's not cleaner. It's just less flexible. You'll spend sessions reaching for splitters you shouldn't need.
The second: forgetting that half-normal splits load impedance when you tap the top row. If you're mult-ing a line-level signal into two high-impedance destinations, this is fine. If you're mult-ing into a 600-ohm load, you'll see level drop and potential high-frequency rolloff. For 99% of modern gear, input impedances are high enough that this isn't an issue. But keep it in mind if something sounds dull after a mult.
The third: leaving the patchbay documentation in your head. Wire the bay, then draw a physical map. Label every row. We've watched engineers with brilliant patchbay setups spend six minutes tracing a signal because the bay wasn't documented. Brilliant setup, ridiculous waste of time.
A Note on Switched vs. Normalled Configurations
Some patchbays offer a fully switched configuration, sometimes called "non-normal." No internal connection exists between top and bottom rows. Plugging into either row does nothing to the other.
This is the right choice for rows you want to use as pure connection points with no assumed default. Route assignment racks, headphone distribution, or any connection where there is genuinely no default signal path. Don't try to make half-normal do this job.
Summary
Full-normal breaks the internal connection when you plug into either row. Use it for connections with a firm default path you want to consciously override. Half-normal only breaks when you plug into the bottom row, letting you split from the top without interrupting the default. Use it for insert points, multitrack returns, and any connection where multing is useful.
Don't wire your whole bay the same way. Mix configurations based on what each row actually does. Document it. And if something sounds dull after a half-normal split, check your load impedances before blaming the bay.
Related guides: how to set up a patchbay
Frequently Asked Questions
Can I change the normalisation on my patchbay after it's already wired?
On most modern patchbays, yes. Bays like the Neutrik NYS-SPP-L1 use internal cards that flip between full-normal and half-normal without resoldering. You'd need to disconnect the rear wiring temporarily to access the cards, but the change itself takes minutes per channel. On older or cheaper bays with fixed normalisation, you're stuck with what they shipped with, so check the spec sheet before buying.
Does half-normal affect signal level when splitting?
It can. When you tap the top row of a half-normalled jack with a cable, you're driving two loads simultaneously. If both destinations have high input impedance (10k ohms or above, which is standard for most modern gear), the level drop is below 0.5dB and inaudible. If one of your destinations is a low-impedance load, you'll see more significant level loss and possible high-frequency rolloff. Use a proper buffered splitter or DI box in that situation instead of relying on the passive mult.
Should mic preamp outputs be full-normal or half-normal in a home studio?
Full-normal. Your mic preamp output to interface input is a fixed default path. You want that connection to exist automatically and break only when you're deliberately rerouting. Half-normal on that pair would mean plugging into the top row for monitoring sends a copy somewhere, which could feed an unintended destination if you're patching quickly. Keep mic signal chains full-normal and save the half-normal flexibility for your insert and effect send rows.