
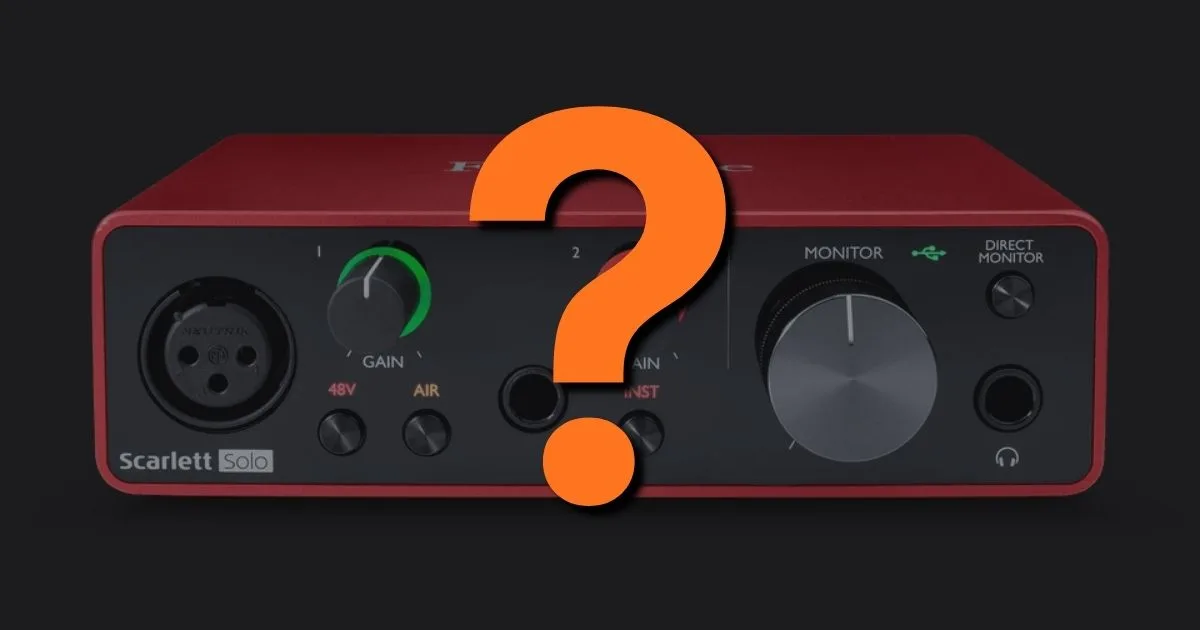
To set up an audio interface, connect it directly to your computer via USB or Thunderbolt, install the manufacturer's drivers, then set the interface as your input and output device inside your DAW. The whole process takes under 15 minutes on most modern systems.
Plug in the interface. Install the driver. Tell your DAW it exists. That’s the setup in three steps.
The frustrating part isn’t the concept. It’s the small decisions that trip people up: which USB port to use, why Windows sounds terrible without ASIO, how much gain is too much, and why there’s a 200ms delay every time you sing a note. Those details are what this guide is actually about.
We’ve set up dozens of interfaces across macOS and Windows, from sub-$100 class-compliant boxes to Thunderbolt-connected studio rigs. The core process is the same everywhere. But the edge cases are where beginners lose an hour they didn’t need to lose.
Here’s everything you need, in the order you need it.
What Do You Need Before You Start?
Three things: the interface itself, the correct cable for your computer, and the driver software if your interface requires it.
Most modern interfaces ship with USB-C or USB-A connections. Check your computer’s ports before you open the box. If you’ve got a recent MacBook with Thunderbolt 4 ports only, and your interface has USB-A, you’ll need a USB-A to USB-C adapter or hub. Buy a direct adapter, not a USB hub. Hubs introduce power inconsistencies that cause drop-outs.
Download the driver before you plug anything in. Focusrite, PreSonus, Universal Audio, MOTU, and Behringer all have driver download pages on their sites. Search “[your interface name] driver download” and go direct to the manufacturer. Don’t trust third-party driver sites.
On macOS, many USB interfaces are class-compliant and work without a dedicated driver. The Focusrite Scarlett Solo 4th Gen, for example, runs without drivers on macOS 11 and above. On Windows, you need the manufacturer’s ASIO driver or you’re recording through Windows Audio Session API (WASAPI), which adds latency and reduces low-level control.
Install the driver first. Then plug in the interface. In that order.
How Do You Connect the Interface to Your Computer?
Plug the interface directly into a USB or Thunderbolt port on your computer. Not a USB hub. Not a docking station unless you’ve confirmed it’s bus-powered correctly.
USB 2.0 provides 480 Mbps of bandwidth. That’s enough for 32 channels of 24-bit/96kHz audio with headroom to spare. USB 3.x is faster but not required for most home studio setups. What matters more than USB generation is direct connection and stable power delivery.
Mac vs. Windows: The Real Difference
On macOS, your interface appears automatically in System Preferences under Sound once connected. The system uses Core Audio, which handles latency management natively. You’ll still want to set your interface as both input and output manually, but macOS rarely fights you on this.
On Windows, Core Audio isn’t available. You need ASIO. Without it, Windows routes audio through its kernel mixer, which adds latency and strips low-level access. With the manufacturer’s ASIO driver installed, you get direct hardware access and buffer sizes down to 32 samples if your interface supports it. We’ve seen Windows setups with generic audio drivers sitting at 50ms latency drop to under 3ms after installing proper ASIO drivers. Same hardware, same cable, completely different experience.
If you’re on Windows and don’t have a dedicated ASIO driver, ASIO4ALL is a free universal ASIO driver that works with most consumer audio hardware. It’s not as clean as a manufacturer’s driver, but it’s dramatically better than nothing.
How Do You Configure Your DAW to Recognise the Interface?
Once the interface is connected and the driver is installed, open your DAW and navigate to audio preferences. In Ableton Live, that’s Preferences > Audio. In Logic Pro, it’s Preferences > Audio > Devices. In Pro Tools, it’s Setup > Hardware. In FL Studio, it’s Options > Audio Settings.
Set the Audio Device or Output Device to your interface name. Set the Input Device to the same. If you see separate input and output dropdowns, set both.
Sample Rate and Buffer Size: The Two Settings That Matter Most
Set your sample rate to 44.1kHz for music production or 48kHz for video and multimedia work. Both at 24-bit. Don’t record at 16-bit. The noise floor of a 24-bit recording sits around -144dBFS theoretical versus -96dBFS for 16-bit. That’s 48dB of extra headroom before you hit the noise floor. Use it.
Buffer size controls latency. Lower buffer = lower latency = more CPU load. Higher buffer = more latency = lighter CPU load.
We recommend 128 samples during tracking. That gives you roughly 3-6ms of round-trip latency at 44.1kHz, which is below the threshold most musicians notice. If your CPU is struggling, push to 256 samples. Use 512 or 1024 only during mixing, when real-time latency doesn’t matter.
Here’s a real moment from our own setup. We were tracking guitar through a Focusrite Scarlett 2i2 on a mid-range Windows laptop. Buffer set at 512 samples. Every strum felt slightly drunk, like the signal was a step behind the fingers. We dropped to 128 samples, disabled all non-essential background apps, and the delay disappeared completely. Same interface, same cable, same guitar. Buffer size was the only change.
How Do You Set Input Gain and Phantom Power?
This is where most beginners either get noise or get clipping. Neither sounds good.
Setting Gain for a Microphone
Turn the gain knob down to zero before connecting a microphone. Plug the mic in. Then slowly bring the gain up while speaking or singing at your intended performance level, not whisper-quiet and not screaming.
Watch the signal meter on the interface. You want peaks hitting -18dBFS to -12dBFS on your DAW input meter. Not -6dBFS. Not -3dBFS. Leave headroom for the loudest transient in your performance.
The Focusrite Scarlett 2i2 4th Gen has 69dB of preamp gain and a dynamic range of 120dB. At moderate gain settings (roughly 9 to 12 o’clock on the knob), you’re running through clean converters with a noise floor well below -100dBFS. Past 3 o’clock, you start adding preamp noise. Keep gain under control and let your mic do the work.
Phantom Power for Condenser Microphones
If you’re using a condenser microphone, you need phantom power. It’s the 48V DC supply that powers the mic’s internal circuitry.
Toggle the 48V button on your interface. On most interfaces, this applies phantom power to all XLR inputs simultaneously. That’s worth knowing if you have a ribbon mic plugged in alongside a condenser. Phantom power can damage passive ribbon mics. If you’ve got a ribbon mic in one input and a condenser in another, check your interface manual before hitting that switch.
Dynamic microphones like the Shure SM7B don’t need phantom power. It won’t hurt them to have it enabled, but it serves no purpose.
How Do You Set Up Monitor Speakers and Headphones?
Connect your monitor speakers to the main outputs on the back of the interface. Most home studio monitors use balanced TRS or XLR connections. Match the connector type to your interface’s output type.
Turn your monitor volume knob fully down before powering anything on. Power on the interface, then the monitors. When you’re done, reverse that: monitors off first, interface off second. Startup and shutdown transients can damage tweeters over time.
Set your interface’s output knob to a comfortable listening level. Aim for around 79-85dB SPL at your listening position during critical listening, but for general work, a level where you can hear details without fatigue is more practical.
Direct Monitoring: Kill the Latency Completely
Direct monitoring routes the input signal back to your headphones or monitors before it passes through the DAW. You hear yourself with essentially zero latency, regardless of your buffer size setting.
Look for a Direct Monitor or Mix knob on your interface. On the Scarlett 2i2, it’s labeled “Direct Monitor” and routes the input directly to the output mix. The satisfying part of direct monitoring is this: you can set your buffer at 512 samples for heavy plugin sessions and still hear your mic or instrument in real time while you track.
We had a vocalist come in once who kept pulling off her headphones mid-session because the delay was “making her flat.” We switched to direct monitoring on the interface. She put the headphones back on and didn’t mention latency again for the rest of the session. Direct monitoring fixed what no buffer setting could.
What Should You Do If It's Not Working?
Start with the most common causes. Don’t assume the interface is broken.
No signal at all: check that the correct input is selected in your DAW track, the gain isn’t at zero, and phantom power is on if you’re using a condenser.
Terrible latency on Windows: you almost certainly haven’t installed the ASIO driver. Download it from the manufacturer’s site now. WASAPI is not a substitute.
Crackling or dropouts: you’re probably running too low a buffer size for your CPU. Raise it to 256 or 512 samples. Also check that you’re plugged directly into the computer, not through a hub.
Interface not appearing in DAW: restart both the DAW and the interface after driver installation. If it still doesn’t appear, reinstall the driver and plug into a different USB port.
Humming or buzzing: ground loop noise. Check that all your gear is plugged into the same power strip. Try a different cable. Check for fluorescent lighting near your setup.
For deeper troubleshooting on Windows, Focusrite’s Answerbase and the Gearspace Audio Interfaces forum are genuinely useful. The Gearspace threads often solve problems that manufacturer documentation never addresses.
The Sweetwater Knowledge Base and Universal Audio’s support documentation are also worth bookmarking if you’re working with UAD hardware or need general signal chain explanations.
Worth Bookmarking
- ASIO4ALL, free universal ASIO driver for Windows when your interface lacks a dedicated one
- Focusrite Downloads, drivers, firmware, and the Focusrite Control mixer app
- Gearspace Audio Interfaces Forum, real-world troubleshooting from working engineers
- Sweetwater InSync, solid setup guides and signal chain explainers
- Universal Audio Help Center, worth it even if you're not on UAD; good general interface setup documentation
Summary
Connect the interface directly to your computer. Install the manufacturer’s driver before anything else. On Windows, ASIO is non-negotiable. Set your sample rate to 44.1kHz and your buffer to 128-256 samples during recording. Dial in gain so peaks hit -18dBFS to -12dBFS. Enable 48V phantom power for condenser mics, not ribbon mics. Use direct monitoring to kill latency while tracking. If something doesn’t work, start with the driver, then the buffer size, then the cable. The interface is almost never the problem.
Related guides: studio signal chain guide · what is an audio interface
Frequently Asked Questions
Do I need to install drivers for my audio interface?
On macOS, many USB interfaces are class-compliant and work without additional drivers. On Windows, you need the manufacturer's ASIO driver for low latency and proper performance. Without ASIO on Windows, you're stuck with WASAPI, which adds significant latency and reduces control. Download drivers from the manufacturer's site before plugging anything in.
What sample rate should I use for recording?
Use 44.1kHz at 24-bit for music production. Use 48kHz at 24-bit if your audio will sync to video. Don't record at 16-bit regardless of sample rate. The extra headroom in 24-bit recording is audible when you're pushing levels and mixing. Higher sample rates like 88.2kHz or 96kHz increase file sizes and CPU load without a practical benefit for most home studio work.
What buffer size should I set in my DAW?
Use 128 samples during tracking for roughly 3-6ms latency at 44.1kHz. Push to 256 samples if your CPU shows strain. During mixing, when real-time latency doesn't matter, use 512 or 1024 samples to free up CPU for plugins. Switch back down when you return to tracking.
Why is there a delay when I record through my audio interface?
That delay is buffer latency. Your DAW is processing audio in chunks (the buffer), and you're hearing the output after that processing happens. Fix it two ways: lower your buffer size, or enable direct monitoring on your interface, which routes the input signal back to your headphones before it ever touches the DAW. Direct monitoring is the cleaner solution for most recording situations.
Do I need phantom power for every microphone?
No. Condenser microphones need 48V phantom power to operate. Dynamic microphones like the Shure SM58 or SM7B don't need it, and enabling it won't hurt them. Passive ribbon microphones should never have phantom power applied, as it can damage the ribbon element. Check your mic type before hitting the 48V switch.
Can I use a USB hub with my audio interface?
We'd avoid it. USB hubs share bandwidth and power across multiple devices, which can cause drop-outs, crackle, and unstable connections. Plug your interface directly into a USB or Thunderbolt port on your computer. If you've run out of ports, use a powered USB hub as a last resort, and keep the interface on a dedicated port if possible.