
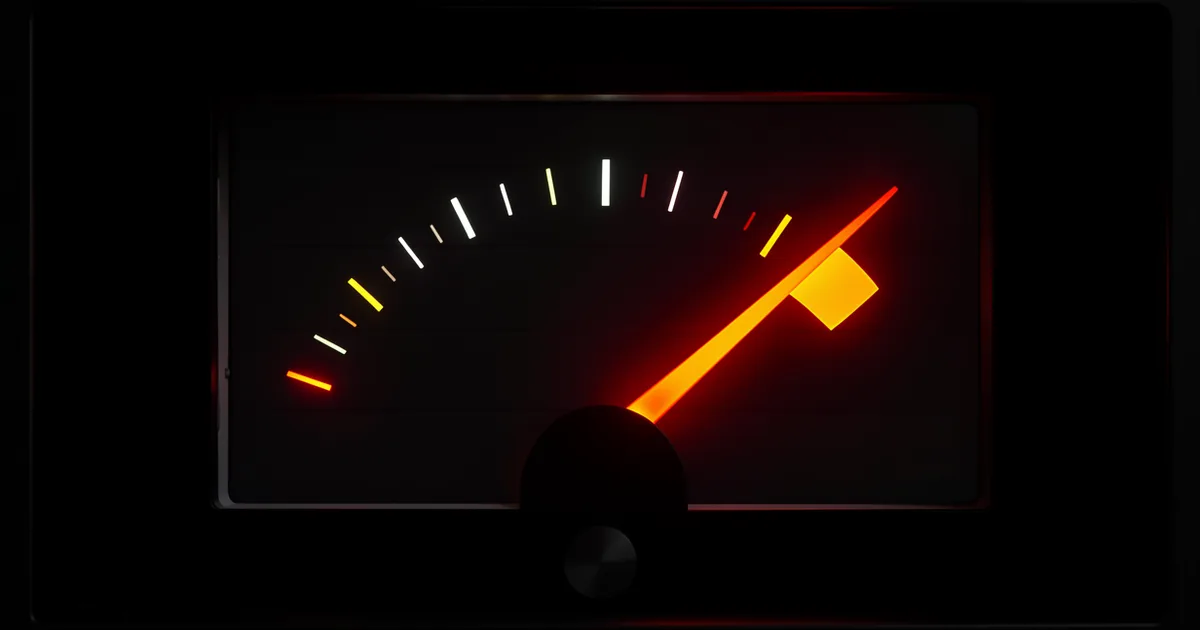
Dynamics processor plugins control the volume and intensity of audio signals using four main tool types: compressors, limiters, expanders, and gates. Understanding how each one works, and when to reach for it, is the foundation of every professional mix.
Every mix decision you make is a dynamics decision. Whether you're taming a vocal that jumps 12dB between verses, gluing a drum bus until the kit breathes as one, or stopping a live room from bleeding into a vocal mic, you're reaching for a dynamics processor. These plugins don't add colour the way reverb does or shift pitch the way a tuner does. They manage energy. And managing energy is what separates a mix that sounds loud from a mix that feels loud.
This guide covers everything in the dynamics processor toolkit: compressors, limiters, expanders, gates, transient shapers, and multiband processors. We'll look at the controls that actually matter, the workflow decisions that separate good mixes from great ones, and where free plugins hold up against $500 hardware emulations. No filler. Just what you need to know.
What Are the Main Types of Dynamics Processor Plugins?
There are five tool types you'll use across a session. Each solves a specific problem.
Compressors
A compressor reduces gain when a signal exceeds a set threshold. If you set the threshold at -18dBFS and dial in a 4:1 ratio, every 4dB above that threshold gets turned down to 1dB at the output. That's the whole mechanism. Everything else is how you shape the response.
Attack and release are where your personality lives. A fast attack (0.1ms) kills the transient. A slower attack (30ms) lets it punch through before the compressor clamps down. We've mixed snares where a 20ms attack and a 60ms release felt like the drum was jumping out of the speakers. Move the attack to 1ms and the same snare went flat and lifeless. Same compressor. Two very different outcomes.
Different compression topologies have distinct characters. VCA compressors (like SSL G-Bus emulations) are fast and clean, working best for bus glue. FET compressors (1176-style) are aggressive and fast, great for vocals and room mics. Optical compressors (LA-2A emulations) have a smooth, programme-dependent release that sounds satisfying on bass guitar and lead vocals. Vari-Mu designs (Fairchild emulations) are slow and musical, good on mastering chains and mix buses.
Limiters
A limiter is a compressor with a very high ratio, typically 10:1 or higher, often described as "brickwall" at infinity:1. Nothing gets through above the ceiling. You'll use a limiter at the end of your mastering chain to hit a target LUFS without clipping, or on individual tracks to catch rogue transients without audible compression.
Fabfilter Pro-L 2 shows the inter-sample peak level separately from the true peak. That matters when streaming platforms like Spotify and Apple Music run loudness normalisation at -14 LUFS. Set your output ceiling to -1dBTP and you won't clip on the platform's decoder.
Expanders and Gates
An expander does the opposite of a compressor. Instead of reducing gain above a threshold, it reduces gain below one. Signals that fall beneath the threshold get turned down further. This is how you clean up room noise, reduce bleed between drum mics, or add space between words in a vocal performance.
A gate is an expander with an extreme ratio. Signal below the threshold gets cut almost completely. We used a gate on a snare track once where the hi-hat bleed was sitting at -38dBFS. Set the threshold at -30dBFS with a 2ms attack, 80ms hold, and 150ms release, and the bleed disappeared without chopping the snare tail. That took about four minutes to dial in. Annoying to set wrong, satisfying when it locks.
Transient Shapers
Transient shapers don't care about level thresholds. They detect the attack and sustain portions of a signal and let you boost or cut each independently. Sonnox Transmod and SPL Transient Designer are the reference tools here. Want a tighter kick? Pull the sustain down 4dB. Want a snare that cracks harder without touching EQ? Push the attack up 3dB.
This is an underrated category. Most producers jump to compression when they want more punch. Half the time a transient shaper gets there faster and sounds more natural.
Which Controls Actually Change the Sound?
Attack, release, threshold, ratio, and knee. That's your core vocabulary. Everything else is cosmetic or workflow.
Knee
The knee controls how abruptly compression begins around the threshold. A hard knee switches compression on the moment a signal crosses the threshold. A soft knee starts compressing gradually in the dB range below the threshold, creating a more musical transition. Soft knees are more forgiving on vocals. Hard knees suit transient-heavy material where precision matters more than smoothness.
Makeup Gain vs. Auto Gain
Compression turns your signal down. Makeup gain turns it back up. Some plugins handle this automatically, which sounds convenient but hides a trap: auto gain makes every preset feel louder, which your ears interpret as better. Disable auto gain and A/B your signal at matched levels. That's the only honest comparison.
Sidechain
The sidechain input lets a compressor respond to a different signal than the one it's processing. The classic move: route a kick drum into the sidechain of your bass compressor. Every time the kick hits, the bass ducks slightly, carving out frequency space without touching EQ. Pro-Q 3 and TDR Nova handle dynamic EQ the same way using internal sidechains filtered to specific frequency bands. That's where expanders meet EQ in practice.
Single-Band vs. Multiband: Which Do You Actually Need?
Single-band compressors process the full frequency range together. When the kick hits and triggers gain reduction, everything above the threshold gets compressed. Low end, mids, highs. All of it moves.
Multiband compressors split the signal into frequency bands, typically 3 to 5, and compress each independently. If your mix's low end is spiking but your mids are sitting fine, a multiband lets you address the low end without touching the rest. Waves C6, iZotope Ozone Dynamics, and FabFilter Pro-MB are the most-used options here.
Here's our honest position: most people reach for multiband too early. A single-band compressor with good EQ before it handles 80% of mixing situations better. Multiband shines on mastering buses, mixed stems, or problematic material you can't rebalance at the source.
Dynamic EQ is a third category that often gets conflated with multiband compression. They solve similar problems differently. A dynamic EQ (TDR Nova, Fabfilter Pro-Q 3 in dynamic mode) applies EQ gain that reacts to level. A multiband compressor applies compression gain reduction band by band. The dynamic EQ sounds more transparent on material where the frequency problem is intermittent. The multiband compressor gives you more control over attack and release per band.
Free vs. Paid: Where's the Real Difference?
This is where most guides give you a vague "it depends." We'll be more direct.
The LSP plugin suite (Linux Studio Plugins, available free and open-source across all major formats including VST2, VST3, AU, and AAX) covers compressors, limiters, expanders, gates, and transient processing with genuinely usable results. The SC Compressor Stereo in LSP is clean at low ratios and doesn't add colour. It's not exciting. It works.
We put the LSP compressor next to the UAD SSL G-Bus Channel on a mix bus with 6 tracks running through it. At 2:1 ratio, 30ms attack, 100ms release, and 3dB of gain reduction, the SSL sounded warmer in the 200Hz to 400Hz range by about 1 to 1.5dB. The LSP was cleaner. The SSL felt better. If you're mastering or working on commercial records where that 1.5dB of warmth means something, the UAD is worth the money. If you're learning or working in-the-box on smaller projects, the LSP gets you to a professional result without spending anything.
The paid plugins that genuinely earn their price are the ones with accurate hardware emulation (UAD Neve 33609, Arturia Bus FORCE, Waves SSL G-Master Buss), or tools with unique detection algorithms that free plugins don't replicate (iZotope RX Dynamics for dialogue, Fabfilter Pro-L 2's lookahead limiting). MDynamic processors from MeldaProduction sit at a mid-price point and offer 64-bit internal processing with MS (mid-side) modes that cost nothing to add to your workflow.
How Do CPU Load and Latency Affect Your Choice?
This gets ignored in most guides. It matters in real sessions.
UAD plugins run on an external DSP card, which means near-zero CPU load on your computer and very low plugin latency. The trade: you need the hardware. Without a UAD Apollo or Satellite, you can't run them.
Native plugins run on your computer's CPU. At heavy track counts, this adds up. The Waves SSL G-Master Buss Compressor uses around 0.3% CPU per instance on an M2 MacBook Pro. FabFilter Pro-MB uses roughly 1.2% per instance with all 6 bands active. iZotope Neutron 4's compressor module inside a full instance runs around 4 to 5% on its own. None of these are scary numbers individually. Stack 40 instances across a session and you'll feel it.
Latency is the other issue. Lookahead processing (needed for transparent brickwall limiting and some transient shaping) introduces latency. Pro-L 2 at maximum lookahead adds 4096 samples of delay, about 85ms at 48kHz. Your DAW compensates for this automatically during playback. But if you're monitoring through a native limiter while tracking a live instrument, you'll hear the delay. Use zero-latency mode during tracking. Switch to the full lookahead mode for the bounce.
What's the Right Workflow for Dynamics Processing?
Process in this order. Not because it's a rule. Because it works.
Gate first, if you need one. Gating after compression means the compressor has already responded to the noise you're trying to remove. That's harder to clean up. Gate the signal clean, then compress what's left.
Compress on the channel before you hit the bus. Then compress lightly on the bus. The bus compressor should be doing 1 to 3dB of gain reduction, maximum. If you're getting 6dB of reduction on your mix bus, something upstream isn't controlled well enough.
Limit only at the end of the signal chain. The master limiter is your last line of defence. It should be catching 0.5 to 2dB of occasional peaks. If it's working harder than that, your mix is too loud before it hits the limiter.
Transient shapers go before compression on drums and percussion. Shape the transient character first, then compress the resulting signal. Doing it the other way around often means you're compressing attack energy you'll just add back later.
Worth Bookmarking
- FabFilter Pro-MB Manual, best documentation on multiband compression concepts in the industry
- LSP Plugins, free, open-source dynamics suite covering everything from gates to limiters
- Waves SSL E-Channel, the single most-used compressor/EQ combination in ITB mixing worldwide
- iZotope Learning Hub, solid explainers on dynamic range, LUFS targets, and loudness normalisation
- Universal Audio Learn, hardware emulation context and signal chain tutorials
- Sound On Sound Techniques, deep dives on compressor topologies and hardware vs. software
- r/mixingmastering, real producer feedback on plugin choices, CPU benchmarks, and workflow questions
Summary
Dynamics processors control the energy in your mix. Compressors reduce peaks. Limiters stop anything above a ceiling. Expanders and gates clean up the quiet spaces. Transient shapers let you reshape attack and sustain without touching levels. Multiband tools split the job by frequency when single-band can't solve the problem cleanly.
Free plugins like LSP handle most situations. Paid tools like Pro-L 2, UAD Neve 33609, and iZotope Ozone Dynamics earn their price through accuracy, unique algorithms, or hardware emulation character. Learn the controls on one compressor deeply before you collect a dozen. Get your signal chain order right. Let the limiter do its job without asking it to save a loud mix.
Part of our complete Music Production Plugins Guide: Complete Beginner's Overview series.
Frequently Asked Questions
What's the difference between a compressor and a limiter?
A compressor reduces gain above a threshold at a controlled ratio, typically 2:1 to 8:1, allowing some peaks through. A limiter uses a very high ratio (10:1 to infinity:1) to prevent anything from exceeding a set ceiling. Use a compressor to shape dynamics and glue tracks together. Use a limiter at the end of your mastering chain to hit a loudness target without clipping.
Do I need a hardware dynamics processor or will plugins work?
For 99% of in-the-box workflows, plugins work. The gap between a good emulation and the original hardware is real but small, typically 1 to 2dB of character in specific frequency ranges. Hardware is worth considering if you're running a professional mastering studio or tracking signal chains where analog saturation at the input stage matters. Otherwise, spend the hardware budget on monitors or acoustic treatment.
What's the best dynamics plugin for beginners?
Waves CLA-2A is the most forgiving compressor to learn on because it only has two controls: peak reduction and gain. You can't set a wrong attack or release because it handles those internally based on the programme material. Once you understand what compression does with a simple tool, move to something with full controls like Ableton's stock Compressor or the free TDR Kotelnikov.
How much compression is too much?
If your gain reduction meter is consistently hitting more than 6dB on a single track, you've likely set the threshold too low or the ratio too high. Aim for 2 to 4dB of gain reduction on most sources. On a mix bus, 1 to 3dB is the range where glue happens without the mix sounding squashed. More than that and you're fighting the dynamics rather than shaping them.
What's the difference between a gate and an expander?
A gate cuts the signal almost completely below a threshold using a very high expansion ratio, typically 1:10 or higher. An expander reduces gain below the threshold at a gentler ratio, like 1:2 or 1:3, so the signal fades naturally rather than cutting off abruptly. Gates are aggressive and work well on drums with heavy bleed. Expanders are more musical and suit dialogue, vocals, and room mics where a hard cut sounds unnatural.