
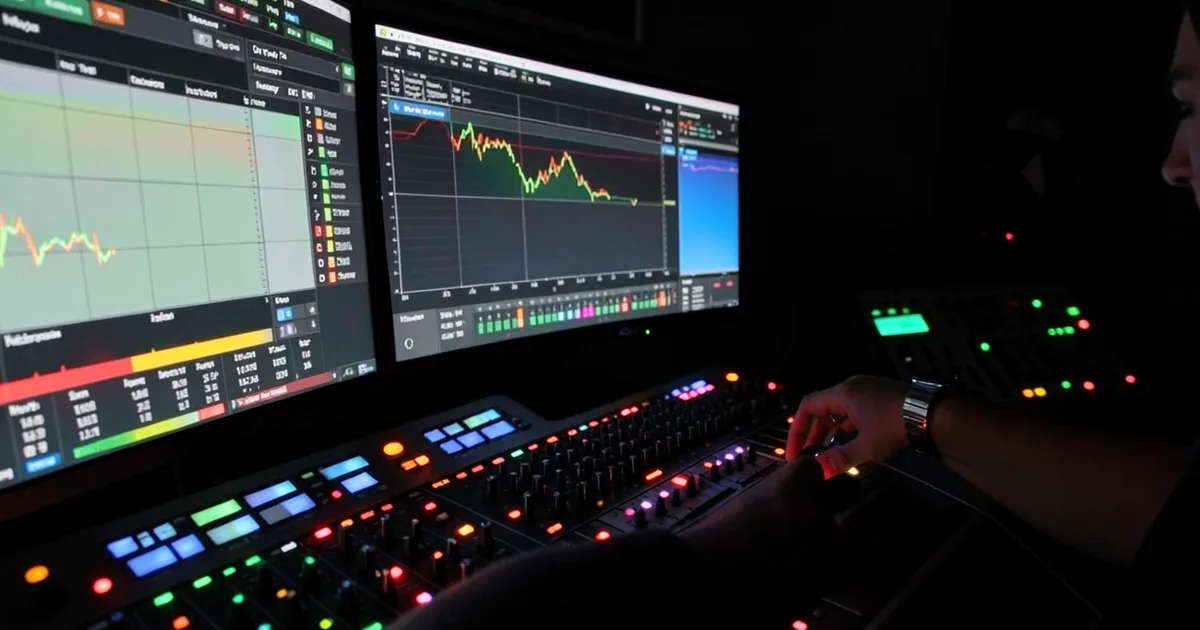
To mix a song from scratch, start with a static gain balance before touching a single plugin, then work through EQ, compression, effects, and automation in that order. Get the balance right first and you've done roughly 75% of the work before a single processor fires.
A good mix doesn't come from the right plugins. It comes from doing the right things in the right order. We've watched producers spend three hours dialing in a compressor on a vocal that just needed to be turned down 1.5dB. That's not a gear problem. That's a workflow problem.
This guide walks you through the complete mixing process from the moment your session loads to the moment you bounce a master-ready file. We cover every stage, flag the mistakes that kill beginner mixes, and give you real numbers to work with instead of vague advice about "finding the sweet spot."
We also address the headphone mixing problem directly, because that's where a huge portion of home producers are working right now. It's not ideal. But it's workable with the right approach.
Let's get into it.
Should You Do Anything Before You Touch a Fader?
Yes. Two things. Set a reference track and set your intent.
A reference track is a commercially released song in your genre that you love. Import it into your DAW on a dedicated track, match its loudness to around -14 LUFS integrated (or use a null-test matching approach in something like ), and leave it there. You'll flip to it constantly.
Setting your intent means answering one question before you process anything: what is this mix supposed to feel like? A bedroom pop track needs space and softness. A hard techno kick needs to physically pressure you at 60Hz. Knowing that answer stops you making random decisions.
Also, clip gain your tracks before you touch faders. Get every track peaking around -18dBFS before you set a single fader position. This gives you proper headroom on every bus and the master output later. Skipping this step is the single most annoying mistake to fix mid-mix.
What Is a Static Balance and Why Does It Come First?
A static balance is your mix with every fader set manually, no automation, no effects, no plugins. Just levels and pan positions.
This is the most important stage. Not EQ. Not compression. The balance.
We once loaded a session with 47 tracks and bypassed every plugin across the board. The mix was already 70% there just from the faders. The snare was audible without a compressor. The bass sat under the kick without an EQ notch. That was a well-recorded session, but the lesson holds: processing fixes problems the balance creates.
Start with your kick and bass. These are the foundation. Every other decision is made relative to them. Bring the kick up until it feels solid, then bring the bass up until it complements rather than competes. You're looking for the kick to hit around 60-80Hz and the bass fundamental to fill 80-120Hz, but those ranges shouldn't both be slamming at the same time.
Add drums in full, then bass, then harmonic elements (pads, guitars, keys), then lead vocals last. Vocals should be the loudest melodic element in almost every genre. They're what people listen to.
Pan with intent, not habit. Guitars don't have to be hard left and right. A pad at 30% left and a synth at 40% right can feel wider than hard-panned tracks that cancel each other's energy.
How Do You EQ Without Destroying Your Mix?
EQ is corrective first, creative second. Fix problems before you add anything.
Every track should start with a high-pass filter. Even bass guitars. Cut everything below 30Hz on bass, below 80Hz on guitars, above 16kHz on anything that doesn't need air. You're removing frequencies that the track doesn't use but that still consume headroom and create mud.
For a muddy mix, the problem is almost always 200-400Hz. A narrow cut of 2-3dB with a Q around 1.5 to 2.0 somewhere in that range will clean up more than any other move. Find the exact frequency by sweeping a narrow boost slowly through the range until it sounds ugly, then flip it to a cut.
We ran that exact process on a dense indie rock session recently. The guitars had a boxy honk at 320Hz. We cut 2.5dB with a Q of 1.8 in FabFilter Pro-Q 3 (check the manufacturer's site for current pricing). The vocals immediately sat forward in the mix without touching the vocal channel once.
That's the satisfying part of corrective EQ. Fix one track and three other tracks improve by proxy.
For creative EQ, add brightness to vocals with a gentle shelf boost starting at 10-12kHz, no more than 2-3dB. Add punch to a snare with a small boost at 200Hz and clarity with a boost at 5-6kHz. Add weight to a kick with a boost at 60-80Hz and click with a boost at 2-4kHz.
On your master bus, EQ moves should stay under 1dB per band. If you need more than that, the problem is upstream.
What Does Compression Actually Do to Your Mix?
Compression reduces the dynamic range between the loudest and quietest moments in a signal. That's it. Everything else follows from that.
When people say compression makes things "punchy," they mean the transient comes through cleanly before the compressor clamps down, then the sustain lifts because the compressor raises the quieter tail. Set attack too fast and you kill the transient. Set attack too slow and the transient clips before the compressor reacts.
For a snare, try starting at: attack 10ms, release 80ms, ratio 4:1, threshold set until you're getting 4-6dB of gain reduction on hits. Then dial it in from there. Those aren't magic numbers. They're a starting point that works for most snares on first load.
Parallel compression is the move for drums. Set up a send from your drum bus to a dedicated FX return. Crush that return hard: fast attack, fast release, ratio 8:1 or higher, threshold low. Then blend it back under the dry signal until you hear the room fill in and the hits feel heavier. You're adding density without losing punch.
On vocals, we typically use two compressors in series. The first catches the big peaks: 4:1 ratio, medium attack (around 15ms), 4-6dB of gain reduction. The second smooths what's left: 2:1 ratio, fast attack, 2-3dB of gain reduction. Two light touches beat one heavy-handed clamp every time.
If you're using stock compressors in your DAW, they'll do the job. Logic's built-in compressor, Ableton's Glue Compressor, and Pro Tools' stock 7-band compressor are all underrated. Don't spend money on compressor plugins until you've broken the stock ones.
How Do You Set Up Reverb and Delay Without Washing Out the Mix?
Use send/return routing for reverb and delay. Never insert them directly on the track unless you specifically want 100% wet.
Create an FX return track. Set the reverb or delay on it to 100% wet. Send signals to it at varying levels from each source track. This way you control how much of each instrument sits in the space, and all instruments share the same acoustic environment. That's how mixes feel cohesive.
For contemporary pop and hip-hop, keep reverb pre-delay at 20-30ms and decay time at 0.8-1.2 seconds. For more ambient or cinematic work, 1.5-2.5 seconds is appropriate. Any longer in a dense mix and the tail starts smearing transients.
We put a vocal through a plate reverb emulation at 1.4 second decay with a 25ms pre-delay. The dry vocal hit first. The reverb bloom filled behind it 25ms later. The separation between the performance and the space made the vocal feel forward rather than buried. Pre-delay is the most underused parameter in a beginner's mix.
For delay, set it in tempo. A 1/8th note delay on a vocal doubles the energy rhythmically without creating a separate event. Pull the high frequencies down on the delay return (low-pass at 6-8kHz) so it sits behind the dry signal in the mix.
A free resource worth bookmarking: the on this site covers pre-delay settings by genre in detail.
Worth Bookmarking
- Sound On Sound, Deep technical tutorials on every mixing concept, written by working engineers. The "Mix Rescue" series is brilliant for real-world before/after case studies.
- iZotope Learn, Free tutorials on EQ, dynamics, and metering with interactive visual tools. Genuinely useful even if you don't own their plugins.
- How To Make Electronic Music, Practical, no-fluff breakdowns of mixing workflow for ITB producers, with strong coverage of headphone mixing techniques.
When Do You Use Automation and What Should It Do?
Automation is how you make a static mix feel alive. It's not a fix for a bad balance. It's the polish on a good one.
Volume automation on vocals is the most important. Even with a well-compressed vocal, some words will be too loud and some phrases will drop. We ride vocals manually after compression, writing automation in real time on a fader or drawing it in after. A well-ridden vocal sits consistently in the mix without feeling processed.
Aim for the vocal to be roughly 3-5dB above the loudest melodic instrument during a verse and 2-3dB above during a big chorus where everything else lifts. Those aren't rules. They're starting points.
Beyond volume, automate reverb send levels. Increase the reverb send on a vocal as it goes into a long note or a phrase ending. Pull it back on rapid delivery so the reverb doesn't cloud the consonants. It's a small move. The result is a professional-sounding vocal treatment that most listeners can feel but not name.
Automate filter sweeps and hi-pass positions on synth pads to create movement. Automate the wet/dry on a delay throw on backing vocals. These micro-decisions add up to the difference between a mix that sounds like a file and a mix that sounds like a record.
What About Mixing on Headphones Only?
It's workable. It's not ideal. Here's how to make it work.
The main problem with headphone mixing is false stereo width and exaggerated low-end. Bass frequencies that sound balanced on headphones often disappear on speakers. Stereo elements that sound wide on cans collapse on mono playback devices, like phones.
Check mono constantly. In Ableton, there's a mono button in the bottom toolbar. In Logic, use the Gain plugin with Stereo to Mono mode. Flip to mono, check that the kick and bass are still present and nothing important has disappeared. Do this at every stage, not just at the end.
Use a crossfeed plugin if you're on headphones. Crossfeed blends a small amount of the left signal into the right and vice versa, simulating the way speakers interact with a room. Redline Monitor (free) and Goodhertz CanOpener ($29 at time of writing, check the manufacturer's site for current pricing) both do this well. It reduces ear fatigue and gives your panning decisions more real-world context.
Export your mix regularly and listen back on your phone, on earbuds, on a Bluetooth speaker. If the vocal disappears on your phone's speaker, the mix isn't translating. Fix it there, not on your main listening setup.
Summary
Mix in this order: static balance, EQ, compression, effects, automation. Don't skip ahead. The balance does 75% of the work before any plugin fires. EQ corrects before it colors. Compression adds punch and density when set with real parameters, not guesswork. Reverb and delay go on send/return channels, kept shorter than you think you need. Automation makes a static mix feel like a performance. If you're on headphones, check mono obsessively and use crossfeed. Get those fundamentals right and the plugin choices stop mattering as much as everyone wants you to think they do.
Frequently Asked Questions
What order should I mix in?
Start with clip gain to normalize track levels to around -18dBFS, then set a static balance with just faders and panning. From there, work through corrective EQ, then compression, then effects (reverb and delay on sends), then automation last. This order matters because each stage builds on the one before it. Compressing a badly balanced track just compresses a badly balanced track.
How loud should my mix be before mastering?
Your stereo mix should peak no higher than -6dBFS true peak and sit around -14 to -18 LUFS integrated before it goes to mastering. This gives the mastering engineer headroom to work with. If you're self-mastering, you can push closer to -6dBFS true peak, but a limiter on the master bus should be the last thing in your chain, not the first.
How do I stop my mix from sounding muddy?
High-pass filter every track that doesn't need sub-bass energy, typically cutting below 80-100Hz on anything that isn't kick, bass, or low synth. Then find the mud frequency on the worst offenders, usually somewhere between 200-400Hz, by sweeping a narrow boosted band until you find the ugly buildup, then cut it by 2-3dB with a Q of 1.5 to 2.0. Clear that range on two or three tracks and the whole mix opens up.