
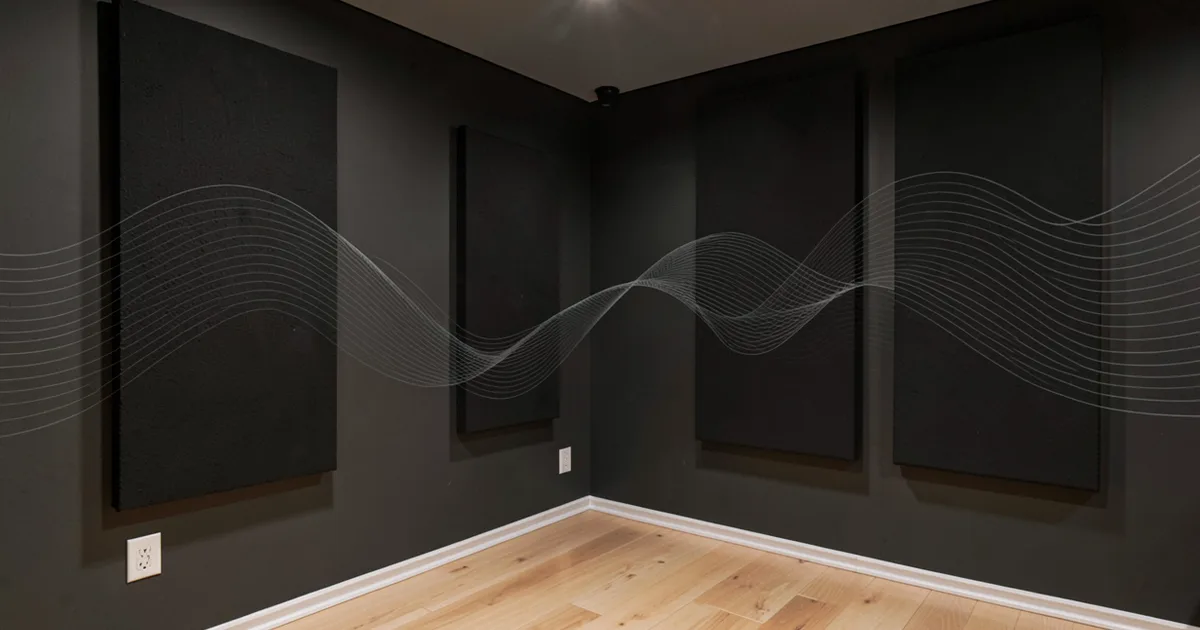
Acoustic treatment reduces the reflections, flutter echo, and low-frequency buildup inside your room so your mix decisions translate accurately to other playback systems. You need bass traps in corners, absorption panels at first reflection points, and enough diffusion to keep the room from sounding dead, coverage of 20–30% of your wall surface area is the practical target for most home studios.
Why Your Mixes Don't Translate (And Why Foam Squares Aren't the Answer)
You finish a mix. It sounds great on your monitors. You play it in the car and the low end is completely different. That's not your ears. That's your room lying to you.
Untreated rooms have standing waves, flutter echo, and early reflections that colour what you hear at the mix position. Your brain compensates for those colourations over time. So you mix against the room, not the actual signal.
Here's the misconception we see constantly: people cover every surface with 1-inch foam squares and call it treated. It isn't. Thin foam only absorbs mid-range and high frequencies. The bass buildup, which is doing the most damage to your mix decisions, goes completely untouched.
Acoustic treatment means controlling reflections inside your room. Soundproofing means blocking sound from entering or leaving. They're different disciplines, different materials, different budgets. You can have a fully treated room that your neighbours can still hear perfectly. Don't conflate the two.
This guide covers what treatment actually does, where to put it, how to measure whether it's working, and how to combine physical treatment with software correction for the best result per dollar spent.
What Are the Different Types of Acoustic Treatment?
Bass Traps
Bass traps are the foundation. Start here before anything else.
Low frequencies build up in corners because that's where room modes converge. A 4-inch minimum thickness of rigid fibreglass or rockwool (we prefer Rockwool Safe 'n' Sound or OC 703) placed floor-to-ceiling in all four vertical corners will cut the worst of that buildup. Anything thinner than 4 inches won't absorb below 200Hz with any reliability.
Corner placement multiplies effectiveness. The pressure from standing waves is highest at boundaries, so a 4-inch panel in a corner absorbs roughly as much as an 8-inch panel on a flat wall. That's the physics working for you.
Broadband Absorption Panels
Once your corners are handled, you address early reflections with broadband panels. These are typically 2-inch rigid fibreglass or rockwool frames. The 2-inch thickness matters: panels at this depth carry an NRC (Noise Reduction Coefficient) rating of around 1.0, meaning they absorb effectively across a wide frequency range. Drop to 1-inch panels and you're looking at NRC 0.65–0.75, which leaves a meaningful gap in absorption below 500Hz.
The "clap test" most guides suggest is frustratingly imprecise. Clap once in the centre of your room and listen for a metallic ring or flutter. That tells you flutter echo exists. It tells you nothing about where your first reflection points are or whether your bass treatment is working. We'll cover measurement tools below.
Diffusers
Diffusers scatter sound rather than absorb it. Place them on the rear wall behind your listening position and on the ceiling behind the reflection zone. They preserve a sense of space and air in the room without the deadness that comes from absorbing everything.
A fully dead room sounds wrong. Mixing in one for hours is fatiguing in a way that's hard to describe until you've done it. Diffusion keeps the room alive without the comb-filtering damage that bare reflective surfaces create.
Where Do You Actually Put Acoustic Treatment?
Identify Your First Reflection Points
First reflections are the copies of your speaker signal that bounce off the nearest walls and reach your ears milliseconds after the direct sound. They cause comb filtering: frequency cancellations and boosts that are position-dependent and completely misleading during a mix.
Here's how to find them without guessing. Sit at your mix position. Have someone hold a mirror flat against the side wall and slide it forward and back until you can see your tweeter reflected in it. Mark that spot. That's your first reflection point. Repeat on the other side wall, the ceiling, and the floor if your desk doesn't block it.
Put a 2-inch broadband panel at each marked location. For ceiling panels, extend at least 12 inches past the marked point on either side, because the ceiling reflection zone is wider than the side wall zones.
Room Layout Strategy
Before you buy a single panel, orient your room correctly. Place your speakers so you're mixing down the longest dimension of the room. This gives sound waves more distance to travel before bouncing back, which pushes the first reflection arrival time later and reduces comb filtering severity.
We set up a room once with the monitors firing down the short dimension because the desk fit better that way. The low end was a mess at 80–100Hz regardless of how much treatment we added. Rotating the entire setup 90 degrees solved in two hours what months of panel additions couldn't fix.
Keep your mix position at least 38% of the room's length from the front wall. This keeps you out of the worst pressure nodes for bass frequencies.
The 20–30% Coverage Rule
You don't need to cover every surface. Covering 20–30% of your total wall and ceiling surface area with appropriate material is enough to achieve meaningful control. Going beyond 40% coverage without adding diffusion starts to sound unnatural.
For a typical 10x12 foot room (ceiling at 8 feet), total surface area is roughly 576 square feet. You're targeting 115–172 square feet of treated surface. That's achievable with 8–10 panels plus corner bass traps.
How Do You Know If Your Treatment Is Actually Working?
This is the gap in almost every treatment guide: measuring before and after.
The best free tool for this is Room EQ Wizard (REW). It's free, it runs on Windows and Mac, and it generates frequency response plots, RT60 decay curves, and waterfall diagrams that show you exactly where your problem frequencies are and how long they ring.
Run a measurement before you buy anything. Then run one after. REW will show you in Hz and milliseconds what changed. You'll see your 80Hz mode ringing for 400ms before treatment and maybe 180ms after a bass trap installation. That's not subjective. That's data.
To use REW you need a measurement microphone. The miniDSP UMIK-1 costs around $75 and is calibrated for this exact purpose. It connects via USB and REW recognises it automatically. There's no good reason to skip this step.
We ran measurements on a treated room that felt fine to our ears. REW showed a +8dB peak at 63Hz and 350ms of decay. That peak was why every kick drum sounded massive in the room but thin on headphones. Treatment brought it to +2.5dB. The kick started translating.
Should You Use Software Room Correction Too?
Yes. But not instead of treatment. In addition to it.
Software correction tools like Sonarworks SoundID Reference and IK Multimedia ARC 3 measure your room with a measurement microphone, then apply a correction EQ to your monitor output. They flatten the frequency response at your listening position.
What they can't fix: long decay times. A 63Hz mode ringing for 500ms can be corrected in amplitude, but the resonance still blurs transients and masks detail. You'll hear the correction working, but the room still sounds wrong. Physical treatment handles time-domain problems. Software handles frequency-domain problems. You need both.
The workflow we'd recommend: treat the room physically first to get RT60 below 300ms at most frequencies, then run software correction to flatten what remains. Sonarworks SoundID Reference runs as a systemwide plugin or a DAW insert and works well with most studio monitors. ARC 3 integrates into your DAW session. Both are worth their price once you've done the physical work.
For free calibration measurement, REW paired with your DAW's EQ can approximate this, though it takes more manual work than either commercial solution.
What About Portable and Rental-Friendly Solutions?
Permanent wall-mounted panels aren't an option for everyone. Rented spaces, shared apartments, and touring engineers all need portable solutions.
Freestanding panel frames have gotten genuinely good in the past two years. GIK Acoustics offers freestanding versions of their panel products that don't require wall mounting. You get the same 703 fibreglass core, the same NRC ratings, and the flexibility to move them between rooms.
Portable vocal booths like those from Kaotica or sE Electronics work for tracking vocals and acoustic instruments. They're not room treatment, they're localised absorption around the microphone. Don't expect them to fix your monitoring environment.
For a rental-safe studio, we'd prioritise floor-standing corner bass traps first (they require nothing installed), then freestanding broadband panels on stands at first reflection points. You lose some effectiveness versus wall-mounted panels, but the difference is smaller than you'd think when placement is correct.
Worth Bookmarking
- Room EQ Wizard (REW), Free room measurement software. The non-negotiable starting point.
- miniDSP UMIK-1, Calibrated USB measurement mic, ~$75. Pairs with REW.
- Sonarworks SoundID Reference, Software room correction. Use after physical treatment.
- IK Multimedia ARC 3, DAW-integrated correction alternative to Sonarworks.
- GIK Acoustics, Best value panels we've found. NRC-rated, custom sizes, ships internationally.
- Acoustimac, Good DIY-friendly options, especially for custom-covered panels.
- Acoustic Fields, Deep technical content on room modes and bass treatment design.
- Audacity, Free, useful for recording and reviewing impulse responses alongside REW.
- Owens Corning 703, The standard rigid fibreglass used in most pro panel builds. Buy direct or through insulation suppliers.
- Sweetwater Acoustic Treatment Resource, Useful secondary reading, especially the room mode calculator.
Summary
Start with REW and a $75 measurement mic. Measure before you buy anything. Place bass traps in all four vertical corners at a minimum of 4-inch depth. Target your first reflection points with 2-inch broadband panels and aim for 20–30% total surface coverage. Orient your room so you're mixing down the longest dimension. Add software correction (Sonarworks or ARC) after the physical treatment is in place, not instead of it. Don't spend $1,000 on panels before measuring, and don't buy thin foam and call it done.
Part of our complete Studio Signal Chain Guide: Build a Clean Audio Path series.
Frequently Asked Questions
What's the difference between acoustic treatment and soundproofing?
Acoustic treatment controls reflections inside your room to improve how sound behaves at your listening position. Soundproofing (or sound isolation) prevents sound from passing through walls, floors, and ceilings. They use completely different materials and methods. You can have a fully treated room that leaks sound freely, and a fully isolated room that sounds terrible to mix in.
How much does it cost to properly treat a home studio?
A functional treatment setup for a typical 10x12 room runs $450–$1,000 for commercial panels and bass traps covering 20–30% of the surface area. DIY builds using Owens Corning 703 or Rockwool Safe 'n' Sound with fabric-wrapped frames cut that cost to $150–$350 for comparable performance. The measurement mic and REW software add about $75 to either approach.
Do I really need bass traps?
Yes. In any room smaller than roughly 20x25 feet, low-frequency buildup from standing waves is the biggest accuracy problem you'll face. Broadband panels and foam do almost nothing below 200Hz. Bass traps in corners are not optional if you want low-end decisions to translate outside the room.
Where exactly should I put my first reflection panels?
Use the mirror method: sit at your mix position and have someone slide a mirror along the side wall until you can see your tweeter's reflection. That's the spot. Mark the ceiling the same way using a mirror on a pole or a laser pointer. Cover those marks with 2-inch panels, extending at least 12 inches beyond the marked points on the ceiling.
Is 1-inch acoustic foam worth buying?
Not for mixing. It's fine for reducing flutter echo in a live room or vocal booth where accurate low-end monitoring isn't the goal. For a control room or home studio monitoring position, 1-inch foam at NRC 0.65–0.75 leaves your bass problem completely untouched. Buy 2-inch minimum, and rigid fibreglass or rockwool outperforms foam at every thickness.
Can software like Sonarworks replace physical treatment?
No. Software correction fixes frequency-domain problems (peaks and dips in your frequency response). It can't fix time-domain problems like long decay times and flutter echo. A 63Hz mode ringing for 400ms will still blur your low end even after software correction applies amplitude compensation. Treat the room physically first, then use software for the remainder.
How do I know if my room treatment is actually working?
Measure it. Download Room EQ Wizard (free) and use a calibrated measurement mic like the miniDSP UMIK-1. Run a measurement before you install anything, then after. Look at your RT60 decay times and your waterfall plot. Numbers don't lie: if your 80Hz decay drops from 500ms to 200ms after adding bass traps, the treatment is working.
What's the best room layout for a home studio?
Mix down the longest dimension of your room. This delays the first reflection arrivals and reduces low-frequency mode density in the critical bass range. Keep your mix position at around 38% of the room's length from the front wall. Avoid sitting with your back against a wall: rear wall reflections at your position create serious bass buildup.
Are portable or freestanding panels as effective as wall-mounted ones?
Slightly less effective, but not dramatically so if placement is correct. Freestanding panels work best when they're placed with their backs against or close to the wall rather than floating in the middle of the room. For rental spaces, floor-standing corner bass traps and freestanding broadband panels on stands are a legitimate solution. GIK Acoustics and Acoustimac both offer freestanding options.
How do I stop my room from sounding too dead after treatment?
Add diffusion, especially on the rear wall and the ceiling behind your primary reflection zone. Diffusers scatter sound in multiple directions instead of absorbing it, preserving a sense of space without the comb filtering from bare reflective surfaces. A room with 25% absorption coverage and 10% diffusion coverage sounds better than a room with 35% absorption and no diffusion.