
What You'll Need
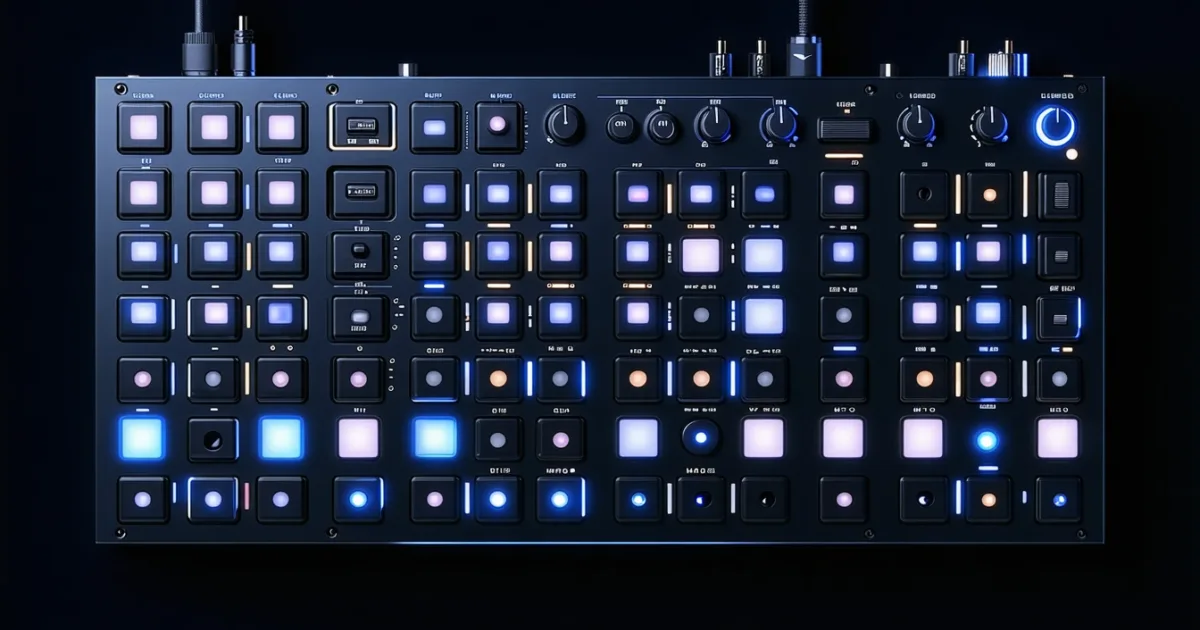
- A DAW (Ableton Live, Logic Pro, FL Studio, or similar) or an AKAI MPC
- A sampler plugin: Serato Sample ($99), TX16Wx (free), or your DAW's stock sampler
- A sample to work with (any .wav or .mp3 works for practice)
- Skill level: Beginner to Intermediate
- Estimated time: 30–60 minutes to complete your first chopped loop
Chopping samples means slicing an audio recording into smaller pieces and rearranging those pieces into a new musical idea. It’s the backbone of hip-hop, lo-fi, and a growing number of electronic genres. You don’t need an MPC and a crate of vinyl to do it well. You need a decent ear, a sampler, and a method. Here’s ours.
Step 1, Source a Sample Worth Chopping
Start with something that has rhythmic or melodic movement. A two-bar drum break, a chord stab, a vocal phrase, even a sound effect. Flat, static audio doesn’t give you much to work with.
We’ve found that soul and funk records from 1968–1976 consistently produce the most choppable material: natural tape compression, live drummers, and imperfect timing that creates rhythmic interest when rearranged. That said, any genre works if the source has dynamics.
Acceptable formats are .wav or .aiff at 44.1kHz/16-bit minimum. If your sample is a compressed MP3, run it through your DAW at 320kbps or higher. Lower than that and you’ll hear encoding artifacts once you start pitching slices.
Load the file into your DAW’s audio editor before you touch the sampler. You want to see the waveform at full zoom first.
Step 2, Read the Waveform Before You Slice
Zoom into your waveform until individual transients are visible as vertical spikes. These are your natural cut points.
A transient is the sharp amplitude spike at the attack of a sound: a snare hit, the pick on a guitar string, the consonant at the start of a vocal syllable. Every useful chop starts just before a transient or exactly on it.
We pulled up a classic Amen Break once and marked every transient before slicing. The result was 16 usable chops from a two-bar loop instead of the usual 8. That extra resolution made the difference between a serviceable beat and something that actually moved.
Your DAW’s transient detection will miss some hits and invent others. Trust your ears over the algorithm. Listen back to each marked point and delete the false positives.
Step 3, Choose Your Slicing Method
There are four approaches. Pick the right one for your material.
Manual chopping: you place every cut by ear and eye. Most control, most time. Use this for melodic samples or anything with complex timing.
Beat-based chopping: your sampler divides the audio into equal divisions (1/8, 1/16, 1/32). Fast. Works well for tightly-recorded drum loops that sit on the grid.
Transient chopping: the plugin detects attack peaks and slices there automatically. Serato Sample does this well. We’ve tested it on a 32-bar soul loop and it correctly identified 94% of meaningful hit points.
Real-time chopping: you trigger cuts live on pads while the sample plays. Satisfying to perform but harder to replicate precisely. Best for sketching ideas quickly.
Step 4, Load Into Your Sampler and Set Slice Points
Drop the audio into your sampler of choice. Serato Sample ($99) gives you automatic transient detection plus pitch correction on individual slices without time-stretching artifacts. TX16Wx is free and handles the same workflow with more manual control. Ableton’s Simpler in Slice mode works cleanly for everything on this list.
In Simpler, set the Slice Sensitivity to around 70% as a starting point. Too high and every room noise becomes a slice. Too low and you’ll miss real hits. Adjust until the count matches what you heard in the waveform view.
Name your slices if your sampler supports it. Annoying to do on slice 20. Brilliant to have done it on slice 20 when you’re remixing the project six months later.
Step 5, Map Slices to MIDI or Pads
Each slice gets triggered by a MIDI note or a pad hit. Most samplers assign them chromatically starting at C1 by default.
Rearrange the mapping so your most-used hits fall under your thumb. If you’re on a keyboard, cluster the hits you’ll sequence most often in one octave. On pads, group similar sounds together: kicks and snares on the bottom row, melodic hits on the top.
We love this stage. It’s where the sample stops being someone else’s recording and becomes an instrument you built.
Step 6, Tune Each Slice Individually
This is where most beginners skip ahead and hate the result later.
Every slice has its own pitch. A chord sample sliced into individual notes will have different root pitches per slice. If you’re repitching them chromatically, they need individual tuning offsets first.
Use your sampler’s per-slice tuning. In Serato Sample, right-click the slice and set the root key. In TX16Wx, use the tune knob on each region. Dial in the root, then let the sampler handle semitone shifts from there.
One wrong tuning offset in a 12-slice sequence will clash against every other element in your mix. Fix it now.
Step 7, Set Loop and Release Points
If any slice is meant to sustain (a pad, a chord, a held note), you need a loop point. Find a zero-crossing inside the sustained portion and set the loop start and end there.
A zero-crossing is where the waveform crosses the centre line at 0 amplitude. Looping anywhere else creates a click. Your sampler may do this automatically. Check by ear regardless.
Release time affects how each hit decays after you lift the key. Start with 20ms for percussive chops and extend to 80–150ms for melodic material. Keep percussive hits tight or they’ll blur the groove.
Step 8, Sequence the Chops in Your MIDI Editor
Open a MIDI clip and start placing notes. This is composition, not just playback.
Swap the order of slices. Flip the last hit to the downbeat. Take a high-hat chop and layer it against a snare chop from a different part of the sample. The source loop becomes raw material, not a loop to replay.
We once took a four-bar horn sample, chopped it into 11 slices, and built a 16-bar melodic sequence from nothing but those slices played in a new order. It sounded like a different record entirely. That’s the point.
Step 9, Process Each Slice on Its Own Channel
Route slices to individual outputs if your sampler supports it. This gives you per-slice EQ, compression, and effects without affecting adjacent hits.
A useful starting chain per slice: high-pass at 80Hz (Q of 0.7), then a gentle compressor at 3:1 with a 10ms attack. That high-pass kills rumble from vinyl crackle without touching the body of the sound. The comp tightens transients without squashing them.
Don’t apply the same processing to every slice. A kick chop and a cymbal chop want different treatment. Treat them like separate instruments because they are.
Step 10, Commit, Bounce, and Rebuild
When the sequence works, bounce each slice combination to a new audio file. Freeze what you have before you spiral into endless micro-editing.
Then rebuild. Take that bounced loop and chop it again. Second-generation chopping creates rhythmic complexity that’s frustratingly hard to achieve any other way. Pete Rock built careers on this. You can hear it in the stuttered transitions and layered textures that feel impossible to reverse-engineer.
Commit and move forward. The loop that’s 90% right and bounced will always beat the loop that’s still open in the editor two weeks later.
Pro Tips
Reverse individual slices for transitions. A reversed snare chop placed one 16th note before the downbeat creates a pull-back effect. Set the slice to reverse in your sampler, then drop it at the right point in MIDI.
Use BeatCleaver for batch processing large sample libraries. It supports unlimited slicing with timestretching and exports each slice as a discrete file. When you’re working through 40 records in a session, that speed matters.
Pitch a melodic slice down 2 semitones and use it as a bass element. We’ve built entire low-end foundations from a horn chop pitched into the 50–80Hz range.
Legal note: clearing samples is not optional if you release commercially. If a chop is recognisable, it needs clearance. The four-bar rule is a myth.
Common Mistakes to Avoid
Slicing on off-beats without knowing it. Zoom into the waveform to confirm your cut lands on or before the transient spike, not 10ms after the hit. Late cuts produce a dragging, ugly feel that no amount of quantisation fixes.
Ignoring gain staging per slice. Louder slices will pop out and imbalance your sequence. Match RMS levels across slices before you sequence. A 3dB difference between adjacent hits is audible and distracting.
Over-relying on beat-based slicing for complex material. If a drummer plays behind the beat, equal divisions will cut through notes rather than between them. Manual or transient-based slicing is the right call for organic recordings.
Keeping too many slices. 6–10 well-chosen chops will produce better results than 32 mediocre ones. Cull ruthlessly. Keep only the hits that excite you.
Related guides: music production guide · sample chopping guide
Frequently Asked Questions
What's the best free tool for chopping samples?
TX16Wx is our pick for free sampler VSTs. It handles manual slice placement, per-region tuning, and multi-output routing without a paywall. Ableton's Simpler in Slice mode is the runner-up if you're already in Live. Both handle everything in this tutorial without hitting a feature ceiling.
Do I need an MPC to chop samples properly?
No. An MPC is brilliant for tactile, performance-based chopping. But Serato Sample, TX16Wx, and every major DAW's stock sampler produce identical results in the mix. The hardware gives you a different workflow, not a better one. Buy the MPC because you want to perform with it, not because you think you need it to chop.
How do I avoid the clicking sound when looping a slice?
The click comes from looping at a non-zero-crossing point. Zoom into the waveform at the loop boundary and move the start or end marker until the waveform sits at the 0 amplitude centre line. Most samplers have a "snap to zero crossing" option. Enable it and the problem mostly goes away. A short fade-in of 2–5ms on the slice start also kills residual clicks.