
What You'll Need
- Your DAW of choice (Ableton Live, Logic Pro, Pro Tools, FL Studio, or Cubase)
- A metering plugin (LEVELS by Mastering The Mix or iZotope Insight 2)
- A reliable EQ and compressor (FabFilter Pro-Q 3 and Pro-C 2 are our go-to)
- A CPU-light reverb for send routing (Valhalla Room or Supermassive)
- Skill level: Beginner to intermediate
- Estimated time: 45 to 90 minutes to build, seconds to use forever after
Building a DAW template means creating a pre-configured project file with named tracks, bussing, plugins, and routing already in place, so every new session starts at the five-minute mark instead of zero. If you’re starting a fresh project from a blank slate every time, you’re losing 20 to 30 minutes per session to housekeeping. Across 50 projects a year, that’s over 20 hours of your life spent naming tracks and patching reverb sends. That stops today.
Step 1, Open a Fresh Project and Plan Your Track Layout
Don’t create tracks yet. Think first.
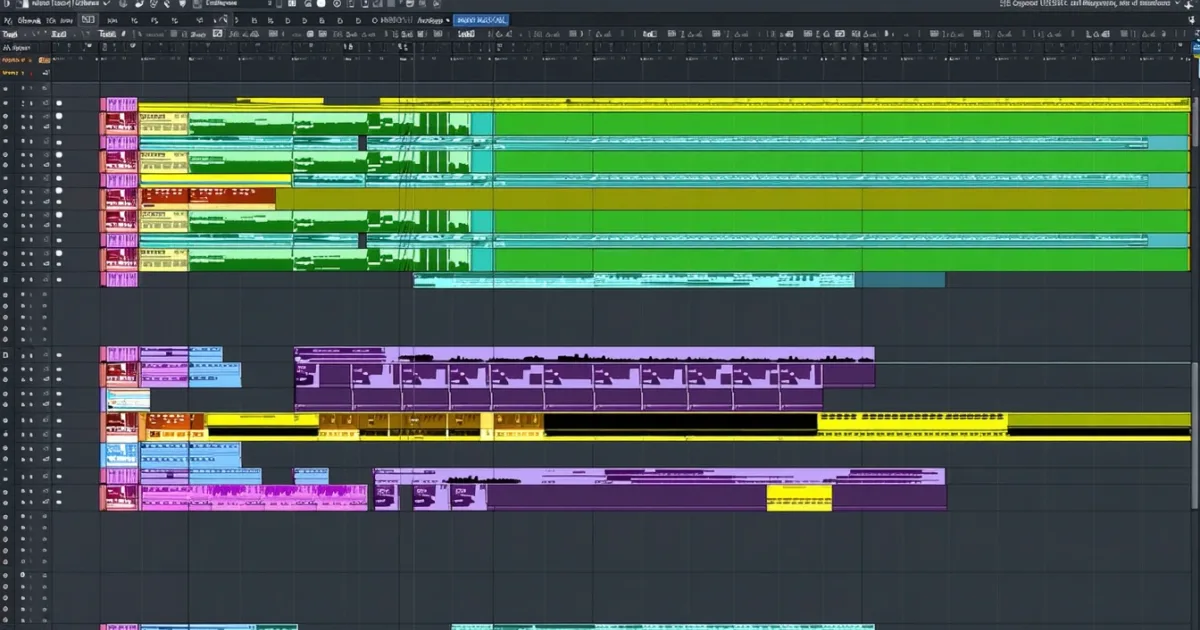
Sketch your typical session on paper or a notes app. Most genres break down into four zones: rhythm (drums, percussion), harmony (keys, pads, guitars, bass), melody (leads, synths), and vocals. Map channels before you build.
A workable starting assignment: channels 1 to 4 for drums and percussion, 5 to 8 for bass, 9 to 14 for harmonic elements, 15 to 20 for leads and synths, 21 to 26 for vocals. This isn’t sacred. But picking a consistent assignment and sticking to it means muscle memory builds fast.
We spent six months rebuilding templates from scratch because we never committed to a layout. Annoying doesn’t cover it. Pick an order and lock it.
Step 2, Create Labeled Tracks With Color Coding
Create every track type you use regularly. Name them specifically: “Kick In”, “Snare Top”, “Bass DI”, “Lead Vox”, “BGV L”, “BGV R”. Generic names like “Audio 1” are useless at 2am when you’re searching a 40-track session.
Assign a color to each zone. In every DAW we’ve used, colors are the fastest navigation tool in a dense session. Drums get red. Bass gets orange. Guitars get green. Vocals get blue. Synths get purple. Keep it consistent across every template you build.
This sounds like admin. It is. But the first time you open a session on a client’s machine and your layout is exactly where you left it, it feels satisfying in a way that’s hard to explain.
Step 3, Build Your Bus Structure
This is where most templates fall apart. Producers create buses reactively, mid-session. Don’t.
Create a Drum Bus, Bass Bus, Instrument Bus, Vocal Bus, and a Master Bus before a single plugin goes anywhere. Route all your drum tracks to the Drum Bus. All bass tracks to the Bass Bus. You get it.
Then create two auxiliary return tracks: Reverb Send and Delay Send. These stay empty for now. We’re building the skeleton, not the muscles.
In Pro Tools, use Aux Input tracks. In Ableton, use Audio Effect Racks routed from Send channels. In Logic, the Summing Stack does this beautifully. The architecture is the same across every DAW. The button labels differ.
Step 4, Gain Stage Every Track to -15dBfs
Set the input gain on every track so nominal signal peaks around -15dBfs. Not -6. Not -10. Minus fifteen.
That headroom matters when you stack 30 tracks and bus them together. We’ve watched mixes clip at the bus stage because every individual track was sitting at -6dBfs and nobody did the math. At -15dBfs per track, your buses have room to breathe and your master bus limiter isn’t doing crisis management.
In your template, set a trim or gain plugin at the top of every channel’s insert chain, zeroed at 0dB but ready to be adjusted per session. FabFilter Pro-Q 3 has a built-in gain knob. Use it.
Step 5, Load Metering on the Master Bus
Put a metering plugin on your master bus before anything else goes there.
LEVELS by Mastering The Mix shows you true peak, loudness in LUFS, stereo width, and dynamic range on one screen. iZotope Insight 2 gives you more detail if you’re mixing for picture or streaming. Either one costs less than an hour of studio time and saves you from delivering a mix that clips on Apple Music’s normalization.
Set your LUFS target before you touch a single fader. Streaming targets: -14 LUFS integrated for Spotify and Apple Music. -16 LUFS for podcasts. Write it on a sticky note on your monitor if you have to.
Step 6, Set Up Your Reverb and Delay Sends
Load Valhalla Room on your Reverb Send aux. Set it to a medium room: pre-delay at 20ms, decay at 1.4 seconds, mix at 100% wet. The send controls the depth. The plugin stays wet.
Load a tempo-synced delay on your Delay Send. In Ableton, Delay works fine. In Logic, Tape Delay is underrated. Set the feedback to 30%, the mix to 100% wet again.
We ran a snare hit through a Valhalla Room send at those settings on a pop ballad. The crack hit. The tail spread out behind it for about 1.2 seconds without touching the hi-hat. Clean separation. That’s the target behavior in your template.
Step 7, Add CPU-Light Processing to Your Buses
On the Drum Bus, load a gentle compressor. Ratio 2:1, attack 30ms, release 80ms. Threshold set so it’s barely touching, maybe 2 to 3dB of gain reduction at most. This is glue, not squash.
On the Vocal Bus, load a high-pass filter at 80Hz and a de-esser. The de-esser settings will need adjusting per session, but having it there means you won’t forget it.
Avoid loading CPU-hungry convolution reverbs or linear phase EQs at the bus level in the template. Waves Nx, iZotope Ozone in full mode, or UAD plugins on every bus will drag your buffer settings up before you’ve tracked a note.
Step 8, Create a Master Bus Chain
On your master bus: metering first (from Step 5), then a gentle EQ, then a soft-knee compressor, then a true-peak limiter at the end.
For the EQ, load FabFilter Pro-Q 3 with no adjustments. It’s there when you need it, invisible when you don’t. For the limiter, FabFilter Pro-L 2 at -0.3dBTP true peak ceiling. Threshold at 0dB. You’ll move the threshold down as the mix gets louder.
Don’t leave a heavy processing chain on the master bus in the template. A reference EQ and a limiter at ceiling are enough to start.
Step 9, Save a Genre Variant
Your generic template covers most sessions. But a rock template needs extra guitar bus tracks and no sidechain routing. An electronic template needs a sidechain compressor on the bass bus triggered by the kick, LFO tools ready, and more synth channels.
After you finish Step 8, save that file as “Template - Core”. Then modify it: add four guitar tracks and an additional parallel drum bus compression channel for rock. Save that as “Template - Rock”. Swap the guitar tracks for synth stacks and add the sidechain routing for electronic. Save that as “Template - Electronic”.
Three files. Covers 90% of sessions. The other 10% gets built from the closest match.
Step 10, Save as Template in Your DAW
In Ableton: File, then Save Live Set as Template. It appears in Browser under Templates.
In Logic: File, then Save as Template. It shows up in the Project Chooser.
In Pro Tools: File, then Save As, then check “Save As Template” in Pro Tools 2023+. Or save to your Templates folder manually in older versions.
In FL Studio: File, then Save as default, or place the .flp file in the Templates folder in your FL Studio data directory.
Don’t overwrite your base template when a session drifts. Always save sessions as new project files. We’ve watched producers lose a core template by hitting save at the wrong moment. Love your template like a session file you can never get back.
Pro Tips
Version your templates every quarter
Your workflow changes. Your template should too. Every three months, open your core template, make improvements based on what’s been annoying you, and save it as “Template - Core - Q1 2025”. Keep the old versions. You’ll want to go back sometimes.
Load reference tracks into the template
Keep a dedicated Reference track in your template with the volume trimmed to -14 LUFS so your mix sits at a fair comparison level. We use a track locked at -7dB to compensate for the loudness difference. Flip it on when you need perspective. Flip it off before you bounce.
Use track deactivation instead of deletion
In Ableton, Logic, and Pro Tools, you can deactivate tracks without deleting them. Load more tracks than you think you need in the template, then deactivate the ones you don’t use this session. They’re there if you need them. They’re not eating CPU if you don’t.
Template your MIDI too
For electronic and hybrid sessions, save chord MIDI clips, drum pattern sketches, and arpeggio patterns as clips in your template. In Ableton, drop them into the Session View slots. You’re not married to them. But having a I-IV-V chord block ready to drag in saves five minutes of theory work when you want to test a progression.
Common Mistakes to Avoid
Over-building the template
A 120-track template with a plugin on every insert is a slow-loading nightmare. We’ve seen templates that take 45 seconds to open. That’s not a template. That’s a liability. Keep it lean. The reverb send, the bus compressors, and the master chain. Everything else loads when the session needs it.
Treating the template as permanent
Your template is a starting point. It’s not a cage. If a session needs the vocal bus restructured or the drum routing changed, change it. Just do it in the session file, not in the template itself. The biggest mistake we see is producers forcing sessions into template structures that don’t fit because they don’t want to deviate. That’s backwards.
Forgetting to test on a real session
Build the template, then immediately open a finished mix project and compare routing. You’ll find a track you forgot, a bus that’s missing, a send that’s backwards. Test it before you trust it. Build it on a Monday. Use it on a real session Tuesday. Fix what broke. Save the new version Wednesday.
Setting gain structure wrong from the start
If you set your template tracks to default at 0dBfs, every session starts too hot. By the time you’ve got 20 tracks loaded with plugins, the bus is clipping and you’re pulling everything down manually. Start at -15dBfs gain staging and it stacks cleanly. This is the most frustrating mistake to fix mid-session.
Related guides: music production guide · how to organize daw session
Frequently Asked Questions
How many tracks should a DAW template have?
Most producers work well with 30 to 50 tracks in a core template. That covers full drum kits, bass, several instrument layers, and vocal stacks without loading so much that the file is slow to open. Add genre-specific tracks in your variant templates. Don't pad the core template with tracks you use once a year.
Should I put plugins in my template or load them per session?
Put CPU-light utility plugins in the template: gain trims, high-pass filters, and metering. Leave heavy processors like convolution reverbs, tape saturation emulators, and dynamic EQs for the session. A template plugin that's inactive still loads on startup in some DAWs. Keep the core template fast.
Do I need different templates for different DAWs?
Yes. Templates don't transfer between DAWs, and the workflow differences are big enough that you'd want genre-specific versions anyway. If you work across Ableton and Logic, build separate templates in each. The bus architecture and signal flow logic will be the same. Only the button names and file formats change.