
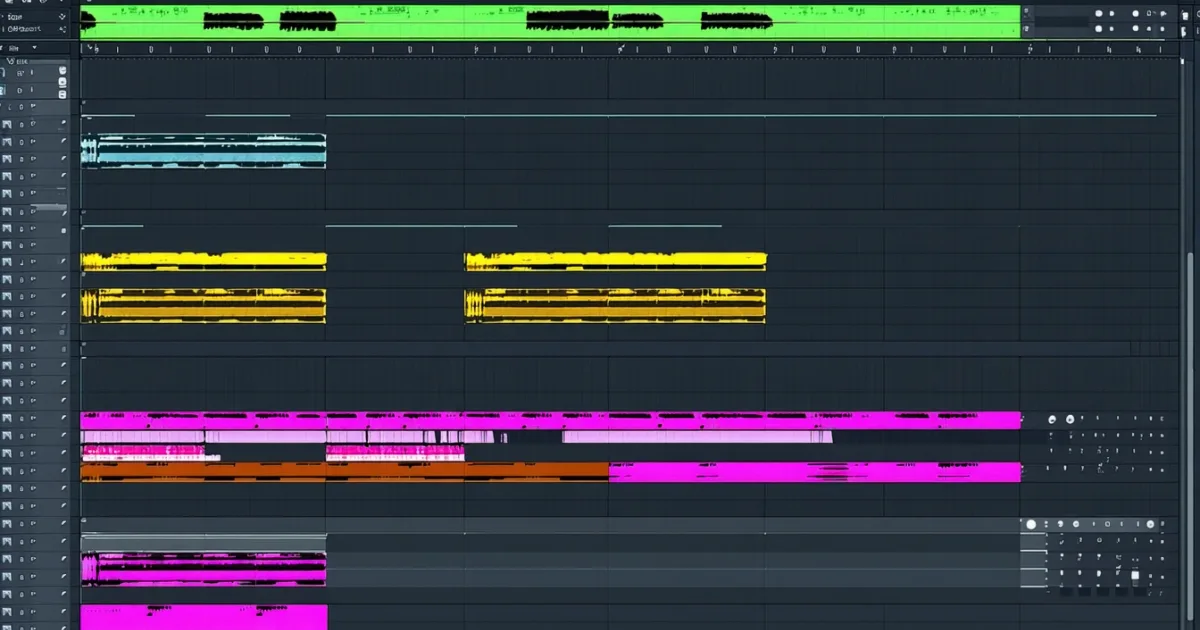
A DAW workflow is the sequence of steps you use to record, arrange, edit, mix, and export music inside your digital audio workstation. Getting it right means less clicking, fewer distractions, and more finished tracks.
Your DAW workflow is the difference between finishing a track and staring at 47 unnamed audio clips at 2am wondering what went wrong. We've seen both outcomes. This guide is about the first one.
We're going to cover everything: picking the right DAW for how you actually work, building templates that shave 20 minutes off every session, setting up shortcuts that keep your hands off the mouse, and dialling in your signal chain before you record a single note.
This is the hub guide for our entire DAW workflows subcategory. Every review and comparison we publish links back here. Bookmark it.
Which DAW Should You Actually Use?
The honest answer: the one that matches your daily patterns, not the one with the longest feature list.
We'd love to give you a single winner. We can't. But we can give you a sharper decision tree than most guides do.
The 2026 DAW Landscape in Plain Numbers
Ableton Live 12 Suite runs $749. FL Studio Producer edition is €179 with lifetime free updates, which is one of the best long-term deals in music software. Reaper costs $60 on the discounted license (or $225 commercial) and runs on anything. Logic Pro is a Mac-only $199.99 one-time purchase. Studio One Professional checks current pricing at the manufacturer's site.
If you're on a $0 budget, Waveform Free from Tracktion is the closest thing to a full pro DAW at no cost. It's not perfect. It's not embarrassing either.
Match the DAW to Your Work Pattern
Ableton Live wins for electronic music and live performance. The Session View alone justifies it for loop-based producers. Nothing else works like it for real-time triggering.
FL Studio wins for beat-makers and anyone who thinks in patterns first, arrangement second. The Piano Roll is still the best in the business. The lifetime updates policy means you pay once.
Reaper wins for budget-conscious producers who don't mind a steeper learning curve. It's ugly on first launch. We'll admit that. But its routing flexibility is brilliant, and $60 is hard to argue with.
Logic Pro wins for Mac users who want world-class stock plugins without spending $500 on third-party gear. If you're on an Apple Silicon Mac, it's almost unfair how good the value is.
One gap we keep noticing: LUNA from Universal Audio has a gorgeous interface and excellent tape emulation, but its piano roll lags behind every DAW on this list. We love the concept. We hate the MIDI editing.
How Do You Build a Session Template That Actually Saves Time?
A session template is a pre-built project file you open instead of a blank session. It has your track groups, bus routing, plugin chains, and colour coding already in place. You open it, rename the session, and record.
We built our first proper template after a frustrating session where we spent 35 minutes setting up routing before playing a single note. Never again.
What to Include in Your Template
Start with track groups. Drums, bass, melodic instruments, vocals, and FX returns are the five pillars. Create a bus for each and route everything through them before you save the template.
Add your mix bus chain while you're there. A gentle high-pass filter around 20Hz, a bus compressor on the drum group (we use a ratio of 4:1, attack at 10ms, release at auto), and a limiter on your master bus at -0.3dBFS ceiling. These stay off until you need them. But having them ready saves 10 minutes every session.
Colour coding matters more than it sounds. Drums in red, bass in orange, melodic elements in blue, vocals in green, FX in purple. Stick to the same palette every session. After a month it's automatic. You'll scan a session and know what's where in under two seconds.
Group Your Tracks Before You Need To
Don't wait until the arrangement is full to set up groups. Build them into the template. Empty grouped tracks cost you nothing and save you the scramble later.
In Ableton, use return tracks for your reverb and delay sends from the start. In Logic, set up aux channels for your bus processing. In FL Studio, use the mixer routing with colour labels.
What Keyboard Shortcuts Actually Speed Up Your Workflow?
The fastest producers we know don't have faster ideas. They spend less time executing them.
We watched a session with a producer working in Ableton and timed how long it took to duplicate a clip, add a reverb send, and set an automation lane. With mouse-only: 47 seconds. With keyboard shortcuts: 9 seconds. Over a six-hour session, that adds up to over 20 minutes of saved time.
Shortcuts Worth Memorising First
In Ableton Live: CMD/CTRL+D to duplicate, CMD/CTRL+SHIFT+F to freeze a track, CMD/CTRL+A to select all clips in session view, and A to toggle the automation button.
In FL Studio: F5 for the playlist, F6 for the step sequencer, F7 for the piano roll, and CTRL+Z for undo (obvious, but abuse it).
In Logic Pro: R to record, spacebar to play/stop, CMD+U to quantize, and CMD+SHIFT+K to open the score editor.
In Reaper: every shortcut is customisable. Set up your own scheme on day one. The default set is fine, but building your own is satisfying and sticks better.
Resources like KeyShorts have printable cheat sheets for most major DAWs. Keep one near your monitor until the shortcuts are muscle memory.
How Should You Set Up Your Signal Chain for Recording?
Good recordings start before you press record. Set your gain correctly, choose your sample rate, and know where your signal is going.
Gain Staging and Recording Specs
Record at 24-bit minimum. Always. The noise floor difference between 16-bit and 24-bit is about 48dB. You want that headroom when you're working with dynamics.
For sample rate: 44.1kHz is fine for music destined for streaming. 48kHz is standard for anything going to video. 96kHz and 192kHz give you more headroom for pitch manipulation and resampling, but they also double or quadruple your file sizes and CPU load. We record at 48kHz for most sessions and bump to 96kHz only when we know we're pitching heavily.
Set your input gain so your loudest signal peaks around -18dBFS. That gives you 18dB of headroom before clipping. We've saved dozens of takes by not slamming the preamp.
A Quick Story About Getting This Wrong
We recorded a full vocal session at 0.5dB from clipping because the singer got louder on the choruses. Every chorus had the same brittle, harsh distortion at the top end. We tried to fix it with a clipper plugin set to soft-clip at -0.3dBFS. It smoothed some of it. Not all of it. We re-recorded the choruses.
Gain stage correctly the first time. It's not exciting advice. It saves sessions.
How Does Automation Improve Your Mix?
Automation is what separates a static mix from a mix that feels alive. Volume automation, panning moves, and effects automation all work together to give tracks space when they need it and presence when they don't.
Where to Start With Automation
Start with volume automation on your lead vocal. A vocal that sits consistently at -12dBFS across a chorus sounds flat. We typically ride the lead vocal 1.5dB to 3dB higher on the second chorus than the first, and drop it 2dB on bridge sections to create contrast.
Automate your reverb send return, not the reverb wet/dry knob. Bringing up a reverb send by 3dB into the final chorus creates a sense of space opening up. It's one of our favourite moves. Satisfying every time.
Effects Automation for Dynamic Mixes
Automate your high-pass filter on pads and textures. Sweep it down from 400Hz to 80Hz as a track enters. The low-end energy builds in a way that feels organic.
For delay throws: automate your delay send to 100% for the last syllable of a vocal phrase, then drop it back to 0% immediately after. This is a standard trick and it never gets old.
FL Studio's automation clips make this ridiculously quick to draw in. Ableton's breakpoint automation is more visual. Logic's region-based automation is brilliant for non-destructive editing. All three approaches work. Pick the one your brain reads fastest.
What Do You Need to Know About CPU and AI Plugin Demands in 2026?
This is the gap most workflow guides skip. We're not going to skip it.
AI-powered plugins are here in force. Output's "Re-imagine" sample tools, iZotope's AI-assisted mastering in Ozone, Acon Digital's Acoustica suite, and Antares Auto-Tune's real-time pitch detection all hit your CPU harder than traditional DSP.
2026 studio benchmarks for AI plugins and Dolby Atmos immersive audio require Cinebench scores above 50,000. An Intel i9-12900K scores around 28,000. That machine already struggles with three concurrent AI plugins at low buffer settings.
What does that mean for your workflow? Either invest in newer Apple Silicon or AMD Ryzen 9000-series hardware, or be strategic about when in your workflow you run AI plugins. Don't run pitch correction, AI noise reduction, and an AI mastering plugin simultaneously. Freeze your AI-heavy tracks as soon as those processing decisions are locked.
GPU acceleration is becoming relevant too. Some AI denoise and spectral repair tools (like iZotope RX's new Neural processing modes) can offload to your GPU if your DAW supports it. Logic Pro on Apple Silicon does this automatically. On PC, check whether your DAW and plugin manufacturer support CUDA or Metal compute offloading.
For benchmarking your own system, Scan Pro Audio's DAWBench gives real-world DAW performance metrics across hardware configurations. We use it before recommending hardware to anyone.
Worth Bookmarking
- KeyShorts, Printable keyboard shortcut cheat sheets for all major DAWs
- DAWBench, Real-world CPU benchmarks for audio production workloads
- Cockos Reaper Forum, The deepest customisation community for Reaper scripts and macros
- Ableton Packs, Official template packs and instruments, many free
- KVR Audio, Plugin database and developer forums
- Splice, Sample library and plugin rental, useful for testing sounds inside your workflow
- iZotope Learn, Free guides on metering, mastering, and AI-assisted processing
Summary
A solid DAW workflow comes down to five things: choosing the DAW that fits how you actually work (not just the one everyone talks about), building templates before you need them, learning 10 shortcuts better than learning 100 halfway, recording at 24-bit with proper gain staging, and using automation to bring your mix to life. The 2026 addition to that list is understanding your CPU limits around AI plugins. Start with the template. Everything else follows.
Part of our complete Music Production Guide: From First Session to Finished Song series.
Frequently Asked Questions
What is the best DAW for beginners in 2026?
GarageBand is free on Mac and genuinely capable enough to finish professional-quality tracks. On Windows, Reaper at $60 on the discounted license gives you more depth than most beginners will need for years. Both have massive tutorial communities. Start with whichever matches your operating system.
How do I stop getting distracted and actually finish tracks?
Set a 4-hour timer when you open a session and commit to bouncing something at the end of it, finished or not. Most unfinished tracks die from too many open decisions, not too few ideas. Templates help by removing setup decisions before you start. Limiting yourself to three instrument tracks in the first hour helps too.
Is 44.1kHz or 48kHz better for music production?
44.1kHz for music going to streaming and CD. 48kHz for anything syncing to video. The audible difference between the two for music-only projects is negligible. Pick one and be consistent so you avoid sample rate conversion artifacts at the end of your session.
How many tracks should a session template have?
Enough to cover your typical project without wasting scroll time on empty tracks. A 20-30 track template covers most genres: a drum group with 8 stems, bass, 4 melodic instrument slots, 2-3 vocal tracks, and 4-6 FX returns. You can always add more. Starting with 80 tracks you'll never fill is just noise.
What's the fastest way to learn keyboard shortcuts in my DAW?
Pick five shortcuts that relate to the action you do most (usually: record, duplicate, zoom in/out, quantize, and undo). Use only those for two weeks before adding more. Trying to learn 30 shortcuts at once means retaining zero. Print a cheat sheet from KeyShorts and tape it to your monitor until it's automatic.
Do AI plugins actually affect CPU load that much?
Yes, and the gap is growing. A standard EQ or compressor uses under 1% CPU on a modern system. AI pitch detection, noise reduction, and spectral repair tools can use 15-30% each at low buffer sizes. If you're running more than two AI plugins simultaneously on a machine with a Cinebench score under 30,000, expect dropouts. Freeze tracks aggressively.
Can I collaborate on a project across different DAWs?
The cleanest method is stem exchange: bounce your groups to audio files at the same sample rate and hand them over. MIDI files also transfer with minimal friction between most major DAWs. Native project file sharing only works reliably within the same DAW and version. Don't send a Logic session to someone running FL Studio and expect it to open cleanly.