What You'll Need
- A DAW with stereo panning and send routing (Ableton Live, Logic Pro, FL Studio, Pro Tools all work)
- A mid/side EQ, FabFilter Pro-Q 3, DMG Audio EQuilibrium, or your DAW's built-in M/S mode
- A stereo imager, iZotope Imager (free with RX Elements), Brainworx bx_stereomaker, or Ozone Imager 2 (free)
- A mono correlation meter, SPAN by Voxengo (free) or your DAW's built-in goniometer
- Skill level: Intermediate (you know your way around sends and signal chain routing)
- Estimated time: 45–90 minutes on a full mix
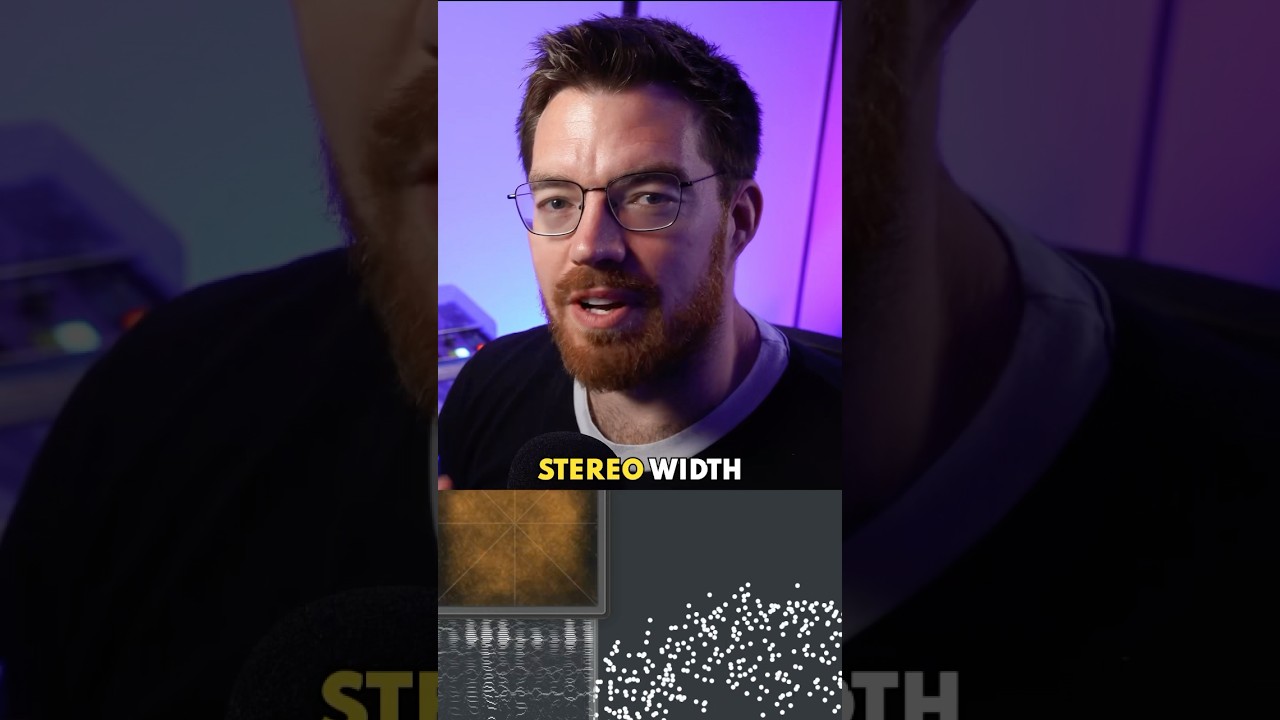
The fastest way to widen a mix is to stop processing everything the same way and start treating frequency bands separately. Full-bus width tools feel good in the moment, but they cause phase problems in bass frequencies that will destroy your low end on club systems and phone speakers alike. These ten steps give you real, stable width that survives a mono check.
Step 1, Set Your Reference Point in Mono First
Before you touch a single width knob, bounce down your mix and listen in mono. Load SPAN by Voxengo (free) on your master bus and watch the correlation meter. A reading above +0.5 means you’re safe. Drop below 0.0 and you’ve got phase cancellation that will swallow your mix on anything without stereo speakers.
We did this on a dense pop production last year. The snare nearly vanished in mono. Turned out a stereo chorus effect was sitting wide at 100% wet with no low-cut. The fix took four minutes. Finding it without the mono check would’ve taken four days of wondering why the mix sounded thin on radio.
Note your mono weaknesses before you add width anywhere. They tell you exactly where not to go wide.
Step 2, Hard-Pan Duplicate Layers Using Microshifting
Duplicate a melodic layer, pitch one copy up 7 cents, the other down 7 cents, and hard-pan them left and right at 100%. That 14-cent spread creates natural-sounding width without any time-domain tricks.
The sweet spot is 5–10 cents per side. Go past 12 cents and the detuning becomes audible as its own sound, not just width. Stay under 5 cents and the effect is too subtle to justify the track count.
This works brilliantly on synth pads, acoustic guitar doubles, and backing vocal stacks. It’s one of the most satisfying tools in the box when you dial it in correctly, because the width feels organic rather than processed.
Keep one dry, centred version of the original underneath at around -3 to -6 dBFS. That centre anchor is what stops the stereo image from feeling hollow.
Step 3, Use the Haas Effect for Rhythm Elements
The Haas Effect works like this: delay one side of a mono signal between 10 and 30 milliseconds and the brain perceives a single, widened sound rather than two separate sources. Go past 40ms and you’ll hear a distinct slap-back echo instead of width.
Set a short delay on a mono bus: 15–20ms on the right channel, 0ms on the left. Pan left to -80, right to +80. Apply it to percussion layers, guitar rhythms, or synth stabs.
The annoying part is that this technique tanks in mono. The delayed side partially cancels when summed, costing you 3–6 dB on the affected element. That’s not a guess. Flip to mono and you’ll watch the level drop in real time. Use it selectively, not on anything load-bearing like your main snare crack.
Step 4, Send Reverbs to a Stereo Bus, Not the Track
Don’t print reverb directly onto mono sources. Use a send to a dedicated stereo reverb bus and keep the dry source in mono.
Set the reverb bus to 100% wet. Roll off everything below 200Hz on the reverb return with a high-pass filter. That removes the low-end muddiness reverb adds while keeping the spatial tail in the mids and highs where width actually reads well.
We ran a dry snare through a plate emulation this way at a 1.4-second decay. The crack hit centre. The tail spread wide behind it without smearing the hi-hat at all. That separation between the dry transient and the wet spread is what makes a mix feel three-dimensional rather than just loud.
Step 5, Apply Mid/Side EQ to Widen the High Shelf
Open your M/S EQ on a stereo bus or on individual wide elements. Switch to the Side channel only. Boost a high shelf starting at 8kHz by 1.5–2.5 dB.
That boost adds air and spaciousness to the stereo image without touching the mono centre. It’s one of the most underrated moves in stereo mixing. FabFilter Pro-Q 3 makes M/S switching fast: just click the M/S button in the processing mode dropdown and target the S channel directly.
On the same Side channel, cut anything below 200Hz with a high-pass filter. Low-frequency side content causes mono compatibility problems and weak, undefined bass. Roll it out completely.
Step 6, Keep Bass and Kick Locked in Mono
Everything below 200Hz should be mono. This isn’t a preference. It’s physics.
Low frequencies have wavelengths long enough that stereo positioning is psychoacoustically meaningless below about 80Hz anyway. Worse, wide bass creates destructive cancellation when summed, which is why your mix sounds thin on a phone and massive on headphones.
Use a stereo imager like Ozone Imager 2 set to multiband mode. Pin the lowest band (20–200Hz) at 0% width. Leave the mid band (200Hz–4kHz) at moderate width, around 20–40%. Let the highs (4kHz+) run wide if the mix supports it.
Step 7, Automate Width Across the Song Structure
This is the step almost nobody talks about, and it’s where mixes go from flat to dimensional.
Your verse should feel narrower than your chorus. Automate your stereo imager’s width percentage to expand from roughly 60% in verses to 90–100% in choruses. That contrast makes the chorus feel like the roof lifted, which is exactly what you want emotionally.
We automated width on a synth lead recently, pulling it to near-mono in the bridge and then opening it wide on the final chorus hit. The impact was immediate. The engineer in the room said “there it is” before we’d even said anything. Width as contrast, not just decoration.
Step 8, Pan Elements Using the Equal-Power Law
Panning in most DAWs defaults to linear panning, which drops the centre signal 6 dB when panned hard. Equal-power panning (also called constant-power) maintains perceived loudness across the stereo field by dropping only 3 dB.
Switch your pan law to -3 dB in your DAW’s project settings. In Logic Pro it’s under Project Settings > Audio. In Ableton it’s in Preferences > Mixer.
Then build a panning map: kick centre, snare centre, bass centre, hi-hats at 20–30L and 20–30R, rhythm guitars at 60–80 left and right, lead vocal centre, backing vocals spread at 30–50 each side. That structure gives your mix width without any processing.
Step 9, Check Width on Headphones and Speakers
Headphone mixes always sound wider than speaker mixes. Headphones deliver true stereo separation with no crosstalk between ears. Speakers blend left and right before the sound reaches you.
A mix that sounds perfectly wide on speakers will often sound enormous on headphones. A mix that sounds wide on headphones might sound narrow or even claustrophobic on speakers.
Check your mix on both. If the width reads well on nearfields and on headphones, it’s dialled in correctly. If it only sounds wide on one, you’ve got a monitoring bias problem, not a mix problem.
Step 10, Run a Final Mono Compatibility Audit
Bring your mix to 80% completion, then do a full mono audit. Hit mono on your master bus and walk through each element solo.
Listen for: level drops greater than 3 dB on any key element, phase wobble or comb filtering, bass frequency that thins out or disappears, and stereo effects that vanish completely.
If a hard-panned element loses more than 6 dB in mono, it’s either mic phasing, an over-processed stereo effect, or a Haas delay applied too heavily. Fix at the source. Don’t try to patch mono problems with more processing.
Pro Tips
Use different widening techniques on different elements, not one global approach. Microshifting on synths, reverb sends on drums, M/S EQ on the mix bus. Stacking one technique everywhere compresses your dynamic range spatially.
Low-cut your Side channel at 200Hz as a standard mix template setting. Build it into every session from the start so you never forget. Ugly mono problems almost always trace back to low-frequency side content.
Width should increase with frequency. Tight and mono in the low end, medium width in the mids, open and wide in the highs. That frequency-dependent approach mirrors how we hear live sound and makes mixes feel natural rather than artificially processed.
When you think the mix needs more width, it usually needs more depth instead. Pre-delay on reverbs (15–25ms), contrast between dry and wet elements, and dynamic automation create perceived space more cleverly than cranking a stereo imager.
Common Mistakes to Avoid
Widening the full mix bus with a single imager. It feels good on headphones. It sounds frustrating on a mono reference. Target individual elements or frequency bands instead.
Forgetting that genre determines appropriate width. Hip-hop and club music keep bass-heavy elements tight and centred by convention. Ambient and cinematic music can run much wider because mono compatibility is less critical. Don’t apply the same width targets across all genres.
Using the Haas Effect on your kick or snare. Those elements need to be present in mono for the groove to lock. A 15ms Haas delay on a snare will hollow it out on any mono playback system.
Widening during tracking, not mixing. Recording with wide stereo miking setups or stereo hardware is great. But committing to extreme width before mixing removes your ability to correct problems later. Record wide, mix with control.
Frequently Asked Questions
What's the safest way to widen a mix without losing mono compatibility?
Use M/S EQ to boost the Side channel at 8kHz and above, with a high-pass filter on the Side channel rolling off everything below 200Hz. This adds width only in the frequency range where stereo imaging reads clearly, while leaving the low end mono and stable. Check your correlation meter on the master bus and keep the reading above +0.5.
Should I widen my mix on the master bus or on individual tracks?
Individual tracks, almost always. Master bus widening is a blunt tool that affects everything equally, including your bass frequencies. Targeting elements separately lets you keep the low end tight and mono while opening up the highs and mids. The exception is a gentle M/S high shelf on the mix bus at the very end of a session, which can add polish without causing phase problems.
Why does my mix sound wide on headphones but narrow on speakers?
Headphones create true stereo separation because each driver only reaches one ear. Speakers let the left and right signals blend before they hit you, which narrows the perceived stereo field. If your mix only sounds wide on headphones, you've built the width around headphone monitoring. Check on nearfield monitors at 1–1.5 meters and adjust your stereo imager settings until the width reads well on both.